Why This California Burrito Works
You know that feeling when you’re not in San Diego but your taste buds are? That’s why I’m making a California burrito today. I still remember my first one a late-night stop at a tiny taqueria in Pacific Beach after a long day of surfing. The guy behind the counter handed me this foil-wrapped monster, and I unwrapped it right there on the sidewalk. One bite and I was hooked. The combination of juicy carne asada, crispy fries, and creamy guacamole all wrapped in a warm flour tortilla? Pure magic.
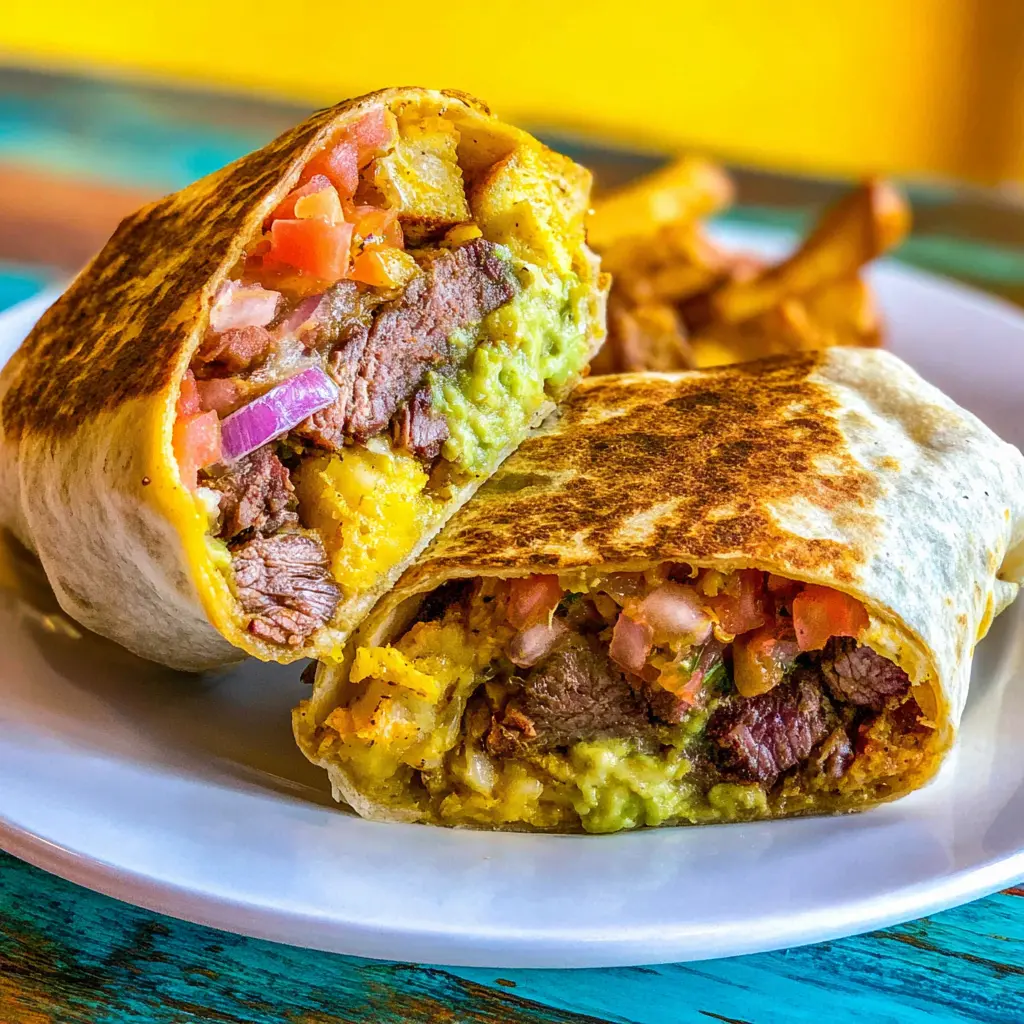
Here’s the deal the secret is the fries. Most burritos use rice and beans as the filler, but a real California burrito swaps those out for french fries. And not just any fries they need to be golden, crispy, and seasoned just right. When you bite into a properly made California burrito, you get that satisfying crunch from the fries, the savory char from the steak, and the cool creaminess from the guacamole and sour cream all at once. It’s a textural symphony, and it’s why this burrito has a cult following far beyond San Diego.
I’ve made my fair share of failed attempts over the years. Burritos that fell apart, soggy fries that disappointed, steak that was tough as shoe leather. But I learned from every mistake, and this recipe is the result. It’s designed to give you that authentic taqueria experience right in your own kitchen. No special equipment required, just a cast-iron skillet and a little patience.
Ingredients and Substitutions
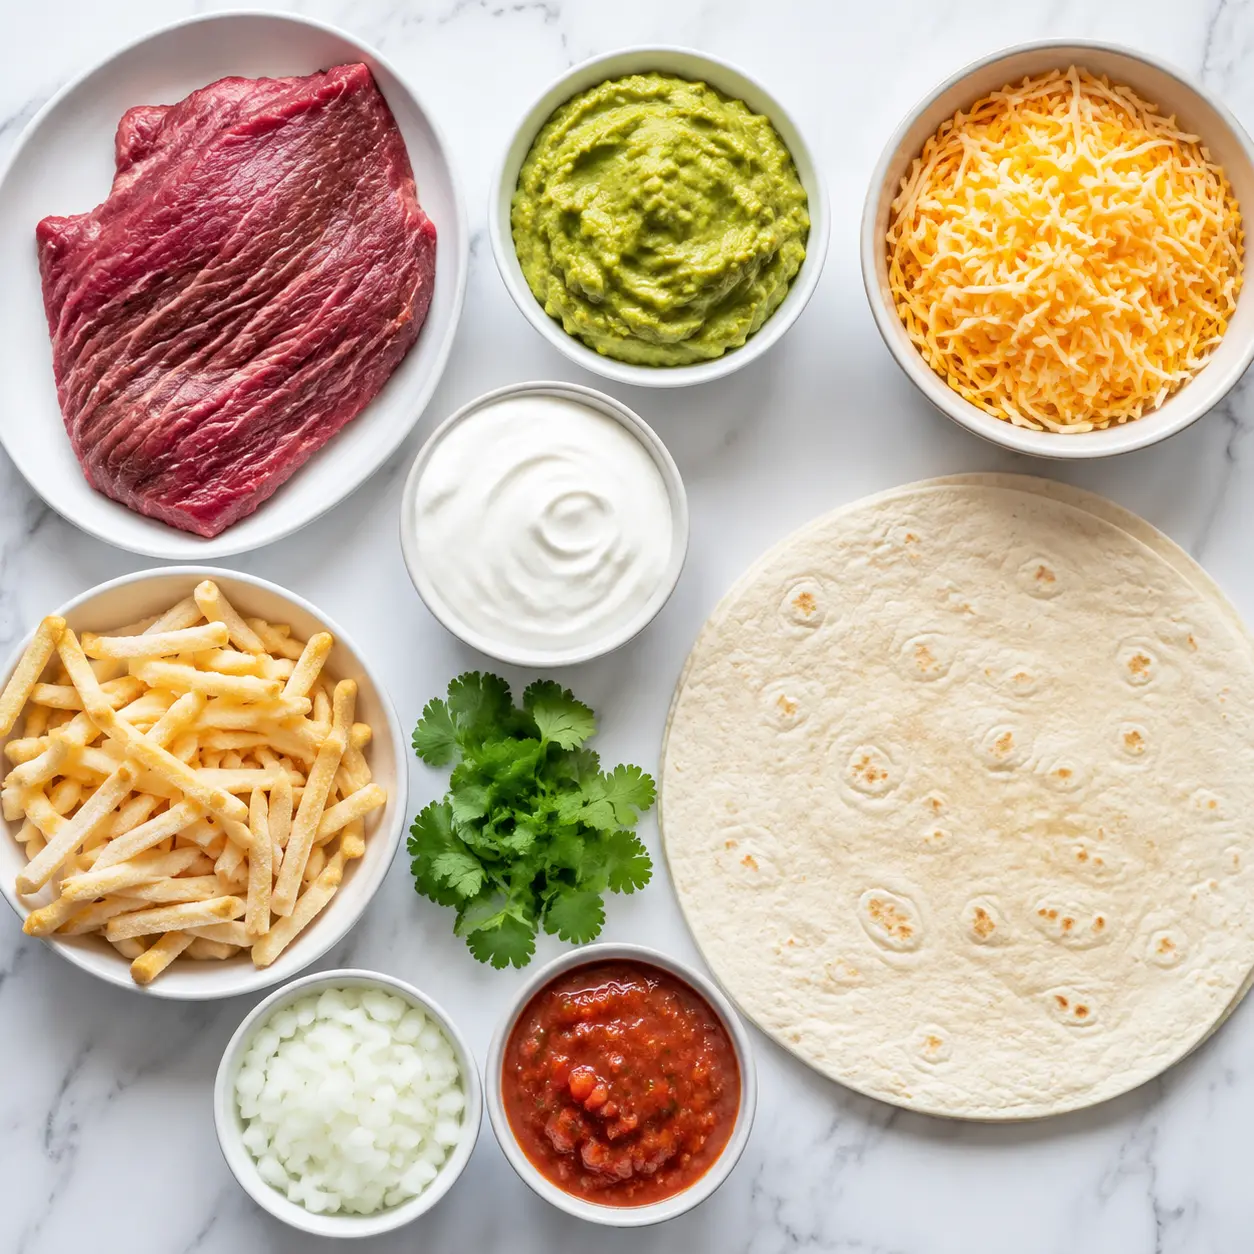
Let’s talk about what goes into a California burrito. The ingredient list is short, but each component plays a crucial role. Here’s what you’ll need and a few notes on substitutions if you’re in a pinch.
Carne asada or seasoned flank steak This is the heart of the burrito. Flank steak works beautifully because it takes on marinade well and cooks quickly over high heat. You can also use skirt steak or sirloin if that’s what’s available at your local Ralphs or Vons. The key is to dice it into small, bite-sized pieces before cooking so it distributes evenly throughout the burrito.
Frozen French fries Yes, frozen works perfectly here. I’ve tried making fresh fries from scratch, and while they’re delicious, frozen fries are actually more authentic to the taqueria experience. Most places in San Diego use frozen fries. Go for the straight-cut style, not curly or waffle. And cook them until they’re extra crispy we’ll talk more about that in a minute.
- Creamy guacamole Homemade is ideal, but store-bought from Trader Joe’s or Whole Foods works in a pinch. Just make sure it’s creamy, not chunky.
- Sour cream Adds that cool, tangy contrast to the hot fries and steak. Full-fat gives the best texture.
- Shredded Mexican cheese blend Cheddar and Monterey Jack are the classic combo. Pre-shredded is fine, but freshly shredded melts better.
- Salsa or pico de gallo Adds freshness and acidity. I prefer pico de gallo for the texture of fresh tomatoes and onions, but a smooth salsa works too.
- Fresh cilantro and white onion The finishing touches. Don’t skip these they add brightness and a little bite.
- Large flour tortilla You need a burrito-size tortilla, about 12 inches. Mission brand is a reliable choice. Don’t use corn tortillas here they won’t hold up to all these fillings.
One thing I want to be clear about this recipe doesn’t include rice. I know that sounds weird if you’re used to traditional burritos, but trust me on this. The fries are the starch here, and adding rice would just make things dry and crowded. Save the rice for your regular burrito night.
How to Make California Burritos
Making a California burrito at home is all about timing. You want everything to be hot and ready at the same moment so you can assemble and eat immediately. Here’s how I break it down into four major stages.
Stage 1: Marinate the Carne Asada
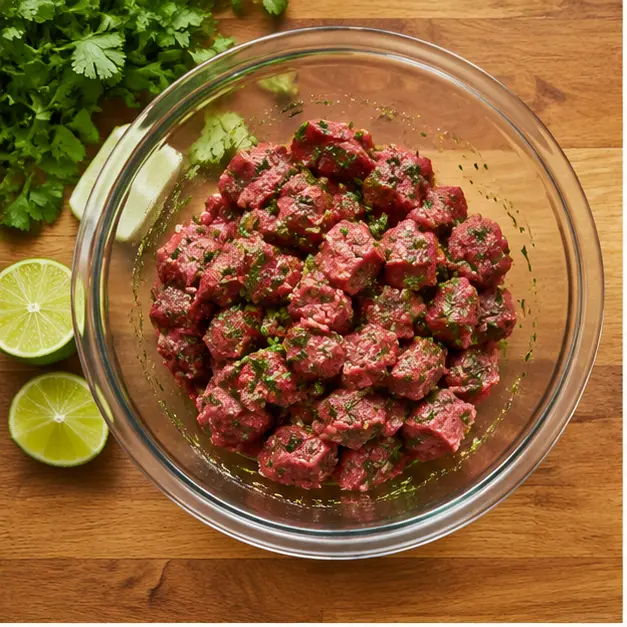
Start the day before or at least 3 hours before you plan to cook. Marinate your flank steak in your favorite carne asada marinade. I keep it simple lime juice, garlic, cumin, salt, and pepper. The acid in the lime helps tenderize the meat, but don’t go longer than overnight. Over-marinating can actually make the meat mushy, and nobody wants that. Pat the steak dry before cooking to get a good sear.
Pro tip: Dice the steak into small pieces after marinating but before cooking. This gives you more surface area for that beautiful char and ensures every bite has some meat in it.
Stage 2: Cook the Fries
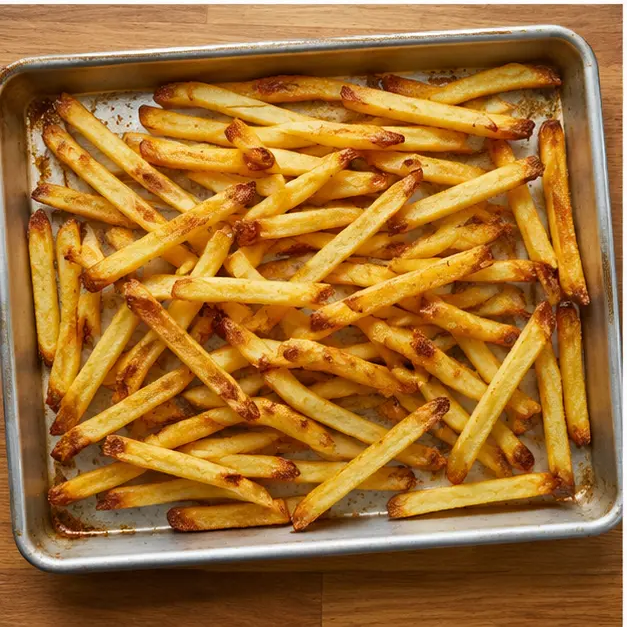
While your steak is marinating, get your fries going. I follow the package directions on my frozen fries usually baking them at 425°F in the oven for about 20 minutes, flipping halfway. If you have an air fryer, that’s even better. The goal is golden brown and extra crispy. Don’t undercook them here. Soggy fries inside a burrito are a tragedy.
Here’s a trick I learned the hard way: season the fries while they’re hot, right out of the oven. A little salt and maybe some chili powder. That seasoning sticks better when they’re still steaming.
Stage 3: Sear the Steak
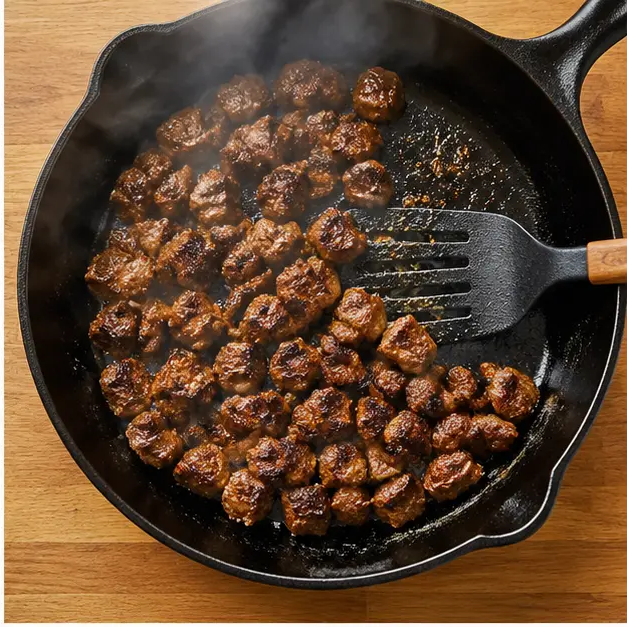
Heat a cast-iron skillet over high heat until it’s smoking hot. Add a little oil, then add your diced carne asada in a single layer. Don’t overcrowd the pan work in batches if you need to. Let it cook undisturbed for about 2 minutes to get a good char, then toss and cook for another 1-2 minutes. You’re looking for deep brown edges and a little bit of pink in the center if you like it medium. The whole process takes about 3-5 minutes.
The sound of that steak hitting the hot pan? That’s the sound of dinner coming together. The smell of cumin and lime filling your kitchen is just the bonus.
Stage 4: Assemble and Roll
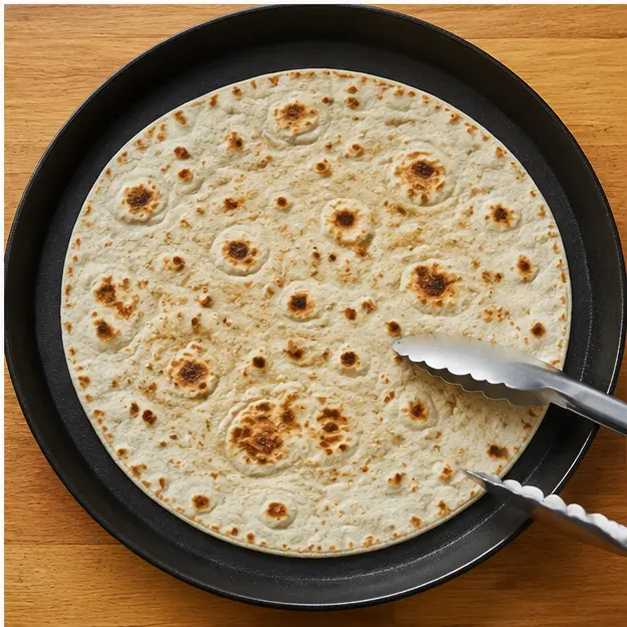
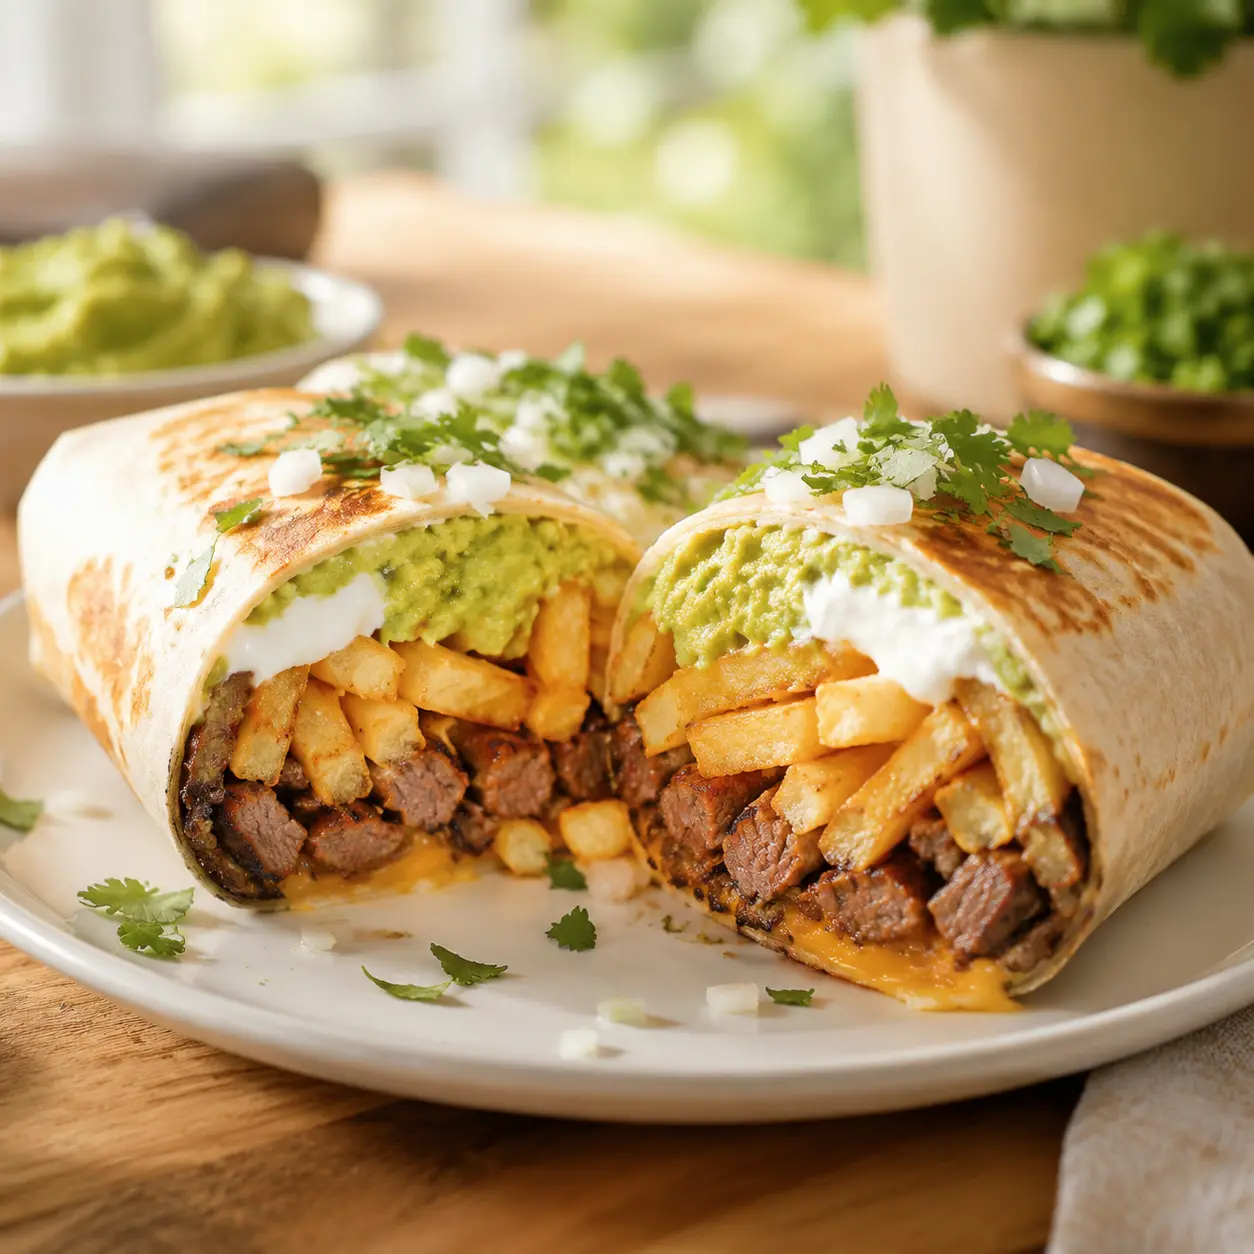
This is the moment everything comes together. First, char your flour tortilla directly over a gas flame or in a dry skillet for about 30 seconds per side. You want it soft and pliable, with a few brown spots. Spread the creamy guacamole and sour cream down the center in a line. Then layer on the hot carne asada, the crispy fries, shredded cheese, salsa, diced white onion, and fresh cilantro.
Now for the rolling. Fold the sides of the tortilla inward, then roll tightly from the bottom, tucking everything in as you go. It takes practice my first few looked like sad little packages. But you’ll get the hang of it. Microwave the assembled burrito for about 1 minute to melt the cheese, then serve immediately.
Pro Tips for the Best California Burrito
After making these more times than I can count, here are the things I wish someone had told me from the start.
Common Mistakes and Fixes
- ❌ Marinating the steak for too long → ✅ Limit marinade time to 3 hours or overnight max. The acid will break down the meat fibers too much.
- ❌ Overcooking the steak → ✅ Cook to medium (140-145°F) and let it rest 5 minutes before slicing. Carryover cooking will finish the job.
- ❌ Not cutting the steak against the grain → ✅ Slice against the grain for tenderness. Look for the lines in the meat and cut perpendicular to them.
- ❌ Overstuffing the burrito → ✅ Less is more. You want a tight roll, not a bursting seam. Use about 4 ounces of meat and 20 fries.
- ❌ Soggy fries → ✅ Cook fries extra crispy and add them last, right before rolling. Don’t let them sit around after cooking.
Another thing warm your tortilla properly. A cold or stiff tortilla will crack when you try to roll it. That 30-second char makes all the difference in flexibility and flavor. And don’t skip the microwave step at the end. That extra minute melts the cheese into the hot fillings and brings everything together into one cohesive bite.
Variations to Try
Once you’ve mastered the classic California burrito, feel free to experiment. Here are a few variations that keep the spirit of the original while adding your own twist.
- Chicken California Burrito Swap the carne asada for grilled chicken breast. Season it the same way and dice it small. The fries and guacamole work just as well with poultry.
- Breakfast California Burrito Add scrambled eggs and swap the sour cream for crema. This is a weekend brunch game-changer.
- Spicy California Burrito Add sliced fresh jalapeños or pickled jalapeños to the filling. A drizzle of hot sauce never hurt either.
- Vegetarian California Burrito Replace the carne asada with black beans or grilled portobello mushrooms. The fries and cheese make it hearty enough that you won’t miss the meat.
- California Burrito Bowl Skip the tortilla and serve everything in a bowl over lettuce. Great for low-carb nights or when you want to cut back on calories.
I’ll be honest I’ve tried adding refried beans to a California burrito before, and it just doesn’t work. The beans make everything too wet and heavy. Stick with the fries as your starch and you’ll be happier.
What to Serve with California Burritos
A California burrito is a meal in itself, but if you’re feeding a crowd or want to round things out, here are a few ideas.
A crisp green salad with a lime vinaigrette adds brightness and cuts through the richness of the burrito. I like to use romaine, some radishes, and a simple dressing of lime juice, olive oil, and a pinch of salt. It’s refreshing and keeps things from feeling too heavy.
Extra salsa and hot sauce on the side let everyone customize their heat level. I usually set out a mild salsa verde and a smoky chipotle salsa so people can choose. Some pickled jalapeños on the side are always welcome too.
For drinks, a cold Mexican Coke in the glass bottle is my go-to. The cane sugar sweetness pairs perfectly with the savory burrito. Or just ice water with lots of lime simple and effective.
These burritos are perfect for summer gatherings, casual dinners, or even meal prep. Wrap them tightly in foil and they’re portable enough for picnics or beach days. Just pack some extra salsa on the side.
Storage and Reheating
If you have leftovers and that’s a big if here’s how to handle them.
For best results, store the filling separately from the tortilla. Keep the cooked carne asada, fries, and toppings in separate airtight containers in the fridge for up to 3 days. Then you can reheat the meat and fries and assemble fresh. This keeps the fries from going soggy.
If you already assembled the burrito, wrap it tightly in aluminum foil and store it in the fridge for up to 3 days. To reheat, unwrap the foil and place the burrito in a 350°F oven for 10-15 minutes. This crisps the tortilla back up and melts the cheese. Microwaving works in a pinch but will make the tortilla soft.
You can freeze individual California burritos wrapped in foil, then transferred to a freezer bag, for up to 3 months. Reheat from frozen in a 350°F oven for about 25 minutes. The texture won’t be quite as good as fresh, but it’s still pretty satisfying when you’re craving that San Diego flavor on a busy weeknight.
One thing I don’t recommend freezing the components separately. The fries just don’t survive freezing well. Better to make a fresh batch of fries when you’re ready to eat.
Frequently Asked Questions
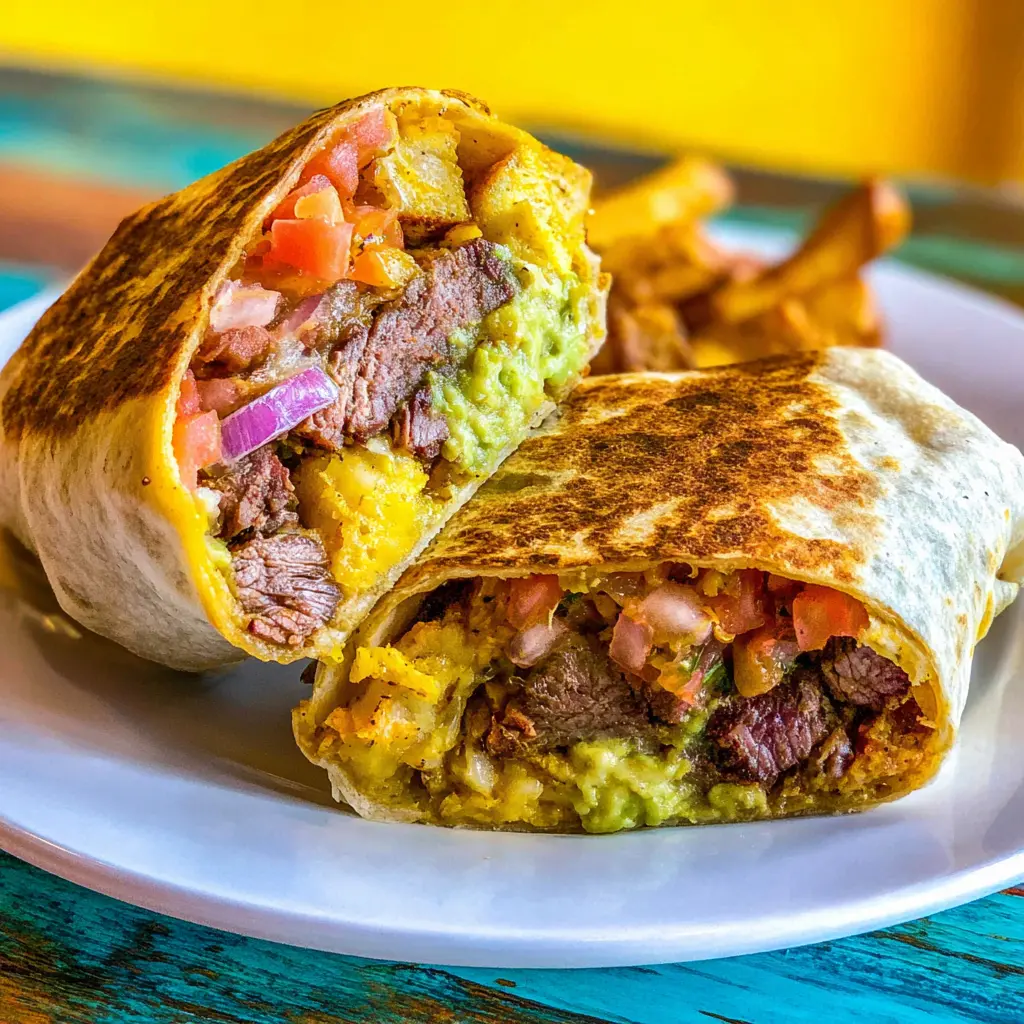
Classic California Burrito with Carne Asada and Crispy Fries
Ingredients
Method
- Marinate the carne asada in your favorite marinade for at least 3 hours, or overnight for deeper flavor. Prepare the creamy guacamole and set aside, covered.
- Cook the French fries according to package directions: bake in a 425°F oven, air-fry, or deep-fry until golden and crispy. Keep warm.
- Dice the marinated flank steak into small, bite-sized pieces. Heat a cast-iron skillet over high heat and cook the steak until charred and cooked through, about 3-5 minutes.
- Char the flour tortilla directly over a gas flame or on a dry skillet for about 30 seconds per side to soften. Spread the creamy guacamole and sour cream down the center of the tortilla.
- Layer the cooked carne asada and hot fries on top. Sprinkle with shredded cheese, salsa, diced onion, and fresh cilantro.
- Fold the sides of the tortilla inward, then roll tightly from the bottom to form a burrito. Microwave for 1 minute to melt the cheese, then serve immediately.
Nutrition
Notes
Tried this recipe?
Let us know how it was!Once you take that first bite of your homemade California burrito, you’ll understand why this thing has a cult following. The crunch of the fries, the char of the steak, the cool creaminess of the guac and sour cream it all comes together in one perfect bite. And the best part? You made it yourself, right in your own kitchen.
I’d love to see how yours turn out. Share your creations on social media and tag me nothing makes me happier than seeing someone nail that first California burrito at home. And if you’re looking for more inspiration, I’m always pinning new recipes over on my Pinterest board. Drop by and say hi.
Source: Nutritional Information
What is a California burrito?
A California burrito is a San Diego specialty that swaps the traditional rice and beans for crispy french fries. It’s filled with carne asada, shredded cheese, guacamole, sour cream, salsa, and fresh cilantro, all wrapped in a large flour tortilla. The combination of hot, crunchy fries with juicy steak and cool toppings is what makes it unique.
When was the California burrito invented?
The California burrito was invented in San Diego in the 1980s, though the exact origin is debated. Most food historians credit Roberto’s, a now-iconic taco shop, with creating the first version. It quickly spread across Southern California and became a staple of the region’s surf and taco shop culture. Today it’s considered San Diego’s most famous culinary export.