

Why You’ll Love This Microwave Corn on the Cob
You know that moment when it’s July, it’s 97 degrees outside, and you’re craving sweet summer corn but the thought of boiling a giant pot of water makes you want to cry? Yeah, me too. That’s exactly why I started making microwave corn on the cob and honestly, I haven’t looked back since.
Here’s the thing this isn’t some sad, rubbery microwave experiment. This method gives you perfectly steamed, juicy kernels every single time. And the best part? No shucking required. Like, at all. You just toss the whole ear in the microwave, husk and all, and let the magic happen. It’s basically a California-style shortcut that saves you from heating up your kitchen.
I remember the first time I tried this. I was skeptical, I’ll admit it. But after one bite of that perfectly tender corn with a squeeze of Meyer lemon? I was sold. Now it’s my go-to for busy weeknights when the kids are hangry and I need something on the table fast.
So if you’re looking for the best way to microwave corn that’s quick, mess-free, and actually delicious, you’re in the right place. Let’s get into it.
Ingredients Needed
Okay, so the ingredient list here is… short. Like, laughably short. But that’s the beauty of this easy corn on the cob side dish. You really only need one thing.
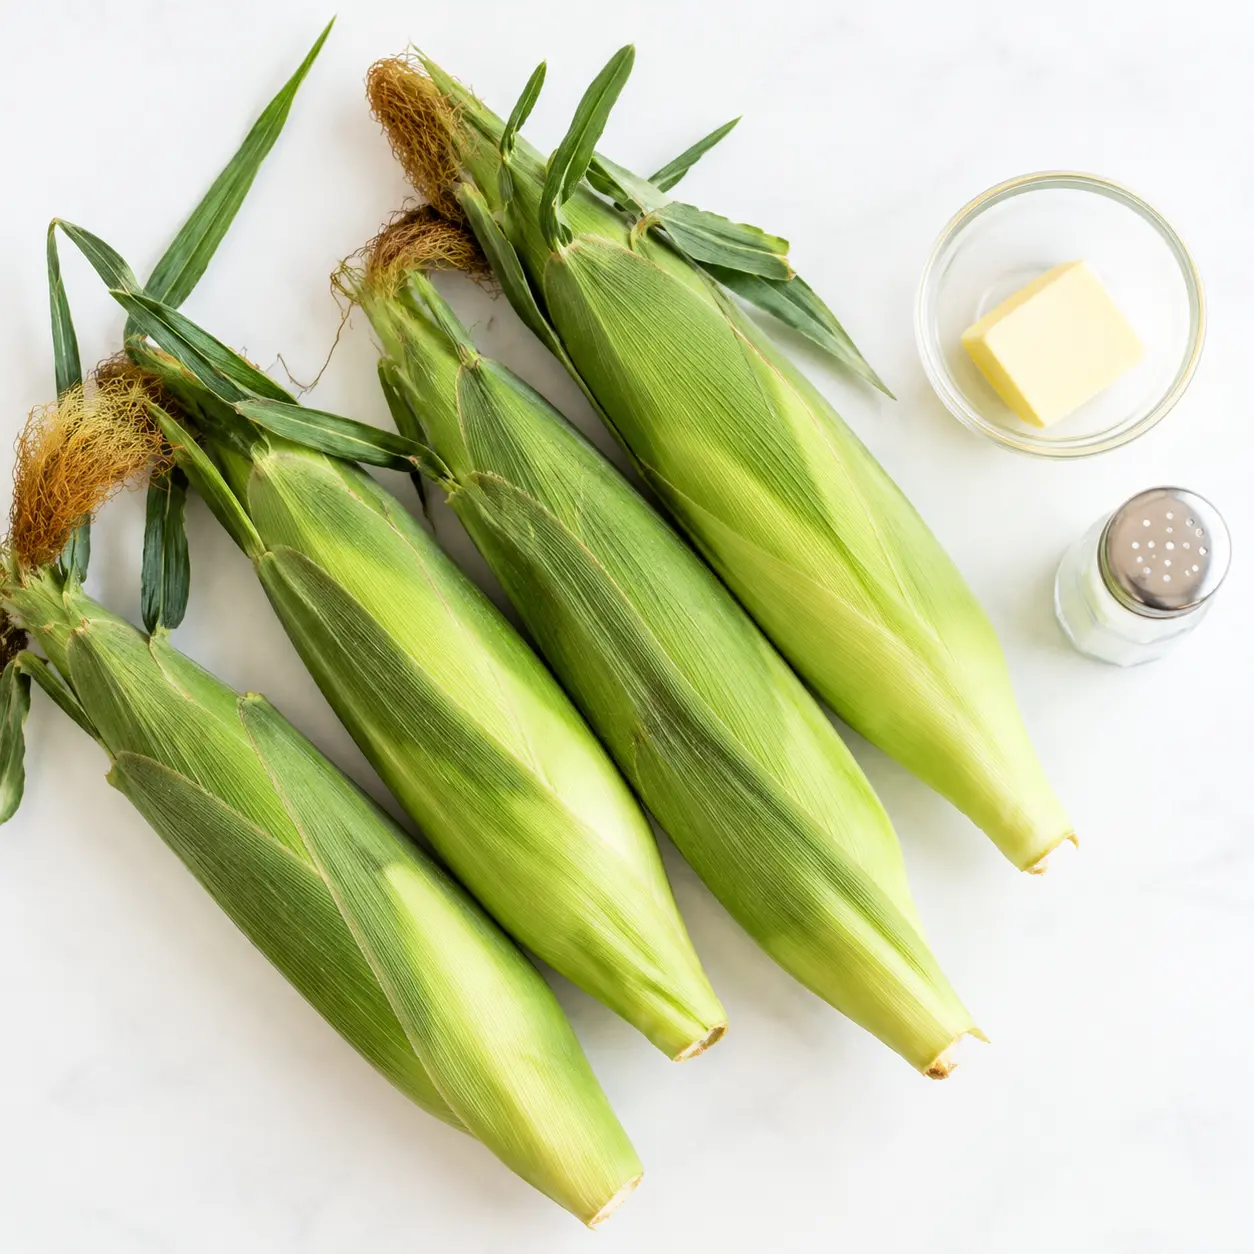
- 4 ears of fresh corn on the cob in their husks, please. That’s it for the base recipe.
Now, I know what you’re thinking. “That’s it?” Yes! The husk does all the work, trapping steam to cook the corn perfectly. But of course, once it’s done, you’ll probably want to add some butter and salt. And maybe a squeeze of lemon if you’re feeling fancy. But for the actual cooking part? Just corn.
When you’re at the store, look for ears with bright green husks that feel snug. The silk at the top should be slightly sticky and brownish that means it’s fresh. And give the ear a gentle squeeze through the husk. You want plump kernels, not shriveled ones. Trust me on this.
How to Microwave Corn in the Husk
Alright, let’s get to the good stuff. This corn on the cob recipe microwave style is almost embarrassingly easy. But I’ll walk you through each stage so you nail it every time.
Stage 1: Place and Microwave
First, take your corn still in the husk, no trimming needed and place it directly on a microwave-safe plate. Don’t wrap it in anything, don’t add water, just put it on the plate. Then microwave on high. Here’s the timing breakdown for how long to microwave corn on the cob:
- 1 ear: 2 minutes
- 2 ears: 4 minutes
- 3 ears: 5 minutes
- 4 ears: 6 minutes
See? It scales pretty simply. If your microwave is on the weaker side (like 700 watts), you might need to add 30 seconds to a minute. If it’s a beast (1200 watts), start with the lower end.
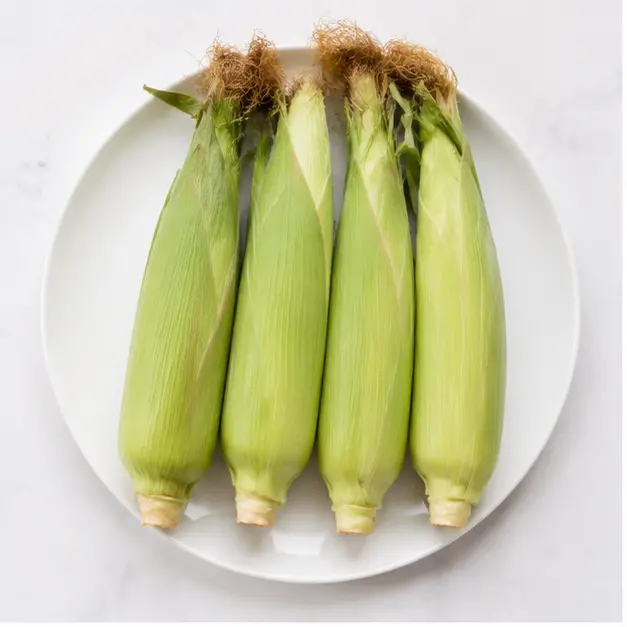
Stage 2: Let It Rest
This is the part people skip, and it’s a mistake. After the microwave stops, leave the corn on the plate untouched for about 5 minutes. I know, I know you’re hungry. But trust me, this resting time lets the corn finish steaming inside the husk. The result is way more tender than if you rush it. Plus, it cools down enough that you won’t burn your fingers.
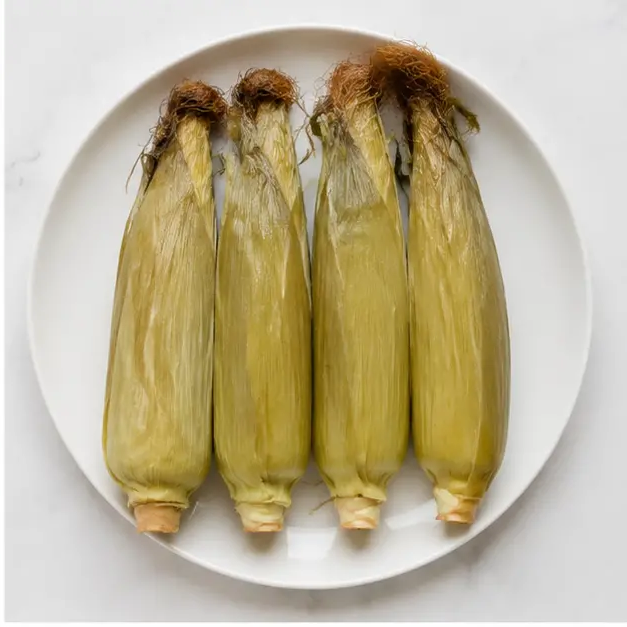
Stage 3: Cut the Stem End
After the rest, grab a sharp knife. You’re going to cut off about 1 inch from the stem end that’s the stubby side, not the pointy silk end. This is the trick that makes husk removal a breeze. Don’t cut too much off, just enough to expose the base of the kernels.
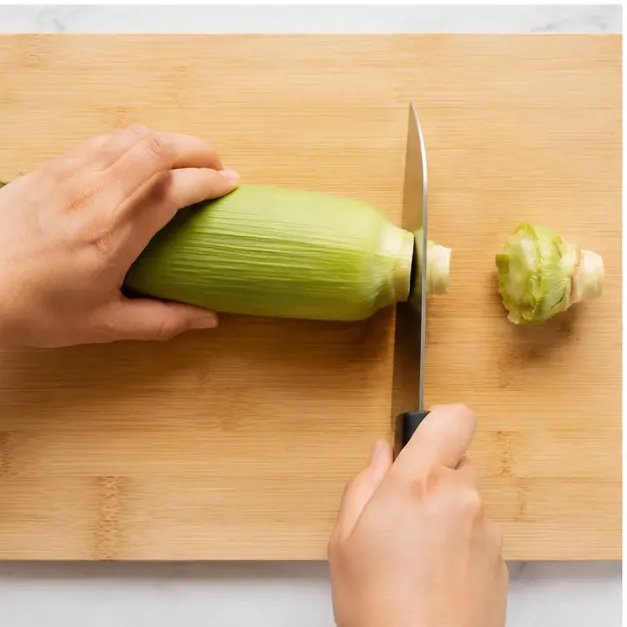
Stage 4: Pull Off the Husk and Silk
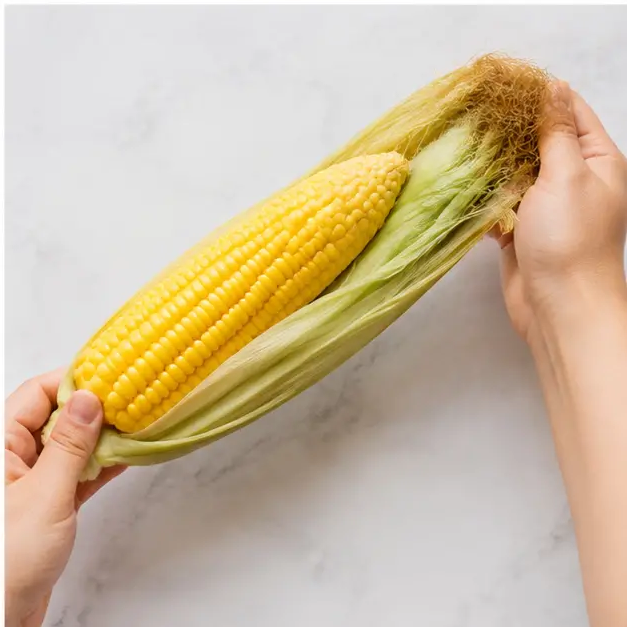
Now for the satisfying part. Hold the corn by the silk end (the pointy top) and gently pull the husk and silk downward. It should come off in one piece, like a little corn jacket. If it sticks, just give it a gentle rock back and forth. All the silk comes off with it no more picking those annoying little hairs off each kernel. It’s honestly the best part of this whole method.
Pro Tips for Best Results
After making microwave fresh corn on the cob about a hundred times (okay, maybe not a hundred, but close), I’ve picked up a few tricks. Here are the ones that make the biggest difference.
- Watch your microwave wattage. Most microwaves are around 1000 watts, but if yours is lower or higher, adjust the time. The corn should be steaming hot and the husk should feel slightly looser when it’s done.
- Use a kitchen towel to handle the hot corn. That husk traps steam like crazy, so the corn will be hot. Like, really hot. Grab the end with a towel or oven mitt.
- If the husk doesn’t slide off easily, peel back the top layer a bit to get it started. Sometimes the steam makes it stick, but a little help does the trick.
- Don’t skip the rest time. Seriously, this is non-negotiable for the best texture.
- For even cooking, arrange the ears in a spoke pattern on the plate, with the tips pointing toward the center. This helps the microwave energy distribute more evenly.
Delicious Variations
Once you’ve mastered the basic microwave corn on the cob, you can start playing with flavors. Here are some of my favorite ways to dress it up.
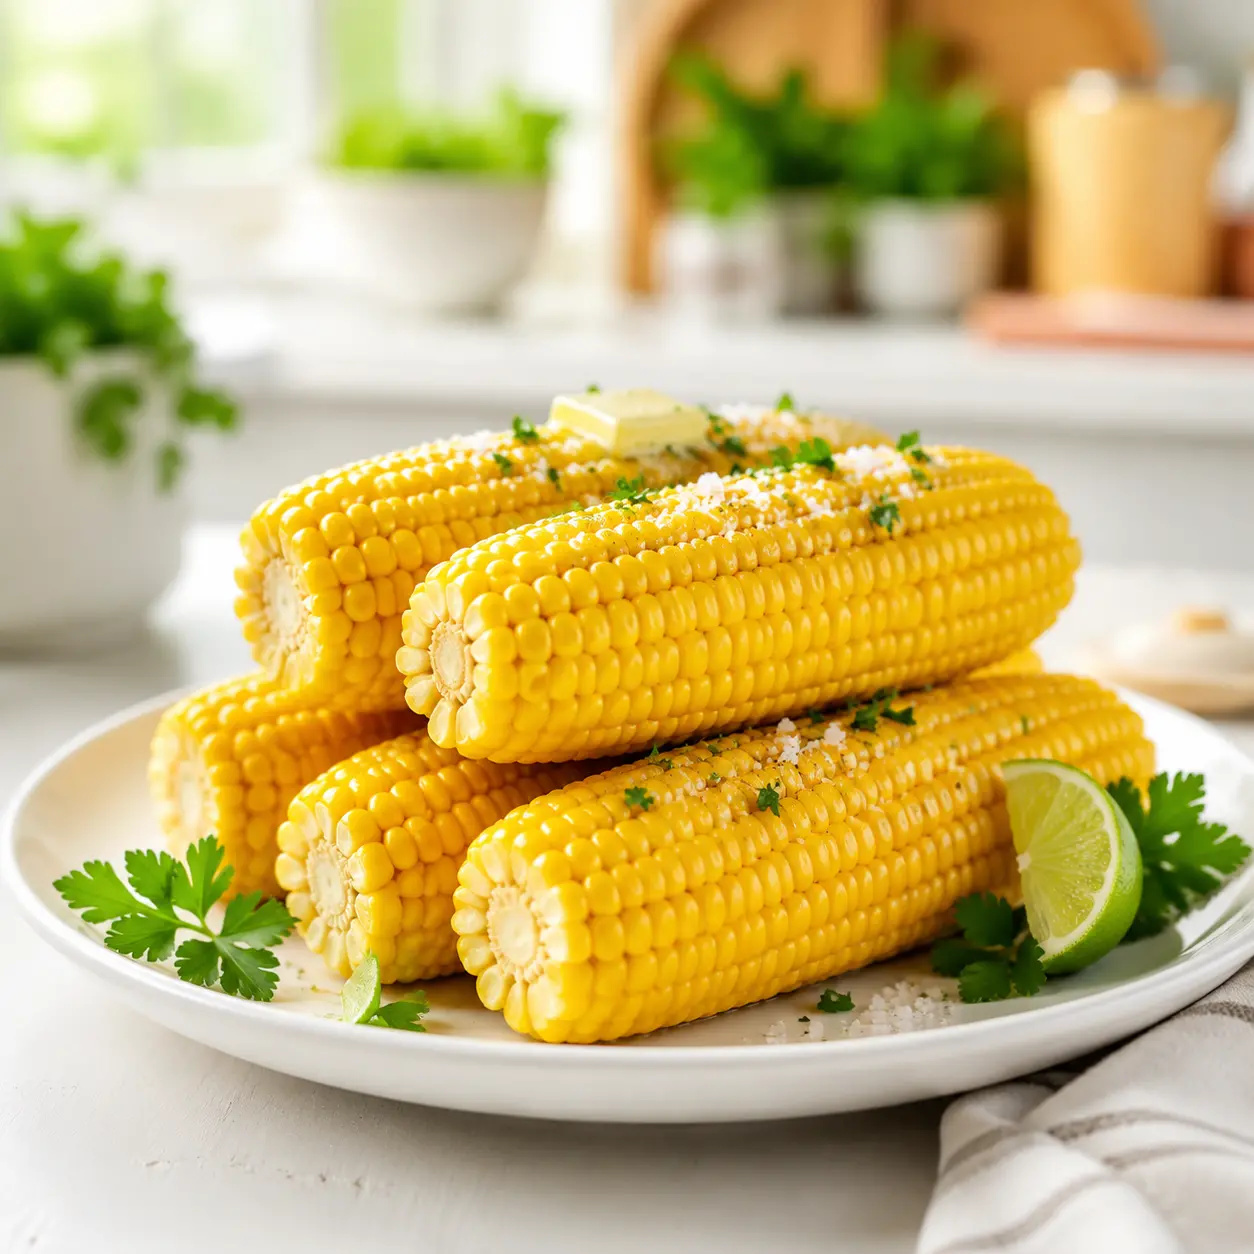
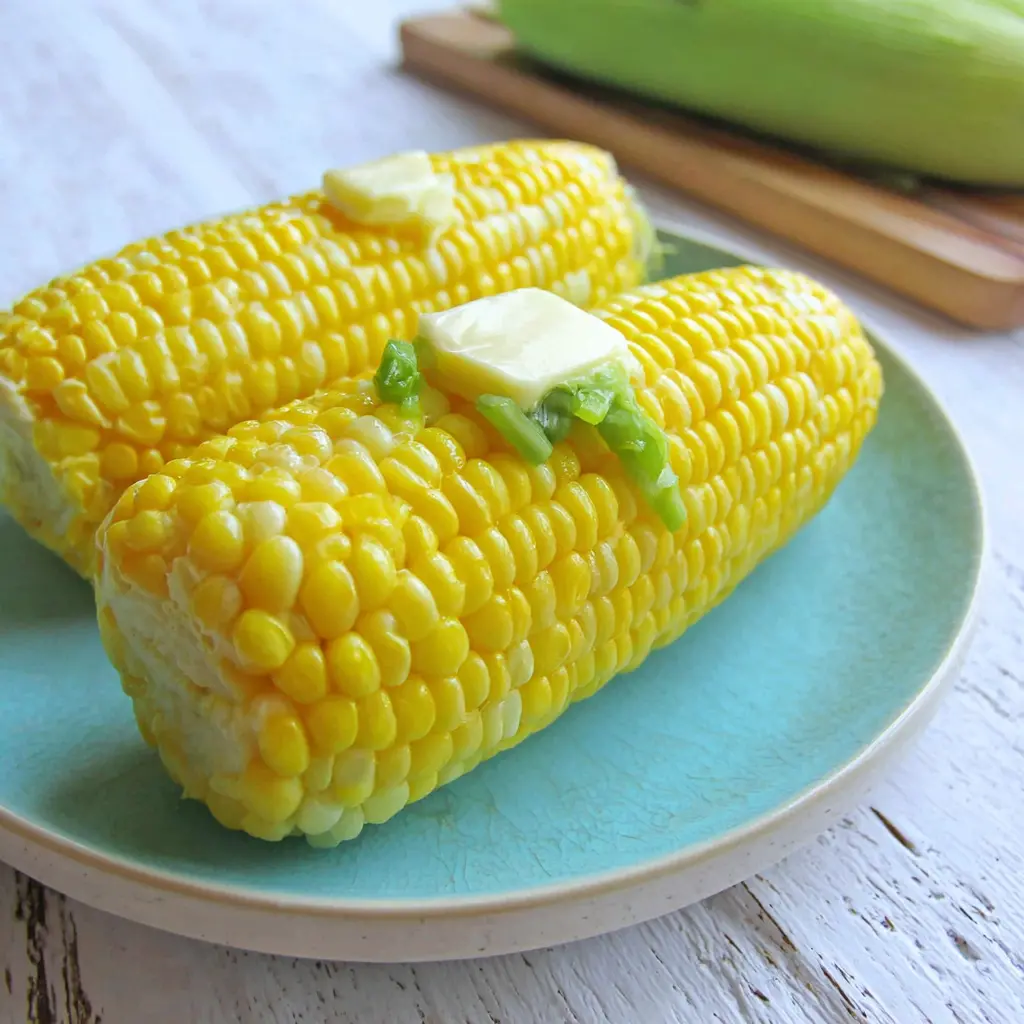
- Classic butter and salt: Can’t go wrong. Slather on some butter and sprinkle with flaky salt. Simple and perfect.
- Chili lime: Squeeze fresh lime juice over the corn, then sprinkle with chili powder and a little salt. It’s like elote-lite and it’s amazing.
- Parmesan and herbs: Grate some Parmesan over the hot corn and add a sprinkle of dried herbs like parsley or oregano. The heat melts the cheese slightly.
- Garlic and herb butter: Mix softened butter with minced garlic and chopped fresh herbs (chives, parsley, whatever you have). Spread it on the hot corn.
- Smoked paprika: A sprinkle of smoked paprika adds a subtle smoky flavor without any actual smoking. It’s a nice twist.
These are all optional, of course. The base recipe is just corn, but a little creativity never hurt anyone.
How to Store and Reheat Leftovers
If you somehow have leftover microwaved corn butter salt situation (unlikely in my house, but possible in yours), here’s what to do.
Storage: Keep leftover corn in an airtight container in the fridge for up to 3 days. If you can, leave the husk on to maintain moisture. But if you’ve already shucked it, wrap each ear tightly in plastic wrap or foil.
Freezing: You can freeze corn on the cob for up to 6 months. Wrap each ear tightly in plastic wrap, then place in a freezer-safe bag. When you’re ready to eat, thaw in the fridge overnight or microwave directly from frozen.
Reheating: The easiest way is to wrap the corn in a damp paper towel and microwave in 20-second bursts until heated through. Or, if you have a little more time, wrap in foil and warm in a 350°F oven for 10-15 minutes.
Common Mistakes to Avoid
Even with something as simple as cooking corn in microwave, things can go wrong. Here’s what to watch out for.
- ❌ Skipping the cooling time: Corn needs to rest to finish steaming. If you cut it open too soon, the kernels won’t be as tender.
- ❌ Not trimming properly: Cutting too much off the stem end makes silk removal difficult. Just an inch is all you need.
- ❌ Overcrowding the microwave: If you try to cook more than 4 ears at once, they won’t cook evenly. Stick to the recommended amounts.
- ❌ Ignoring microwave wattage: Your microwave’s power affects cooking time. Start with the suggested times and adjust as needed.
- ❌ Forgetting to use a plate: The corn releases some moisture as it cooks. A plate catches any drips and keeps your microwave clean.
Frequently Asked Questions
So there you have it the easiest, mess-free way to make microwave corn on the cob that’s ready in under 10 minutes. No pots, no boiling water, no heating up your kitchen. Just sweet, tender corn that tastes like summer.
Go ahead, try it tonight! And if you’re looking for more inspiration, check out my Pinterest board for more quick and easy side dishes. I’m always pinning new ideas.
Happy cooking, friends!
Easy Microwave Corn on the Cob in the Husk
Ingredients
Method
- Place the corn on a microwave-safe plate. Microwave on high: 1 ear for 2 minutes, 2 ears for 4 minutes, 3 ears for 5 minutes, or 4 ears for 6 minutes.
- Let the corn rest untouched for about 5 minutes to cool slightly.
- Using a sharp knife, cut off about 1 inch from the stem end (the stubby side, not the silk end).
- Hold the silk end and gently pull the husk and silk away from the corn, rocking if needed to loosen. The husk and silk should come off in one piece.
Nutrition
Notes
Tried this recipe?
Let us know how it was!Do I need to shuck the corn before cooking?
Nope! That’s the beauty of this method. You microwave the corn right in its husk. The husk traps steam and cooks the kernels perfectly. Plus, it makes cleanup a breeze since the silk comes off with the husk after cooking.
How to shuck corn after microwaving?
After microwaving and resting, cut off about 1 inch from the stem end. Then hold the silk end and pull the husk downward. It should slide off in one piece, taking all the silk with it. If it sticks, just rock it gently back and forth.
How long to microwave corn on the cob?
The timing depends on how many ears you’re cooking. For 1 ear, microwave 2 minutes. For 2 ears, 4 minutes. For 3 ears, 5 minutes. For 4 ears, 6 minutes. Always let the corn rest for 5 minutes after microwaving to finish steaming.
Can I microwave more than one ear of corn?
Absolutely. Just adjust the cooking time as I mentioned above. Arrange the ears in a spoke pattern on the plate for even cooking. And don’t try to cook more than 4 at once they won’t cook evenly.
Can I microwave corn without the husks?
Yes, you can. If you prefer to cook microwave corn on the cob without husk, wrap each ear in a damp paper towel before microwaving. The cooking times are about the same. Just be careful when unwrapping steam will escape.
Can I microwave corn on the cob without husk?
Yes, just wrap each shucked ear in a damp paper towel before microwaving. The damp towel creates steam to cook the corn. Use the same cooking times as the in-husk method. Let it rest for a minute before unwrapping.
How long should I microwave corn on the cob?
For fresh corn in the husk, microwave on high for 2 minutes per ear, plus 5 minutes resting time. So 1 ear = 2 minutes cook + 5 rest. 4 ears = 6 minutes cook + 5 rest. Adjust slightly for your microwave’s wattage.
What is the best way to remove silk from cooked corn?
The microwave-in-husk method is actually the best way. After cooking, cut off the stem end and pull the husk downward. The silk comes off attached to the husk. No more picking at individual strands! It’s a game-changer for no shuck corn microwave lovers.
Can I prep corn ahead of time?
You can microwave the corn ahead of time and store it in the fridge for up to 3 days. Keep the husk on if possible to maintain moisture. Reheat in the microwave wrapped in a damp paper towel for 20-30 seconds per ear.










6 Responses
I tried this last night and it worked perfectly! I was skeptical about not shucking the corn first, but the silk came off so easily after microwaving. My kids loved it too. Thanks for the tip!
Wow, this is genius! I’ve been boiling corn for years and never thought to microwave it in the husk. The cleanup was practically zero. I’m making this for our next barbecue. Do you think I could do 6 ears at once if I arrange them in a circle?
Thanks David! Yes, you can definitely do 6 ears—just arrange them in a circle or spoke pattern in the microwave. You’ll need to add about 2-3 minutes total cooking time. Rotate them halfway through if your microwave doesn’t have a turntable. Enjoy the barbecue!
Great idea for hot summer days! I added a bit of butter and chili powder after cooking and it was delicious. One question though—how long should I microwave if I’m only doing 2 ears instead of 4?
Hi Mark! Great question. For 2 ears, I’d recommend microwaving for about 4-5 minutes total, checking at the 3-minute mark. The key is to let them rest for a minute after cooking so the steam finishes the job. Glad you liked the chili powder twist!
This was okay but I found the corn a bit unevenly cooked. The ends were perfect but the middle was still a little hard. Maybe my microwave is weaker? I’ll try adding 30 seconds next time.