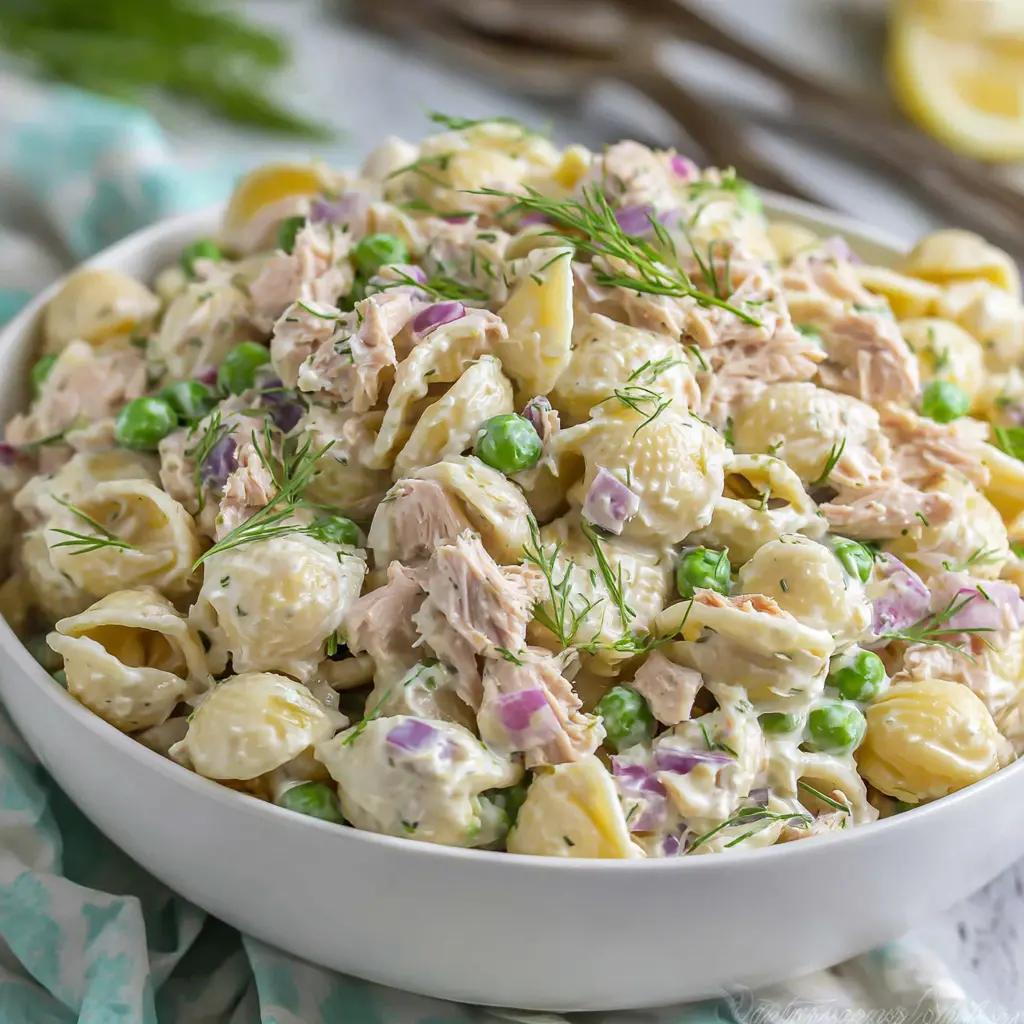
California Tuna Pasta Salad
Ingredients
Method
- Cook the shell pasta according to the package directions until al dente, being careful not to overcook. Drain and rinse under cold running water to stop the cooking process.
- In a small bowl, whisk together the light mayonnaise, plain yogurt, lemon juice, fresh dill, salt, and black pepper until smooth.
- In a large mixing bowl, combine the cooked pasta, drained tuna, frozen peas, diced celery, and chopped red onion. Pour the dressing over the top and toss gently until everything is evenly coated.
Nutrition
Notes
Tried this recipe?
Let us know how it was!Why You’ll Love This Tuna Pasta Salad
It’s that time of year again. The one where turning on the oven feels like a personal attack on your air conditioning bill. You want something cold, something creamy, and something that doesn’t require a culinary degree. That’s where this tuna pasta salad comes in.
I’ll be honest with you. My first few attempts at making this were… sad. Dry pasta, bland tuna, a dressing that tasted like nothing. I almost gave up on the whole idea. But then I figured out the secret. It’s not about fancy ingredients or complicated techniques. It’s about balance. A little bit of tang, a little bit of cream, and a whole lot of crunch.
This recipe is my redemption story. It’s the one I bring to every potluck and every beach day. It disappears fast. And the best part? It takes about 30 minutes, start to finish, and most of that is just waiting for the pasta to cook.
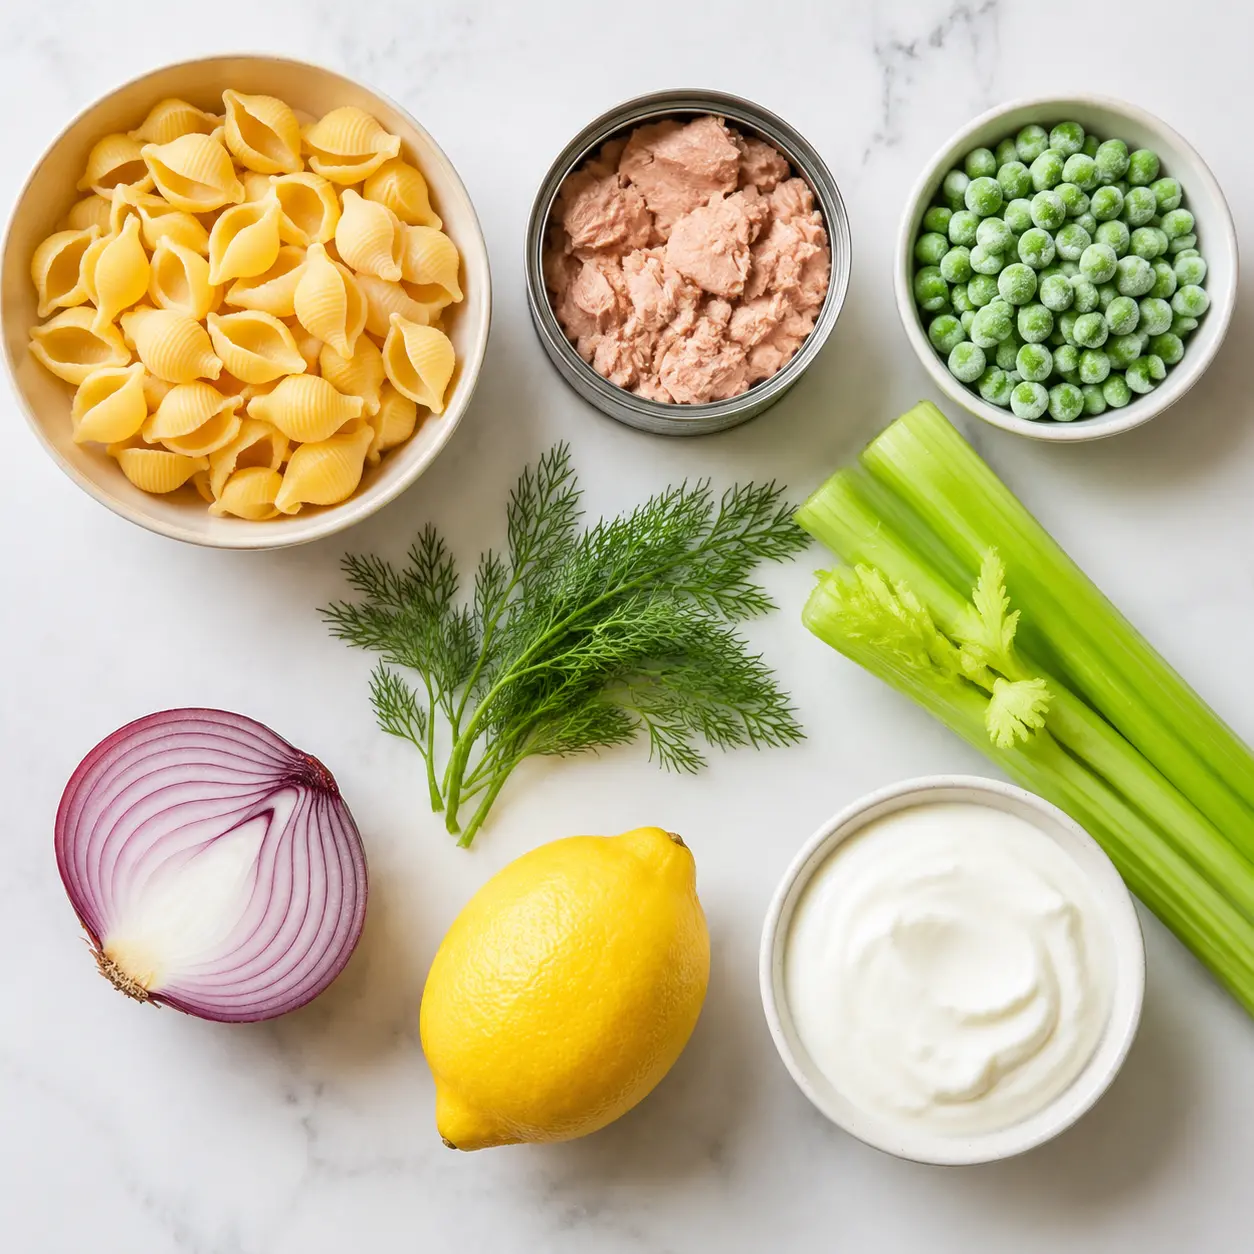
What You’ll Need
The beauty of this easy tuna pasta salad recipe is that you probably already have most of the stuff in your pantry. Let’s break it down. For the base, you’ll need a pound of medium shell pasta. I’m a shell guy. Those little cups catch the dressing and the tuna flakes perfectly. You could use elbow macaroni if that’s what you have, but trust me on the shells.
For the protein, grab three 5-ounce cans of water-packed tuna. Drain them well. Really well. Nobody wants a watery salad. Then you’ll need some frozen peas (no need to thaw them, they’ll warm up in the pasta), a couple stalks of celery for that essential crunch, and half a small red onion for a little bite.
- Pasta: 1 pound medium shell pasta
- Tuna: 12 ounces canned tuna, drained (water-packed)
- Veggies: 1 cup frozen peas, 2 stalks celery, 1/2 small red onion
- Dressing: 1 cup light mayo, 1/4 cup plain yogurt, lemon juice, fresh dill, salt, pepper
Now for the dressing. This is where things get good. You’ll mix light mayonnaise with plain yogurt. The yogurt lightens it up and adds a little tang that cuts through the richness. A squeeze of fresh lemon juice, a tablespoon of chopped fresh dill, and some salt and pepper. That’s it. No weird secret ingredients. Just simple, fresh flavors.
How to Make Tuna Pasta Salad
Alright, let’s get cooking. Or, well, mostly just boiling water. The key to this whole thing is not messing up the pasta. I’ve done it. I’ve made mushy pasta salad, and it’s a tragedy. So pay attention.
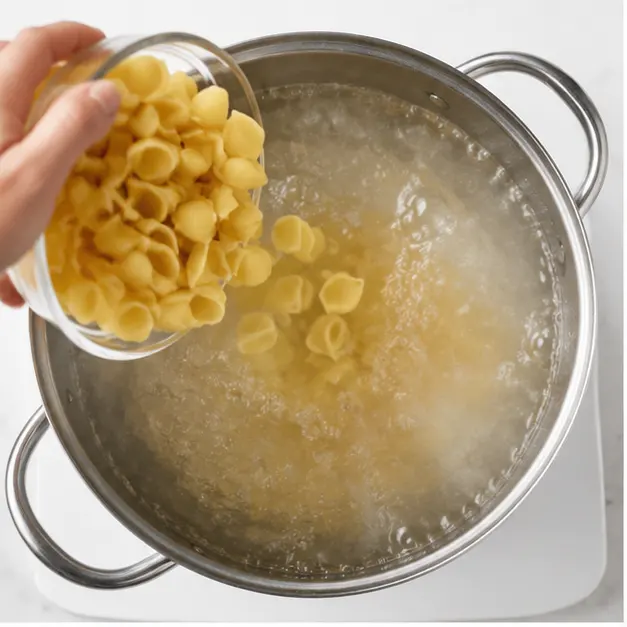
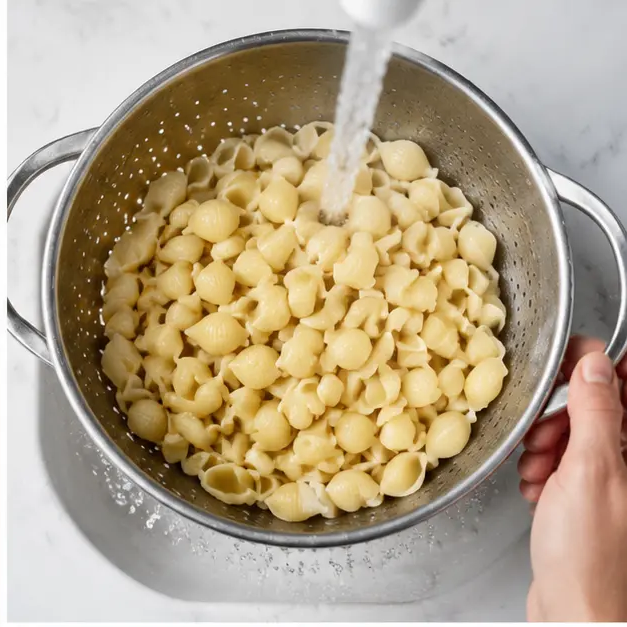
Stage 1: Cook the Pasta. Bring a big pot of salted water to a rolling boil. Add your shell pasta and cook it until it’s al dente. That means it should still have a little bite to it. Don’t overcook it. Check the package directions and start testing a minute early. Once it’s done, drain it in a colander and rinse it under cold running water. This stops the cooking process and cools it down so it doesn’t melt your dressing.
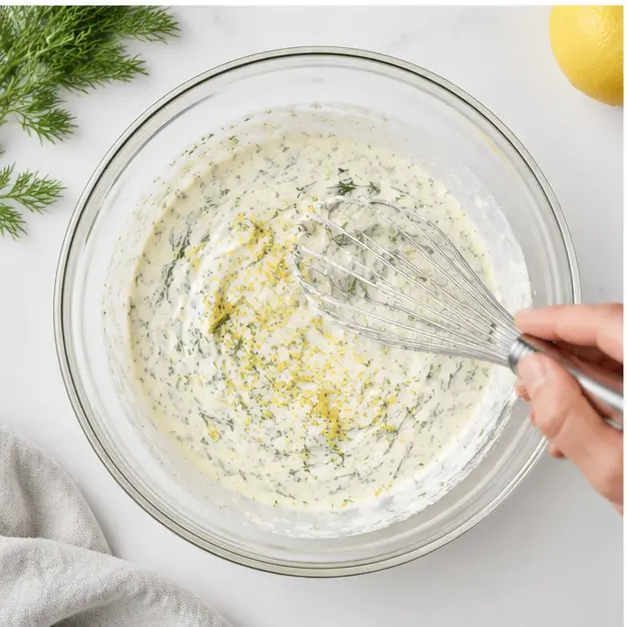
Stage 2: Make the Dressing. While the pasta is cooking, you can whip up the dressing. In a small bowl, whisk together the light mayonnaise, plain yogurt, fresh lemon juice, chopped fresh dill, salt, and black pepper. Give it a taste. Is it tangy enough? Add a little more lemon. Too salty? Back off on the salt. This is your chance to dial it in.
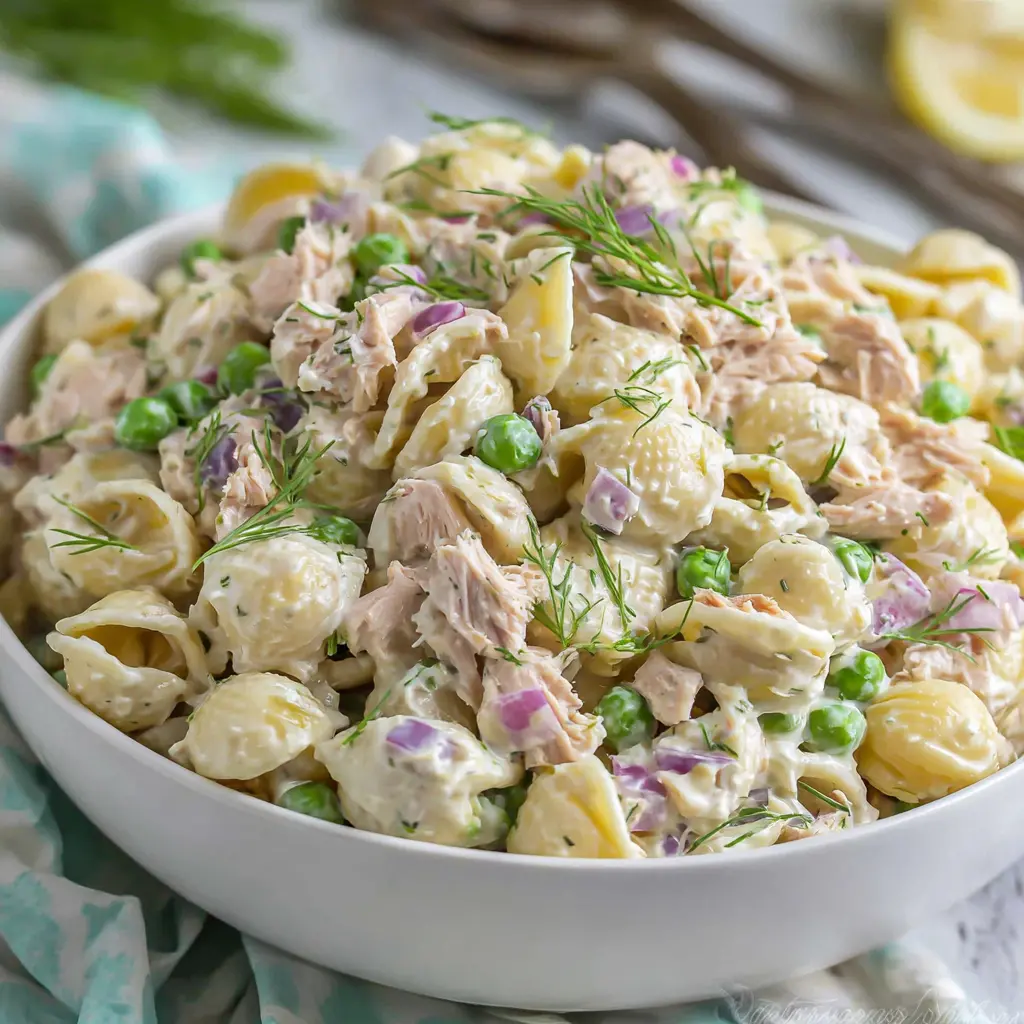
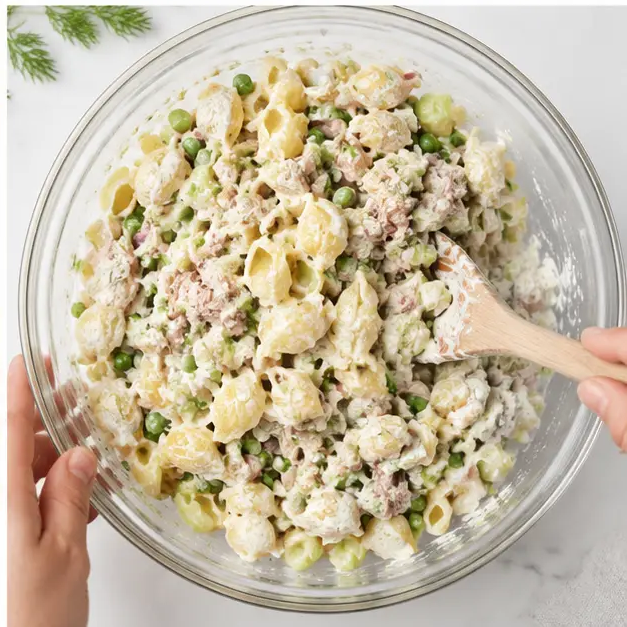
Stage 3: Combine Everything. In a really big mixing bowl, toss together the cooled pasta, the drained tuna, the frozen peas, the diced celery, and the chopped red onion. Pour the dressing over the top and gently fold everything together. I use a rubber spatula for this. You want to coat everything evenly without breaking up the tuna too much.
Stage 4: Chill and Serve. This is the hardest part. You have to wait. Pop the bowl in the fridge for at least 30 minutes. The flavors need time to get to know each other. When you take it out, give it a stir and taste it again. You might need a pinch more salt or another squeeze of lemon. The cold can dull flavors, so don’t be shy.
Serving Suggestions
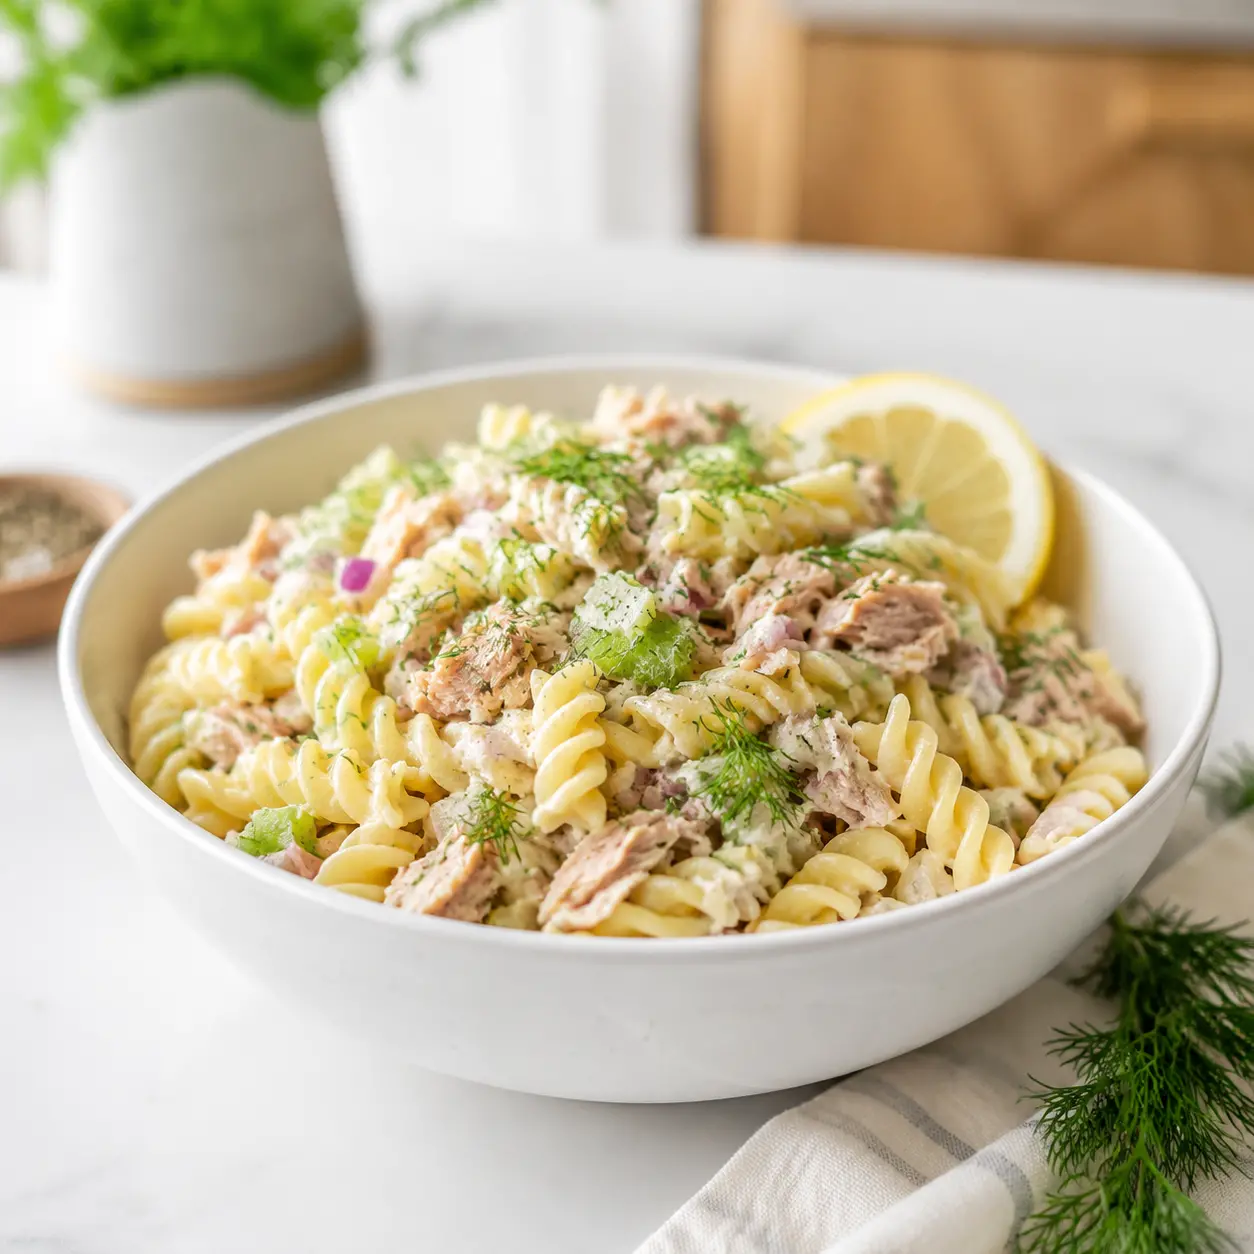
This cold pasta salad is a chameleon. You can serve it as a main dish for a light lunch, or as a side dish at a barbecue. I love it with a pile of crunchy potato chips on the side. The salt and crunch are perfect. Or scoop it onto a bed of lettuce for a tuna salad that feels a little more fancy.
- With crusty bread or crackers
- Stuffed into a pita or wrap
- Alongside grilled chicken or burgers
- As a filling for a classic tuna melt sandwich
It’s also a lifesaver for meal prep. Make a big batch on Sunday and you have lunch sorted for the week. Just keep it in an airtight container in the fridge.
Variations You Might Love
This is where you can make the recipe your own. The base is solid, but feel free to play around. Here are a few ideas I’ve tried and loved.
- Add some crunch: Throw in some diced bell pepper or a handful of chopped walnuts.
- Make it herby: Swap the dill for fresh parsley, chives, or even a little tarragon.
- Go Mediterranean: Add some chopped Kalamata olives, cherry tomatoes, and a crumble of feta cheese.
- Spice it up: A pinch of red pepper flakes or a dash of hot sauce can wake things up.
- Protein swap: Use canned salmon or cooked chicken instead of tuna.
You can also adjust the dressing. If you want it even lighter, use all Greek yogurt instead of the mayo. If you want it richer, go all mayo. It’s flexible. That’s the beauty of a good tuna pasta salad recipe.
Storage and Leftovers
This salad keeps really well. Store it in an airtight container in the fridge for up to 3 to 4 days. The flavors actually get better after a day or two. But here’s a tip: the pasta will absorb some of the dressing as it sits. So if you’re making it ahead, reserve a little extra dressing to stir in right before serving. That’ll bring back the creaminess.
One thing you should not do is freeze this salad. The dressing will separate and the pasta will turn into mush. Just don’t. Make a smaller batch if you need to.
Frequently Asked Questions
Common Mistakes to Avoid
I’ve made every mistake in the book so you don’t have to. Here are the big ones to watch out for.
- ❌ Adding dressing to hot pasta. It soaks in and makes the salad dry. ✅ Always cool the pasta completely under cold water first.
- ❌ Not draining ingredients well. Watery tuna or wet peas will thin out your dressing. ✅ Drain the tuna thoroughly and pat the peas dry with a paper towel.
- ❌ Overcooking the pasta. Mushy pasta is the enemy of a good pasta salad. ✅ Cook it al dente and rinse with cold water to stop the cooking.
- ❌ Not tasting after chilling. Cold food needs more seasoning. ✅ Taste it right before serving and adjust the salt, pepper, or lemon juice.
- ❌ Freezing the salad. The dressing will separate and the texture will be ruined. ✅ Just keep it in the fridge and eat it within a few days.
I really hope you give this recipe a try. It’s become a staple in my house, and I bet it will in yours too. If you make it, tag me on Pinterest! I’d love to see your version. You can find me at my Pinterest page. Happy cooking!
Can I make this tuna pasta salad gluten-free?
Absolutely. Just swap the regular pasta for your favorite gluten-free pasta. Cook it according to the package directions, but be careful not to overcook it. Gluten-free pasta can get mushy fast. Everything else in the recipe is naturally gluten-free.
What’s a good tuna alternative?
Canned salmon is a fantastic swap. It has a richer flavor and a similar flaky texture. You can also use cooked, shredded chicken for a chicken pasta salad. Or, for a vegetarian version, try canned chickpeas, mashed slightly so they hold the dressing.
Can I use yogurt instead of sour cream in this recipe?
This recipe actually calls for plain yogurt in the dressing, not sour cream. It’s already a lighter option! If you don’t have plain yogurt, you can use an equal amount of sour cream or even more mayonnaise. The texture will be a bit different, but it’ll still be delicious.