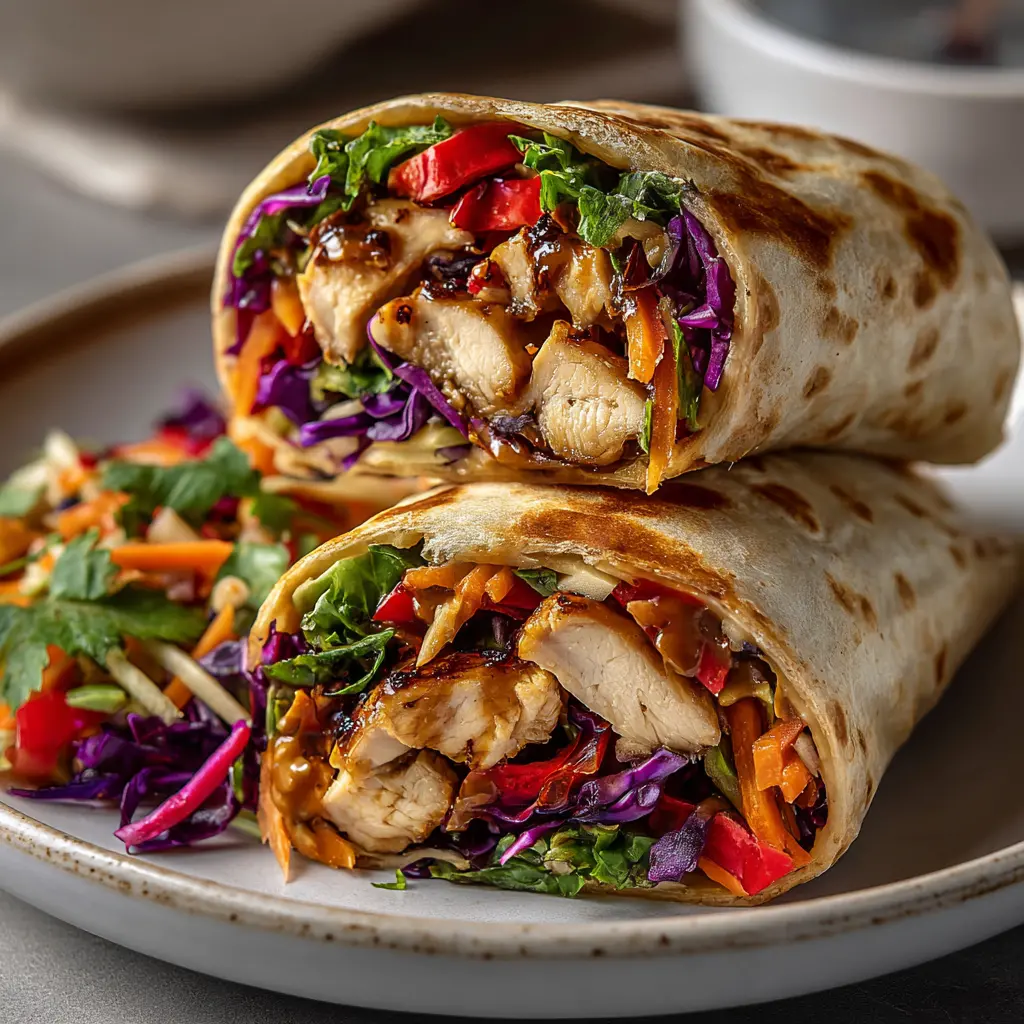
Why You’ll Love This Thai Chicken Wrap
Okay, let me tell you about the first time I made these. It was one of those July afternoons where the kitchen felt like a sauna and the last thing I wanted was to stand over a hot stove. But I was craving something fresh, something with a little kick, and honestly? I was tired of the same old sandwich routine.
I threw together a Thai chicken wrap with what I had on hand some chicken leg cuts, a head of cabbage, and a jar of peanut butter that was about to expire. And you know what? It was a total game-changer. The crunch from the slaw, the creamy peanut sauce dripping everywhere, the tender chicken… I ate two in one sitting. No regrets.
This isn’t just another chicken wrap recipe. It’s the kind of meal that makes you feel like you’re eating something special, even on a random Tuesday. Plus, it comes together in about 40 minutes, most of which is just letting the chicken soak up all that flavor. I promise this is easier than it sounds.
Here’s why this Thai chicken wrap is about to become your new go-to:
- Fast and fuss-free Minimal cooking, maximum flavor. Use rotisserie chicken for an even quicker shortcut.
- Perfect for hot days Serve it cold or at room temperature. No need to heat up the whole house.
- Totally customizable Swap in whatever veggies you have, adjust the spice level, make it gluten-free. It’s super forgiving.
- Meal prep superstar Make the components ahead and assemble when you’re ready. Stays fresh and crunchy.
- Kid-friendly but not boring The peanut sauce is a total crowd-pleaser. My picky nephew asked for seconds!
You’re going to love this. Seriously.
Ingredients for Thai Chicken Wraps
Let’s talk about what you’ll need. The beauty of this Thai chicken wrap is that the ingredient list looks long, but most are pantry staples. And I’ve included notes on swaps so you can work with what you’ve got.
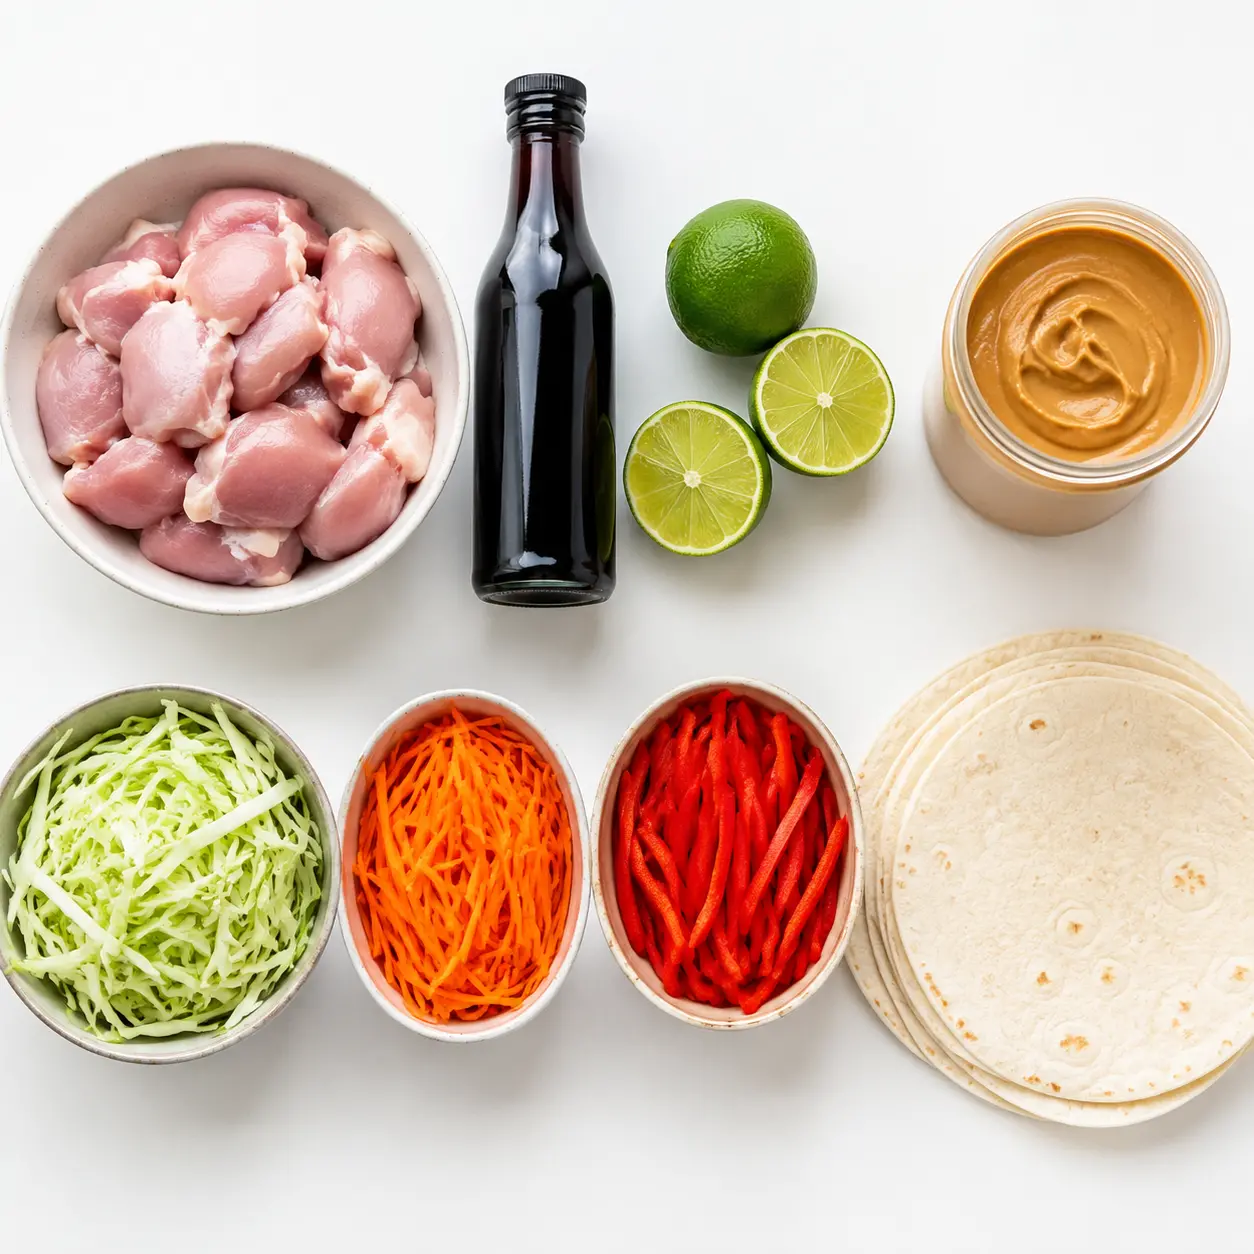
For the Chicken
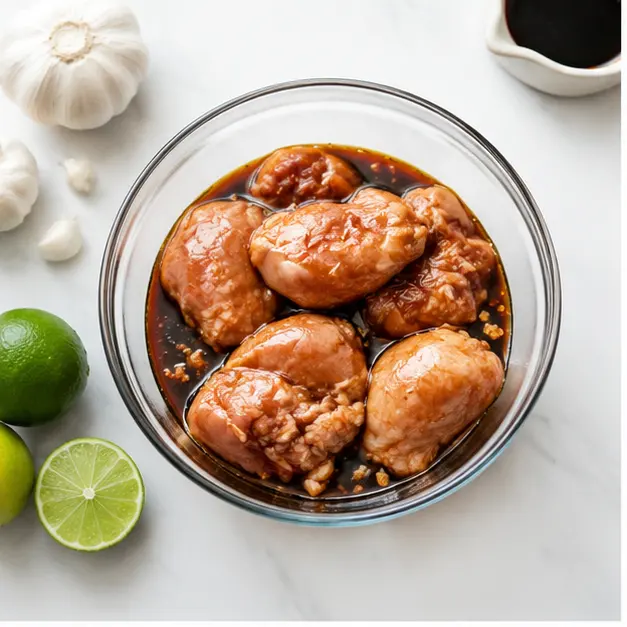
You’ll need about a pound of boneless skinless chicken leg cuts. I prefer leg cuts for wraps because they stay juicier, but chicken fillets work too. The marinade is where the magic happens soy sauce, toasted sesame oil, fresh lime juice, garlic powder, ground ginger, and a pinch of crushed red pepper flakes. Let it sit for at least 20 minutes, or up to 4 hours if you’re planning ahead.
For the Peanut Sauce
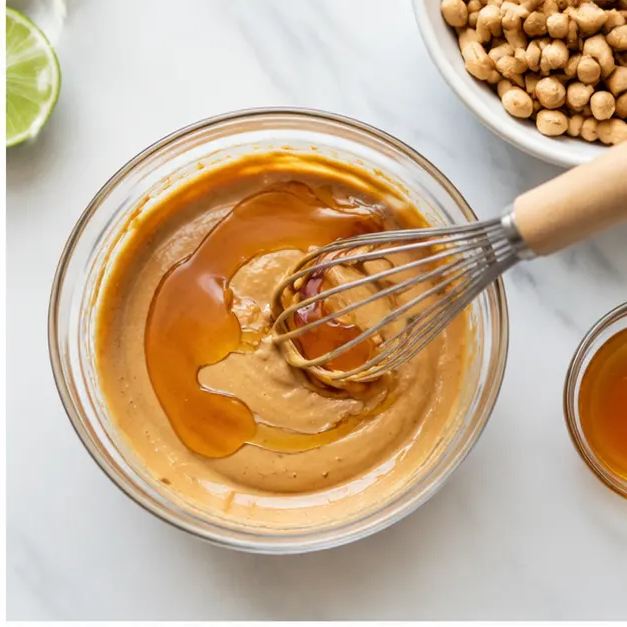
This is the heart of the wrap. Creamy peanut butter, soy sauce, honey, rice vinegar, toasted sesame oil, a clove of minced garlic, and some freshly grated ginger. You’ll thin it with a little warm water until it’s pourable but still thick enough to cling to everything. Make extra you’ll want to dip everything in it.
For the Asian Slaw
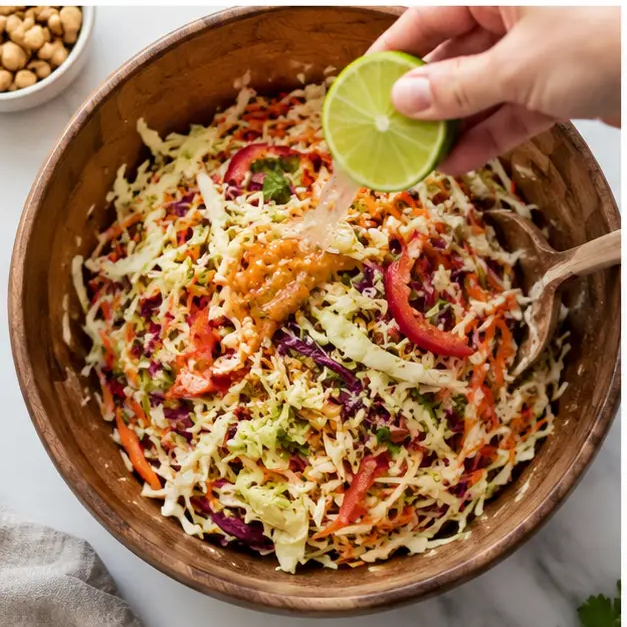
We’re doing a mix of shredded green and red cabbage for color and crunch, plus julienned carrots, thinly sliced red bell pepper, sliced scallions, and fresh cilantro. The dressing is simple lime juice, rice vinegar, a pinch of sugar, and salt. Let it sit for about 10 minutes so the flavors meld together. The sound of that first bite? Absolute heaven.
For Assembling
Large flour tortillas or flatbreads, about 10 inches. Warm them up so they’re pliable and won’t crack when you roll. And don’t skip the extra cilantro and chopped peanuts for garnish they add that final pop of freshness and crunch.
Busy Parent Tip
Mom Hack: Use a store-bought bagged coleslaw mix instead of shredding your own cabbage and carrots. It saves about 10 minutes and works perfectly. Also, rotisserie chicken from Costco or Ralphs is a total lifesaver just shred and go!
How to Make Thai Chicken Wraps
Alright, let’s get into the actual cooking. I’ll walk you through the four main stages. Remember, you don’t need to be a pro chef for this. If I can do it while simultaneously helping with homework and answering “what’s for dinner?” for the fifth time, you can too.
Stage 1: Marinate the Chicken
In a medium bowl, whisk together the soy sauce, sesame oil, lime juice, garlic powder, ginger, and chili flakes. Add your chicken leg cuts and toss until every piece is well coated. Let them marinate at room temperature for at least 20 minutes or cover and pop them in the fridge for up to 4 hours if you’re planning ahead. The longer they sit, the deeper the flavor gets. You’ll smell the sesame and lime coming together, and honestly, that’s half the joy.
Stage 2: Make the Peanut Sauce
While the chicken marinates, grab a small bowl and combine the peanut butter, soy sauce, honey, rice vinegar, sesame oil, minced garlic, and grated ginger. Whisk until it’s smooth and glossy. Then add warm water, one tablespoon at a time, whisking until you get a pourable consistency. Taste it. Adjust the honey if you want it sweeter, or add a little more chili if you like heat. Set it aside this sauce is about to be the star of the show.
Stage 3: Prepare the Asian Slaw
In a large bowl, toss together the green cabbage, red cabbage, carrots, bell pepper, scallions, and cilantro. Add the lime juice, rice vinegar, sugar, and a pinch of salt. Give it a good toss use your hands if you want, it’s more fun. Let the slaw sit for about 10 minutes. During that time, the cabbage softens just a little while staying crunchy, and the flavors start to meld. The smell is so fresh and bright.
Stage 4: Cook and Assemble
Heat a grill pan or large skillet over medium-high heat. Add a drizzle of oil. Cook the marinated chicken leg cuts for 5 to 7 minutes per side, until they’re cooked through and beautifully browned. You’ll know they’re done when the internal temperature hits 165°F and the juices run clear. Let them rest on a cutting board for 5 minutes don’t skip this! Resting keeps the meat juicy. Then slice thinly against the grain.
Now for the fun part. Warm your tortillas briefly in a dry skillet or microwave until pliable. Lay each tortilla flat and spread a generous spoonful of peanut sauce across the bottom. Top with a handful of slaw, followed by the sliced chicken. Drizzle a little more peanut sauce over the chicken, and garnish with extra cilantro and chopped peanuts. Fold the bottom up over the filling, fold in the sides, and roll tightly like a burrito. Slice in half and serve immediately.
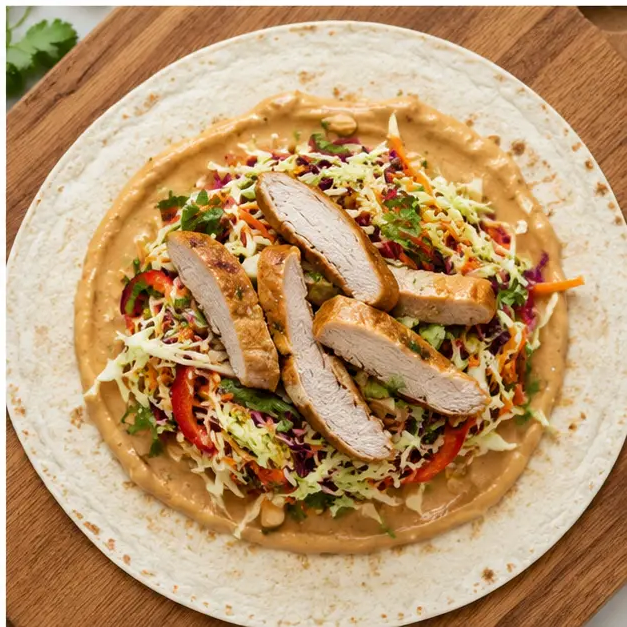
The first bite? That crunch from the slaw, the creamy sauce, the tender chicken. It’s pure magic. You’re going to feel so accomplished.
Tips for the Best Thai Chicken Wraps
I’ve made this Thai chicken wrap about a dozen times now, and I’ve learned a few things along the way. Here are my top tips to make sure yours turn out perfect every time.
Don’t skip resting the chicken. I know it’s tempting to slice right away, but letting it rest for 5 minutes keeps all those juices inside. Slice too soon and you’ll end up with dry meat. Trust me on this one.
Warm your tortillas. Cold tortillas crack and split when you try to roll them. A quick 10 seconds in the microwave or a few seconds in a dry skillet makes them pliable and easy to work with.
Assemble just before serving. This is the golden rule for avoiding soggy wraps. The slaw releases water as it sits, and the peanut sauce can make the tortilla soft. Store all components separately and assemble when you’re ready to eat.
Use toothpicks to secure the wraps. If you’re packing these for lunch or a picnic, stick a couple of toothpicks through the middle to keep everything from unraveling. Slice between them for neat halves.
Make extra peanut sauce. Seriously. It keeps in the fridge for up to a week and is amazing on salads, rice bowls, or as a dip for spring rolls. You’ll thank me later.
Common Mistakes to Avoid
❌ Assembling wraps too early: Leads to soggy tortillas. ✅ Solution: Store components separately and assemble right before eating.
❌ Not warming tortillas: Causes cracking and splitting when rolling. ✅ Solution: Warm for 10 seconds in the microwave or a dry skillet.
❌ Overcooking the chicken: Makes it dry and tough. ✅ Solution: Cook until internal temp reaches 165°F, then rest for 5 minutes before slicing.
Variations and Substitutions
One of the things I love about this Thai chicken wrap is how flexible it is. Here are some ways to make it work for you.
Gluten-Free Version
Use tamari or coconut aminos instead of soy sauce, and choose gluten-free tortillas or large lettuce leaves for wrapping. The recipe is naturally dairy-free, so no worries there.
Vegetarian Option
Swap the chicken for extra-firm tofu or tempeh. Marinate and cook the same way it soaks up all that flavor beautifully. Or load up on extra veggies for a completely plant-based wrap.
Spice It Up
Add more crushed red pepper flakes to the marinade, or stir a teaspoon of sriracha into the peanut sauce. If you really love heat, slice up a fresh chili and toss it into the slaw.
No Cilantro?
I get it, cilantro is divisive. Replace it with fresh chives or sliced green onion for a similar fresh pop without the soapy taste some people experience.
Different Wraps
Rice paper wraps make a lighter, gluten-free option just soak them briefly in warm water and fill like spring rolls. Or use large lettuce cups for a low-carb version that’s still super satisfying.
How to Store and Reheat Leftovers
Let’s be real leftovers with this Thai chicken wrap are a bit tricky because of the whole sogginess issue. But I’ve figured out a system that works.
Store components separately. Keep the cooked chicken, slaw, and peanut sauce in separate airtight containers in the fridge. The chicken stays good for up to 3 days, the slaw for about 2 days (it will soften a bit but still be tasty), and the sauce for up to a week.
For reheating: Warm the chicken slices in a dry skillet over medium heat for 2-3 minutes, or in the microwave for about 30 seconds. Don’t overheat or it’ll dry out. The slaw should stay cold that crunch is part of the experience. Assemble fresh when you’re ready to eat.
Can you freeze these? I don’t recommend freezing assembled wraps the texture just isn’t the same. But you can freeze the cooked chicken for up to 2 months. Thaw overnight in the fridge, then reheat and assemble fresh.
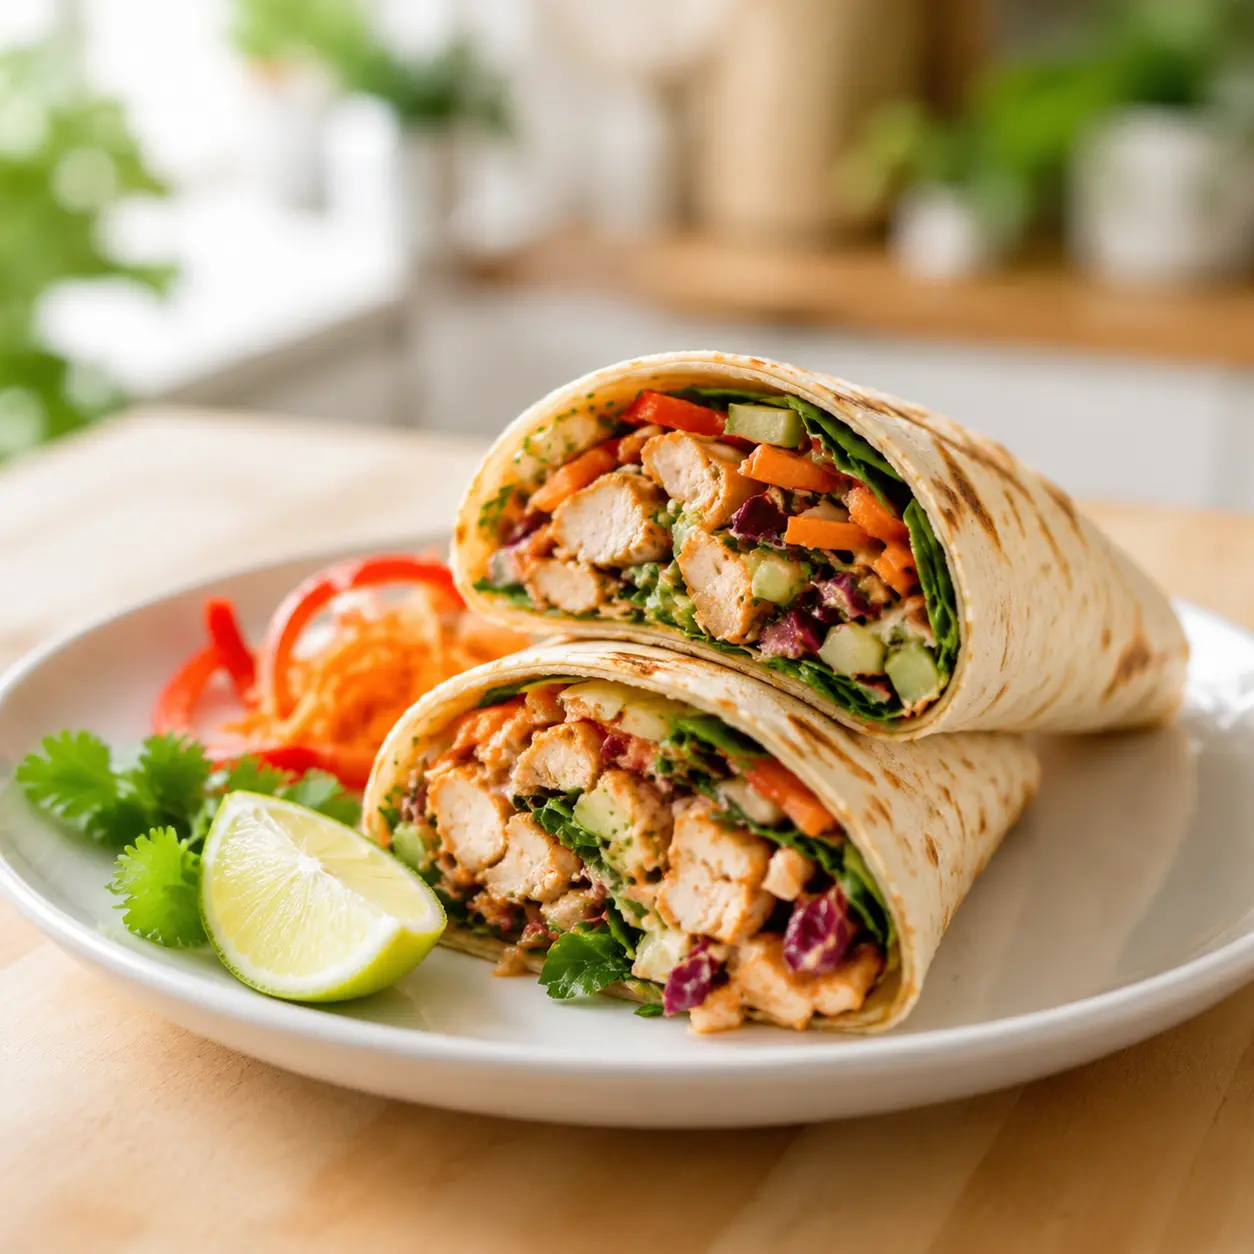
And there you have it a Thai chicken wrap that’s fresh, flavorful, and totally doable even on the busiest days. I hope you love it as much as I do. If you make it, let me know how it turns out! And don’t forget to save this recipe for later you’re going to come back to it again and again.
Hungry for more? I’m always sharing new recipes over on my Pinterest page come say hi and pin your favorites!
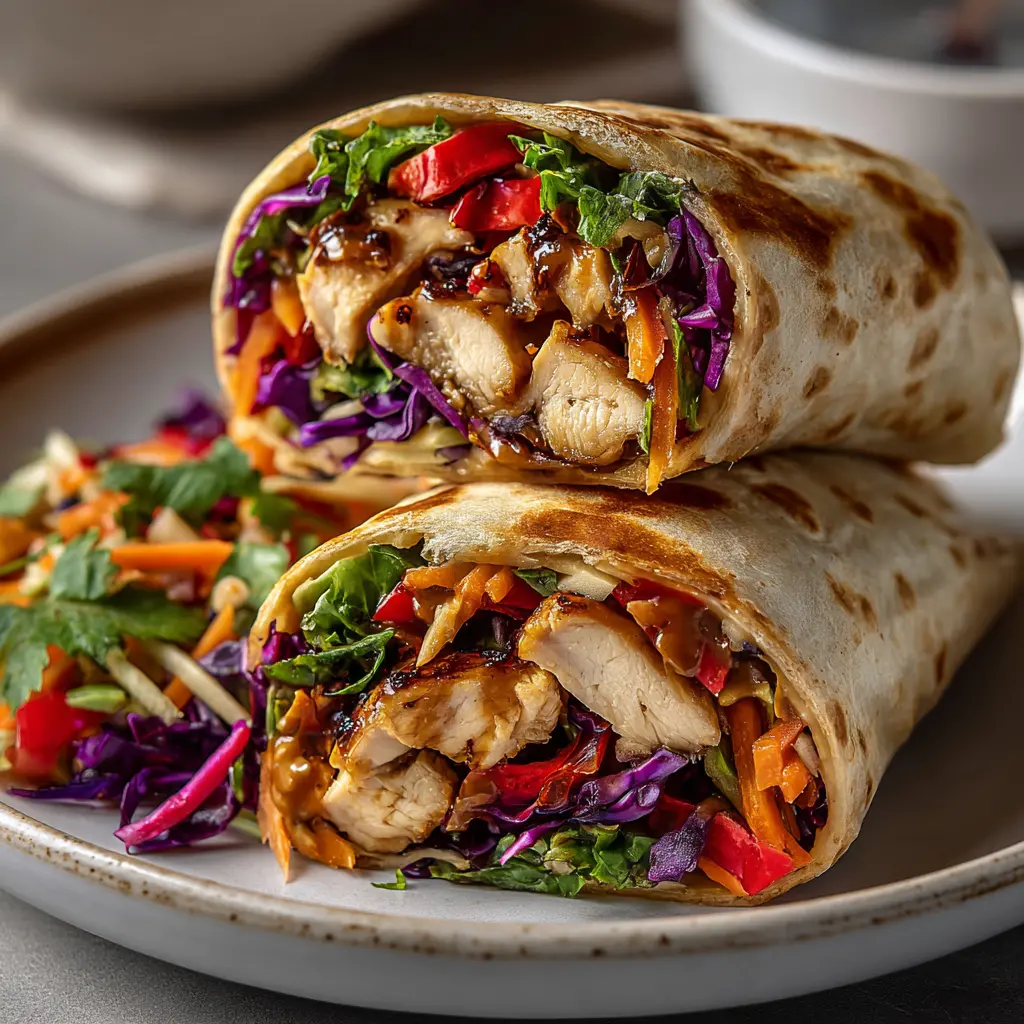
California Thai Chicken Wrap with Crunchy Asian Slaw
Ingredients
Method
- In a medium bowl, whisk together the soy sauce, sesame oil, lime juice, garlic powder, ginger, and chili flakes. Add the chicken thighs and toss until well coated. Let them marinate for at least 20 minutes at room temperature, or cover and refrigerate for up to 4 hours.
- In a small bowl, combine the peanut butter, soy sauce, honey, rice vinegar, sesame oil, minced garlic, and grated ginger. Whisk until smooth. Add warm water, one tablespoon at a time, whisking until you reach a pourable consistency. Set aside.
- In a large bowl, combine the green cabbage, red cabbage, carrots, bell pepper, scallions, and cilantro. Add the lime juice, rice vinegar, sugar, and a pinch of salt. Toss well to coat. Let the slaw sit for about 10 minutes to allow the flavors to meld.
- Heat a grill pan or large skillet over medium-high heat. Add a drizzle of oil. Cook the marinated chicken thighs for 5 to 7 minutes per side, until cooked through and nicely browned. Transfer to a cutting board and let rest for 5 minutes, then slice thinly against the grain.
- Warm the tortillas briefly in a dry skillet or microwave until pliable. Lay each tortilla flat and spread a generous spoonful of peanut sauce across the bottom. Top with a handful of slaw, followed by the sliced chicken. Drizzle a little more peanut sauce over the chicken, and garnish with extra cilantro and chopped peanuts if desired.
- Fold the bottom of the tortilla up over the filling, then fold in the sides and roll tightly like a burrito. Slice in half and serve immediately.
Nutrition
Notes
Tried this recipe?
Let us know how it was!Frequently Asked Questions
Source: Nutritional Information
Can I make wraps the night before?
I recommend storing the components separately and assembling just before serving. The slaw releases water and the peanut sauce softens the tortilla over time, so pre-assembled wraps can get soggy. Prep everything the night before cook the chicken, make the sauce, shred the veggies then roll fresh in the morning. Takes just 5 minutes!
How do you keep wraps fresh?
Keep each component in its own airtight container in the fridge. The cooked chicken stays fresh for up to 3 days, the slaw for about 2 days, and the peanut sauce for up to a week. When you’re ready to eat, warm the tortillas briefly, spread the sauce, add cold slaw and reheated chicken, and roll. That crunch is worth the extra minute!