
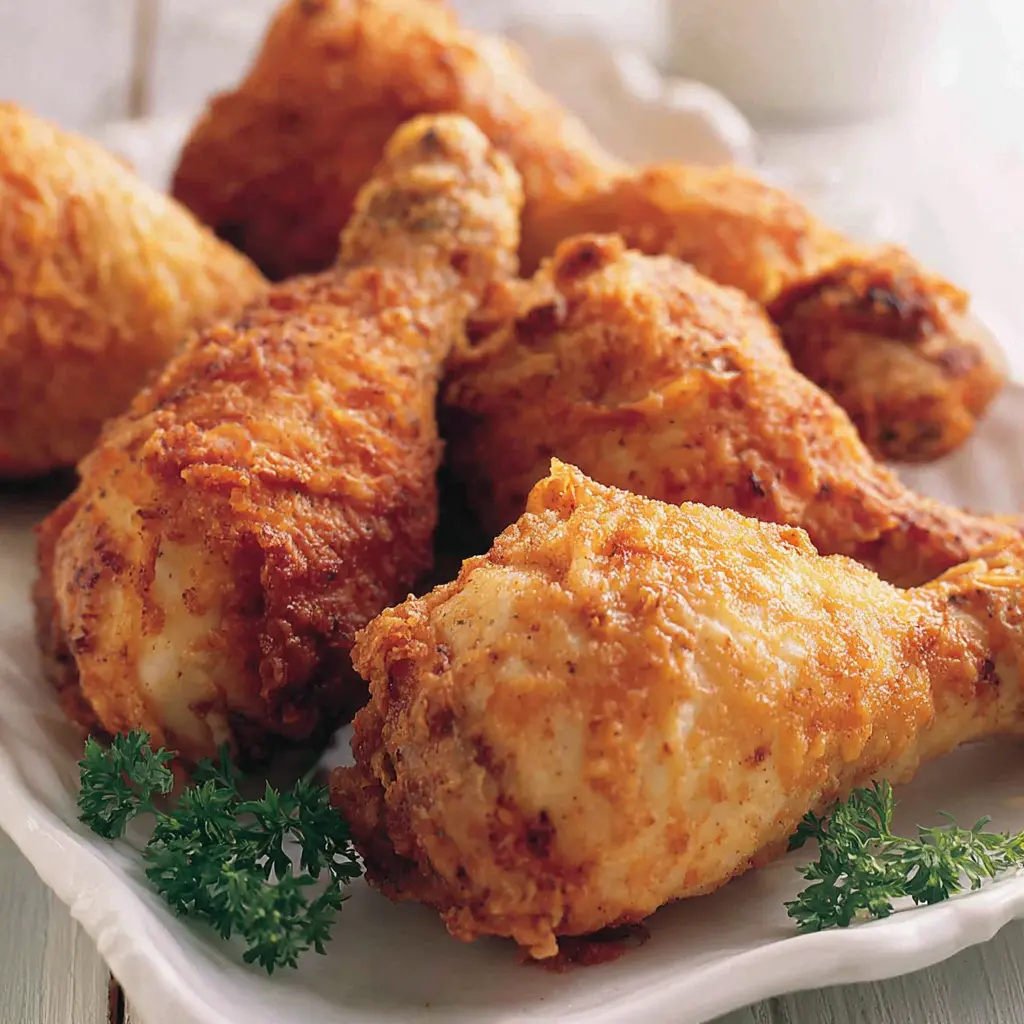
Why This Oven Fried Chicken Recipe Works
I love fried chicken. I mean, who doesn’t? But let’s be real the oil splatter, the greasy stovetop, the lingering smell for days… it’s a whole thing. After one too many kitchen messes (and a near-miss with a hot oil splash on my arm), I started searching for a healthier fried chicken alternative that didn’t sacrifice that glorious crunch. And honestly? I failed. A lot.
First attempt was just baked chicken with breading soggy, sad. Second try I skipped the buttermilk dry meat, flavorless coating. Then I stumbled on this hybrid method: a quick shallow fry to set the crust, then a finish in the oven. It changed everything. This oven fried chicken gives you that crackling, golden shell and juicy, tender meat inside, but with way less oil and way less cleanup.
It’s the best of both worlds: you get that deep-fried texture without the deep-fryer commitment. And the buttermilk marinade? That’s the secret weapon. It tenderizes the meat, adds tang, and helps the flour coating stick like crazy. After years of tweaking, I can finally say this is the recipe I turn to every time.
Ingredient Notes
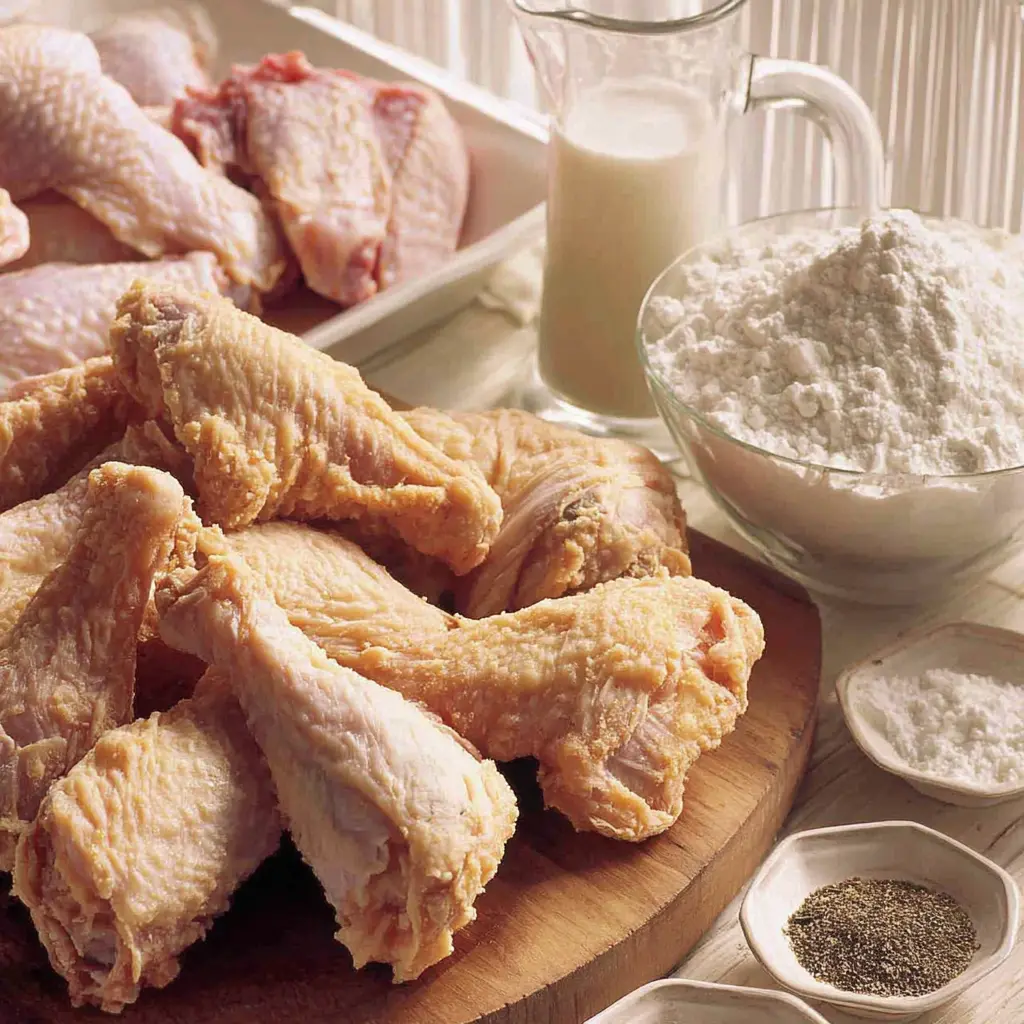
This recipe keeps things simple six ingredients, no fuss. Here’s what you need and why:
- Chicken: Use two whole chickens (about 3 pounds each), cut into 8 pieces each. That gives you a mix of drumsticks, wings, leg cuts, and white meat. I love the variety dark meat stays extra juicy. If you want just drumsticks or leg cuts, go for it; just adjust cooking time slightly.
- Buttermilk: 4 cups, well-shaken. The acidity tenderizes the chicken and helps the flour adhere. No buttermilk? Mix 4 cups whole milk with 4 teaspoons lemon juice and let sit 5 minutes. Easy swap.
- All-purpose flour: 2 cups for the coating. It creates that classic crispy crust. For a lighter texture, you can sub half with cornstarch but I like the straight flour version best.
- Kosher salt and black pepper: 1 tablespoon each. That’s plenty for the flour mix. If using table salt, reduce to 2 teaspoons.
- Vegetable oil: For shallow frying enough for 1-inch depth in a heavy pot. Canola or peanut work great. Don’t skimp on quality here.
That’s it. No crazy spices, no fancy ingredients. Just the basics done right.
How to Make Oven Fried Chicken
Okay, let’s walk through the four main stages. It’s easier than it sounds, I promise.
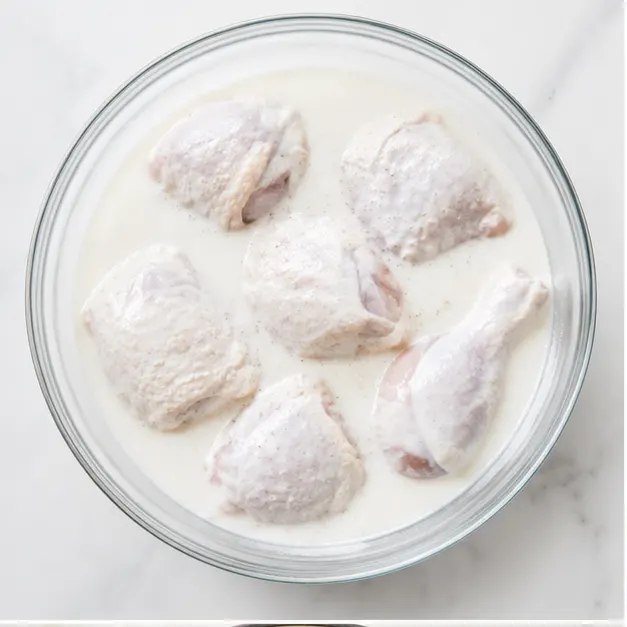
Stage 1: The Buttermilk Soak
Place all the chicken pieces in a large bowl, pour the 4 cups of buttermilk over them, and cover tightly with plastic wrap. Pop it in the fridge for at least 8 hours, or overnight. This is non-negotiable for the juiciest meat. The acid works its magic slowly you’ll taste the difference.
Don’t be tempted to cut the time short. Even 4 hours helps, but overnight is where the real tenderness happens. I usually do this the night before, then dinner next day is a breeze.
Stage 2: Prep the Coating and Heat the Oil
When you’re ready to cook, preheat your oven to 350°F. In a large bowl, whisk together the 2 cups flour, 1 tablespoon salt, and 1 tablespoon pepper. Set aside.
Pour vegetable oil into a heavy-bottomed pot (a Dutch oven is perfect) to a depth of 1 inch. Heat over medium-high until a deep-fry thermometer registers 360°F. This temperature is key too low and the coating soaks up oil, too high and it burns before the chicken cooks.
While the oil heats, line a sheet pan with a metal baking rack. That rack is your best friend for keeping the chicken crispy.
Stage 3: The Quick Shallow Fry
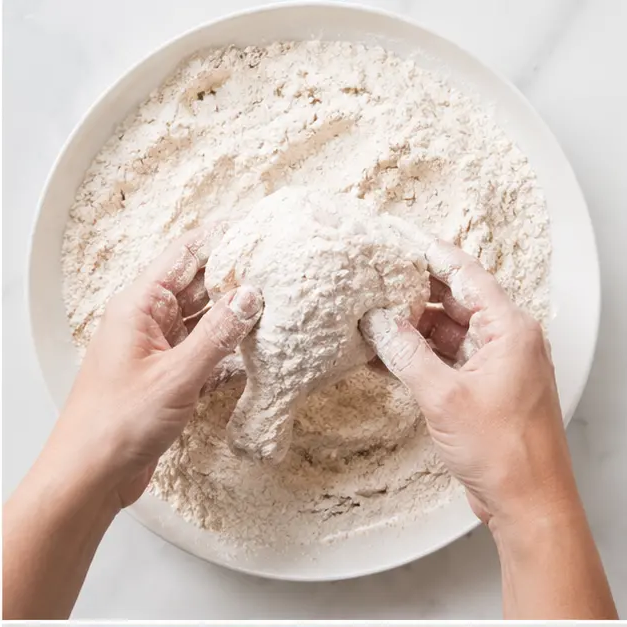
Working in batches, remove chicken from the buttermilk, letting the excess drip off. Dredge each piece in the flour mixture, coating thoroughly. Shake off any excess too much flour and you’ll get a doughy layer.
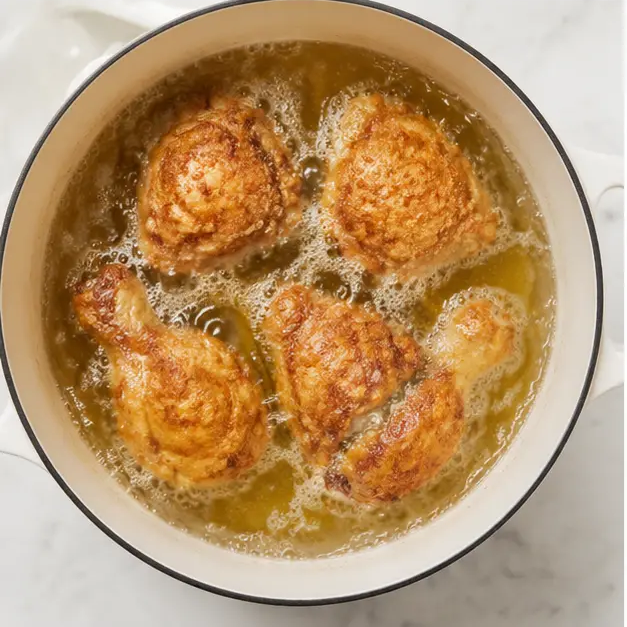
Carefully place several pieces into the hot oil, but don’t overcrowd. You want them to have room to sizzle. Fry for about 3 minutes per side, until the coating is light golden brown. It’ll continue to brown in the oven, so don’t overdo it now.
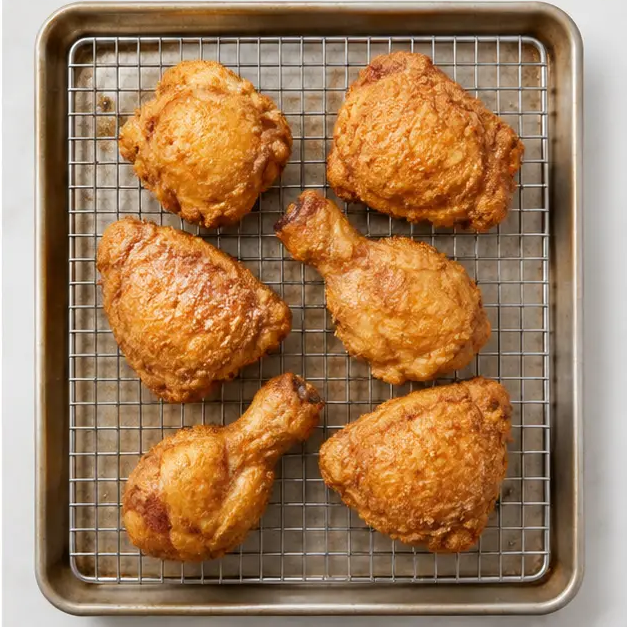
Use tongs to flip gently you don’t want to knock the coating off. Transfer the fried chicken to the prepared rack. Let the oil return to 360°F before frying the next batch. Patience pays off here.
Stage 4: Oven Finish
Once all the chicken is fried, pop the whole rack into the preheated oven. Bake for 30 to 40 minutes, until the chicken is no longer pink near the bone and juices run clear. The crust will deepen to a gorgeous golden brown.
Let it rest on the rack for 2-3 minutes before serving. That short rest keeps the crust extra crunchy. Trust me on this one.
Tips for Extra Crispy Chicken
I’ve made this recipe more times than I can count, and these tips make all the difference:
- Dry the chicken before breading: After the buttermilk soak, let the excess drip off really well. A wet chicken leads to soggy breading.
- Rest the coated chicken: After dredging, let the breaded pieces sit on the rack for 10 minutes before frying. This helps the coating adhere no more falling off in the oil.
- Don’t skip the thermometer: Oil temperature is critical. Too low = greasy chicken. Too high = burnt outside, raw inside. Stick to 360°F.
- Use a dark pan: A dark baking sheet (like a nonstick one) for the oven step conducts heat better, giving you an even crispier crust.
- Handle gently: When flipping during frying or moving to the oven, be careful not to knock the crust loose.
If you’re wondering how to make crunchy baked chicken without deep frying, this method is your answer. The combination of a quick fry and oven bake creates that perfect crunch.
Delicious Variations to Try
Once you’ve mastered the base recipe, feel free to play around. Here are some ideas:
- Spicy oven fried chicken: Add 1 teaspoon cayenne pepper to the flour mix. Adjust to your heat preference.
- Gluten free oven fried chicken: Swap the all-purpose flour for a gluten-free blend. Add a tablespoon of cornstarch for extra crisp.
- Keto oven fried chicken: Use almond flour or crushed pork rinds instead of flour. The buttermilk can be swapped for unsweetened almond milk with a splash of vinegar.
- Panko crusted chicken recipe: Mix half flour with half panko breadcrumbs for an even crunchier texture. Spray the chicken with oil before baking to help the panko brown.
- oven fried chicken tenders: Use boneless, skinless chicken strips. Reduce frying time to 2 minutes per side and bake for 20 minutes.
Remember, these are optional additions. The core recipe is perfect as is.
Storage and Reheating Leftovers
Leftovers? If you have any, lucky you. Here’s how to keep them crispy:
- Fridge: Store in an airtight container for up to 4 days. But don’t stack pieces they’ll steam each other.
- Freezer: Yes, you can freeze this! Place baked chicken on a sheet pan, freeze until solid, then transfer to a freezer bag. Keeps for up to 3 months.
- Reheating: The oven is your friend. Preheat to 375°F, place chicken on a wire rack over a sheet pan, and bake for 10-12 minutes (20-30 minutes from frozen). The rack lets air circulate, restoring that crispiness. Microwave works in a pinch but the coating will get soft.
For reheating oven fried chicken, I always opt for the oven method it’s worth the extra few minutes.
What to Serve with Oven Fried Chicken
This chicken is a star on its own, but pair it with the right sides and you’ve got a meal to remember. Here are my go-tos:
- Classic coleslaw: Tangy, crunchy, perfect contrast. I’m a fan of a simple vinegar-based slaw.
- Mashed potatoes: Creamy, buttery, and just the right companion for that crispy crust.
- Cornbread: Sweet and moist, with a little honey butter on top.
- Baked beans: Smoky, sweet, and hearty.
- Green salad: A light vinaigrette cuts through the richness.
If you’re looking for what to serve with oven fried chicken on a busy weeknight, keep it simple: a bagged salad + microwaveable mashed potatoes = dinner in 15 minutes.
Frequently Asked Questions
I hope this becomes your go-to recipe for a healthier, crunchier fried chicken fix. It’s saved me on countless weeknights, and I bet it’ll do the same for you. If you try it, let me know if your family goes wild for this mine did! And don’t forget to pin it for later I’ve got a whole board of crispy chicken ideas over on Pinterest.
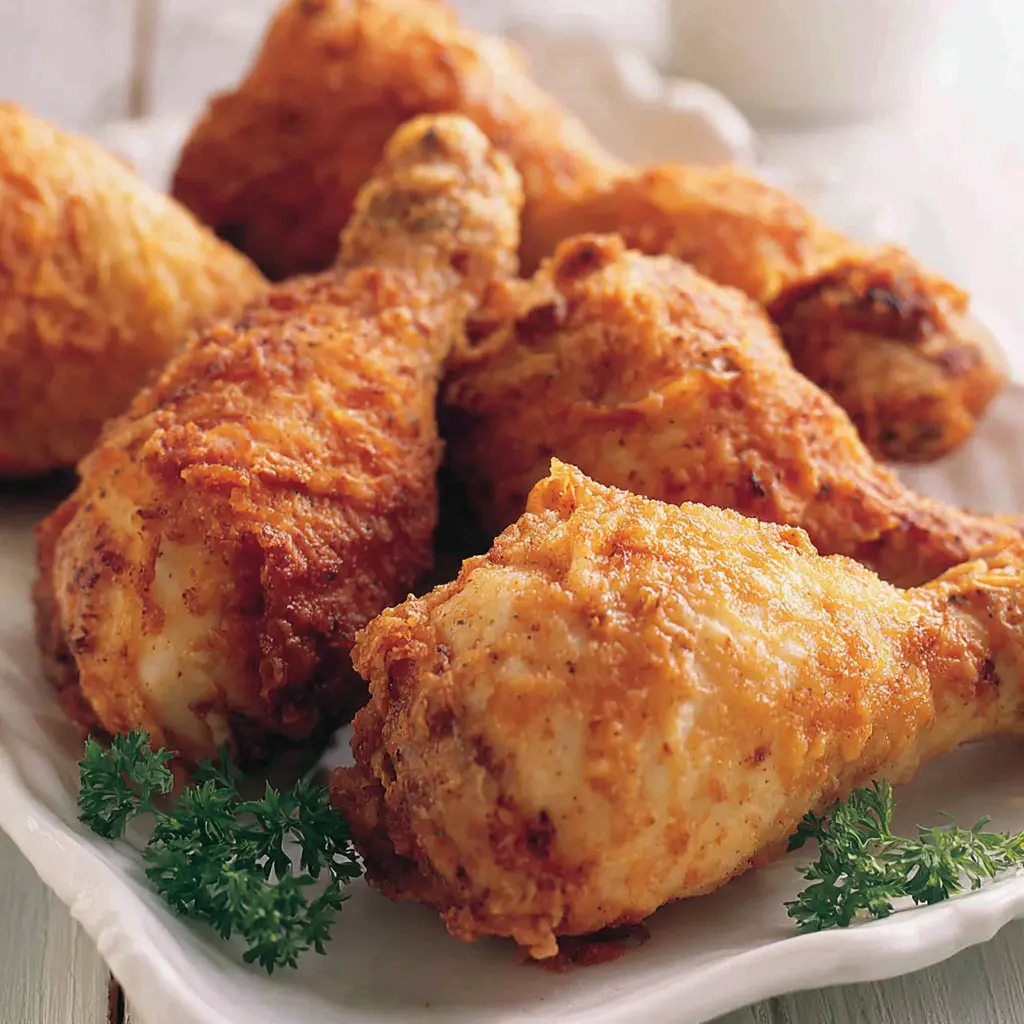
Crispy Oven Fried Chicken with Buttermilk Marinade
Ingredients
Method
- Place the chicken pieces in a large bowl and pour the buttermilk over them. Cover tightly with plastic wrap and refrigerate for at least 8 hours, or overnight.
- Preheat the oven to 350°F. In a large bowl, whisk together the flour, salt, and pepper. Set aside.
- Pour oil into a heavy-bottomed pot (such as a Dutch oven) to a depth of 1 inch. Heat over medium-high until a deep-fry thermometer registers 360°F. Line a sheet pan with a metal baking rack.
- Working in batches, remove chicken from the buttermilk, letting excess drip off, then dredge each piece in the flour mixture, coating thoroughly. Shake off excess. Carefully place several pieces into the hot oil without overcrowding. Fry for about 3 minutes per side, until the coating is light golden brown. (It will continue to brown in the oven.)
- Transfer the fried chicken to the prepared rack. Let the oil return to 360°F before frying the next batch. Repeat with remaining chicken.
- Once all chicken is fried, bake for 30 to 40 minutes, until the chicken is no longer pink near the bone and juices run clear. Serve hot.
Nutrition
Notes
Tried this recipe?
Let us know how it was!Source: Learn More About This Dish
What can I do to prevent the breading from falling off?
Make sure the chicken is well-coated in buttermilk and let the excess drip off. After dredging, press the flour firmly onto the chicken. Let the breaded pieces rest on a wire rack for 10 minutes before frying this helps the coating set.
Why isn’t my chicken crispy?
Most common causes: oil temperature too low (use a thermometer at 360°F), overcrowding the pan, or skipping the buttermilk soak. Also, oven temperature too low can steam the coating. Bake at 350°F and use a wire rack to lift the chicken off the pan.
What’s the best way to reheat leftovers?
Oven at 375°F for 10 minutes on a wire rack for best crispiness. Air fryer also works great. Microwave is quick but the coating will soften. Never reheat in a covered container steam ruins the crunch.
Can I freeze this oven fried chicken?
Absolutely. Freeze the baked chicken on a sheet pan until solid, then transfer to a freezer bag. It keeps for up to 3 months. Reheat from frozen at 375°F for 20-30 minutes on a wire rack tastes just like fresh.
How long does it take to cook oven fried chicken?
Total time includes 8 hours marinating (overnight). Active cooking: about 20 minutes for frying (in batches) plus 30-40 minutes in the oven. So plan ahead for the marinade, but the actual cook comes together quickly.











3 Responses
This looks great! I don’t have a deep enough pot to fry the chicken in an inch of oil. Could I use a cast iron skillet instead, or would that change the cooking time? Also, any tips for keeping the coating crispy while it bakes?
Great question! A cast iron skillet works perfectly—just make sure the oil depth is still about an inch. For extra crispiness, place the chicken on a wire rack over the baking sheet so air circulates underneath. Enjoy!
I made this last night and it was fantastic! The buttermilk marinade really makes the chicken so tender and flavorful. I loved that the oven finish keeps the kitchen clean. Will definitely be making this again.