

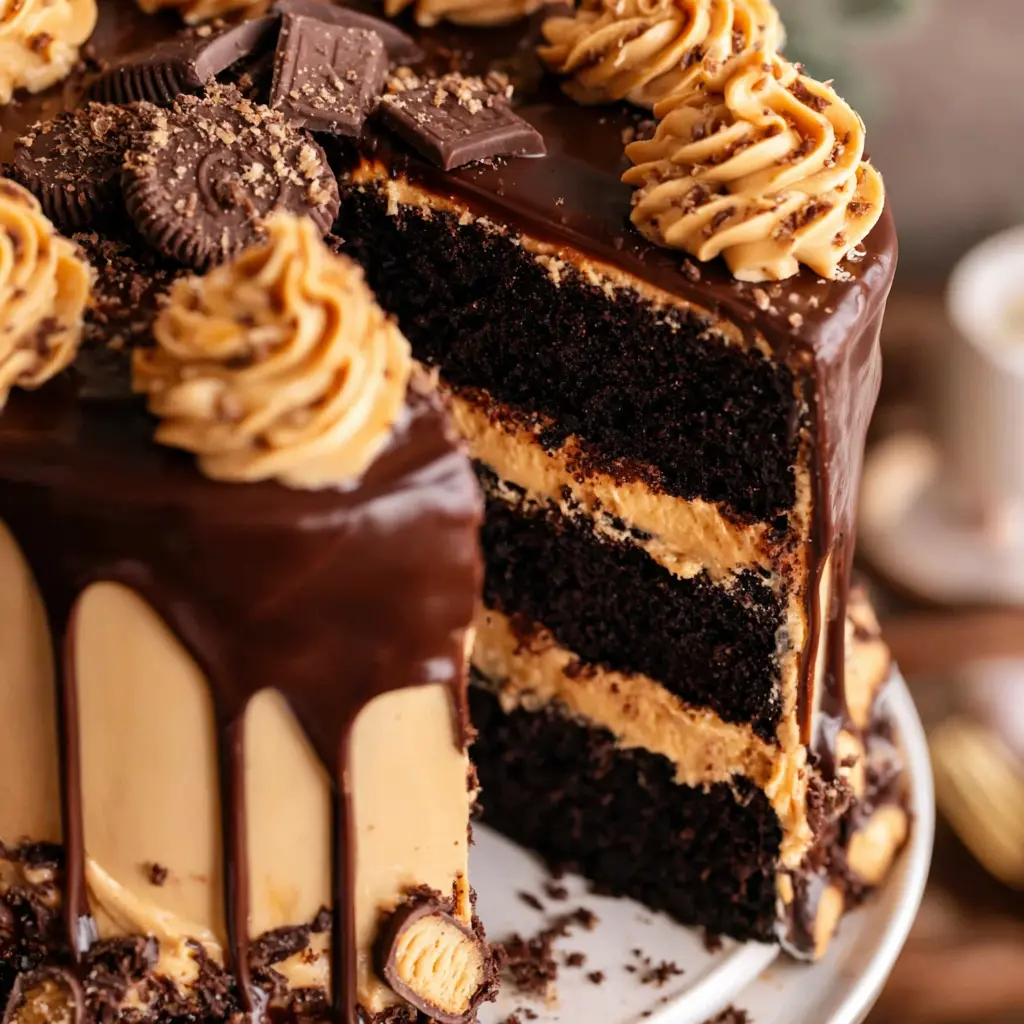
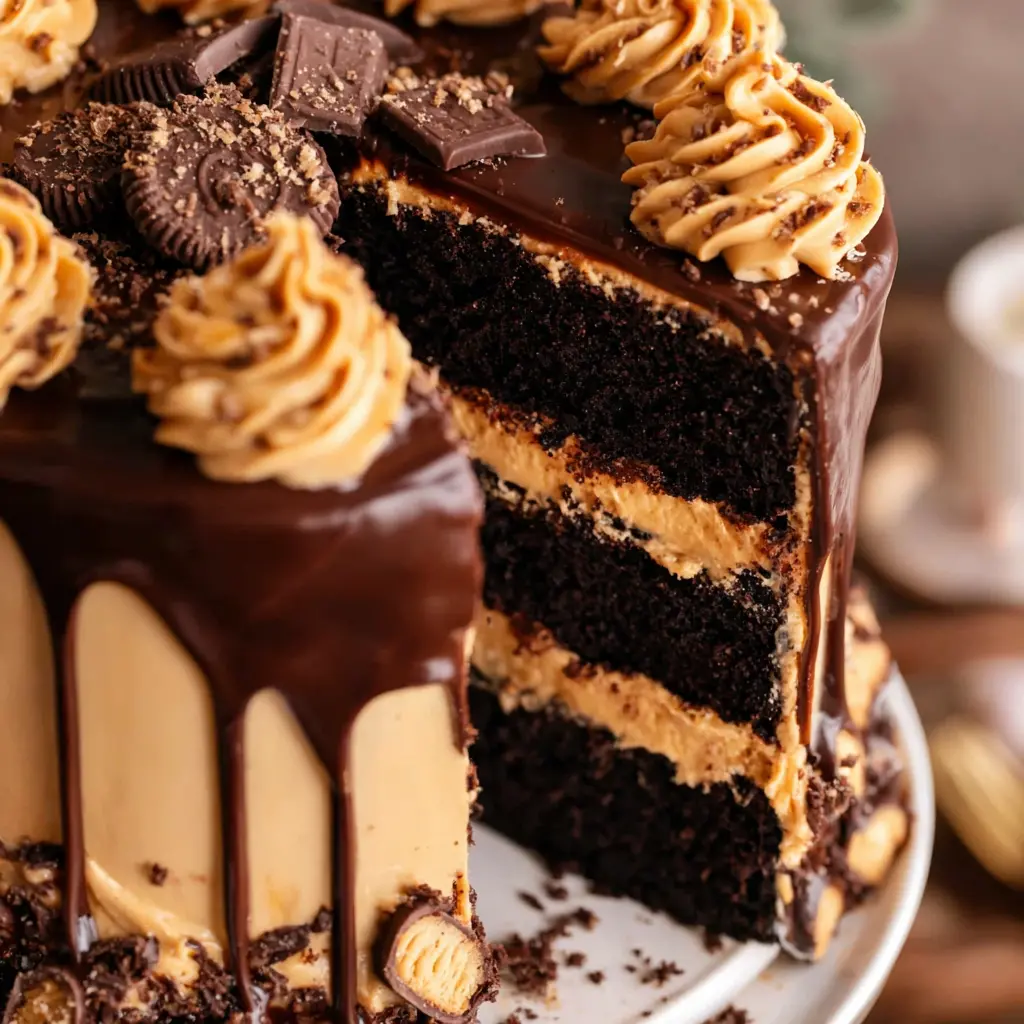
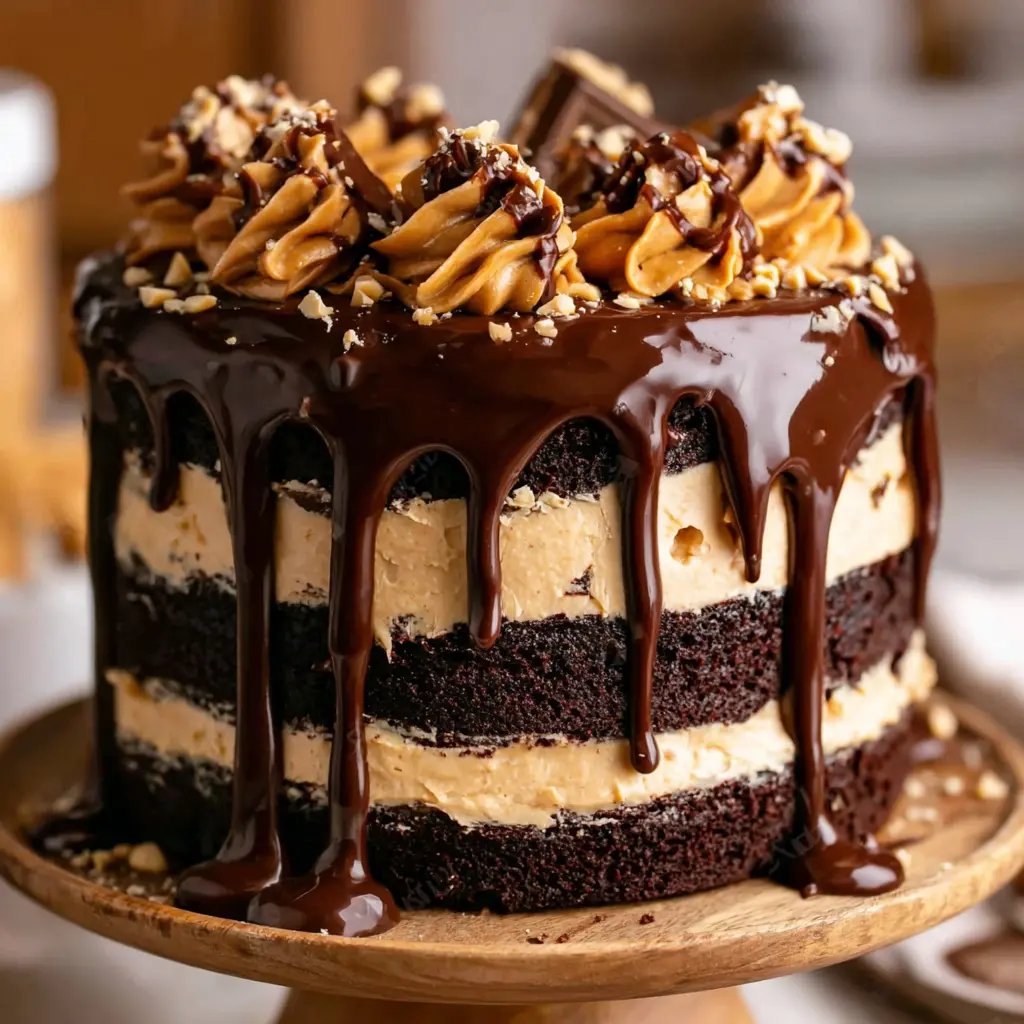
Rich Chocolate Peanut Butter Drip Cake
Ingredients
Method
- Preheat oven to 350°F. Butter three 8-inch round cake pans. Set aside.
- In a medium bowl, whisk together flour, cocoa powder, baking powder, baking soda and salt.
- In a medium saucepan over medium high heat, combine water and sugar. Bring to a boil and stir until sugar dissolves, about 1 minute. Remove from heat and add chocolate and butter, stirring occasionally, until melted. Chill the butter mixture in the fridge for 10 minutes.
- Whisk in vegetable oil and vanilla extract. Quickly beat in eggs into the melted chocolate mixture until well combined. Whisk in dry ingredients, until smooth. Do not over stir, mix just until the batter comes together.
- Divide the cake batter evenly between the prepared pans and bake for 20 to 23 minutes, or until a toothpick inserted in the center comes out clean.
- Let cakes cool in pans until cool to the touch – then frost.
- Cream butter and peanut butter in a stand mixer or in a bowl with a hand mixer. Add the vanilla and salt. Gradually add powdered sugar, one half cup at a time, beating well on medium speed. Scrape sides and bottom of bowl as needed.
- When all sugar has been mixed in, icing will appear dry. Add milk, one teaspoon at a time, and beat at medium speed until perfectly light and fluffy.
- Assemble the three cake layers with a thick layer of frosting in between the layers. Then apply a thin crumb coat on the top and sides. Pop cake in the freezer to harden the crumb coat for about 10 minutes.
- Apply one final thick and even layer around the outside of the cake and top with chocolate sauce and decorate, if desired!
Nutrition
Notes
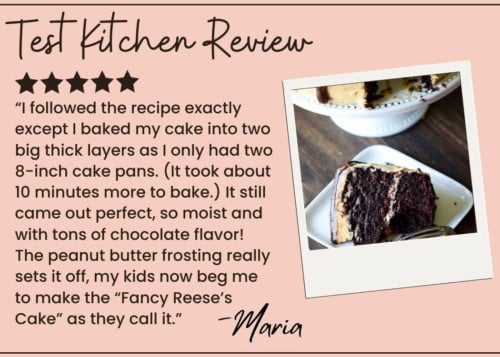 Learn more about our Test Kitchen promise!
Tried this recipe?
Let us know how it was!I Ruined My First Three Drip Cakes. Then I Found the Secret.
Honestly, I used to think drip cakes were only for professionals. You know the ones I mean. The glossy, perfect cakes on Instagram that look like they cost a hundred bucks. I tried making one for my mom’s birthday a few years back, and the ganache just ran straight off the cake like a waterfall. It pooled on the board. I wanted to cry.
But then I figured out one simple trick, and everything changed. This chocolate peanut butter drip cake looks insane, but it’s actually easier than a normal layer cake. I mean, you still have to stack and frost, but the drip covers up all your little mistakes. That’s the beauty of it.
You’ve seen those cakes and thought, “I could never.” I get it. But I promise you, with the right ganache temperature and a few simple techniques, you’ll be making cakes that look like they came from a bakery. And the taste? Dark, moist chocolate layers with creamy peanut butter frosting. It’s the kind of cake that makes people close their eyes when they take a bite.
Why This Chocolate Peanut Butter Drip Cake Actually Works
The thing is, most drip cake recipes skip over the important stuff. They tell you to make ganache and pour it on, but they don’t explain why it works or why it fails. And that’s where people get stuck.
So here’s the deal. There are three things that make this chocolate peanut butter drip cake foolproof. First, the cake itself. It’s a moist chocolate cake made with hot water and oil instead of all butter. The hot water blooms the cocoa powder, which gives you that deep, rich chocolate flavor. And the oil keeps the cake tender for days. I’ve tested this with butter-only versions, and they dry out by day two. This one stays perfectly tender.
Second, the peanut butter buttercream. The trick is to warm the peanut butter slightly before you mix it in. Just a few seconds in the microwave, until it’s loose and runny. If you add cold peanut butter straight from the jar, your frosting will be stiff and grainy. I learned that one the hard way.
And third, the ganache drip. This is where most people mess up. The ganache has to be at exactly the right temperature. Too hot, and it runs all the way down the cake. Too cold, and it doesn’t drip at all. You want it around 90°F. Warm enough to flow, cool enough to stop.
The Science Behind the Ganache
Let’s talk about ganache for a second, because this is really the make-or-break part of the whole thing. Ganache is just chocolate and cream melted together. But the ratio and temperature matter so much.
For a drip, you want a slightly thinner ganache than you’d use for truffles. The cream to chocolate ratio is what determines the consistency. More cream means a thinner drip that will run farther. Less cream means a thicker drip that will stop sooner. For this recipe, I use a ratio that gives you a nice, controlled drip.
But here’s the real secret. You have to let the ganache cool down before you use it. I know it’s tempting to pour it on while it’s still warm and glossy, but that’s exactly what causes the waterfall effect. Let it sit at room temperature for about 15 to 20 minutes, stirring occasionally. You’ll know it’s ready when you lift the whisk and the ganache drips off in a thick, slow ribbon. It should feel slightly warm to the touch, not hot.
And here’s a tip that saved me so many times. Test the ganache on an upside-down bowl or glass before you put it anywhere near your cake. If it runs all the way down the bowl, it’s too thin. If it just sits there in a blob, it’s too thick. You want it to drip about an inch or two and then stop. That’s the sweet spot.
How to Build the Cake Layers
Now, let’s talk about the cake itself. The chocolate layers are what make this chocolate peanut butter drip cake so good. They’re fudgy and moist, with that deep cocoa flavor I mentioned.
I bake mine in three 8-inch pans. But you can use two 9-inch pans if that’s what you have. Just adjust the baking time. The layers will dome a bit, and that’s totally fine. We’re going to level them anyway.
Let the layers cool completely in the pans. I mean completely. If you try to frost them while they’re even slightly warm, the frosting will melt and slide right off. I’ve made that mistake more times than I care to admit. Once they’re cool, run a knife around the edges and pop them out. Then use a serrated knife to level off the domed tops.
This is where the magic happens. You want nice, flat layers so your cake stacks evenly. Don’t skip this step. It makes such a difference in the final look.
For the filling, I use the same peanut butter buttercream that goes on the outside. You can add some chopped chocolate or Reese’s pieces between the layers if you want, but it’s not necessary. The peanut butter flavor is strong enough on its own.
The Crumb Coat Trick
Here’s something I wish someone had told me years ago. Do a crumb coat. It’s a thin layer of frosting that seals in all the crumbs so your final coat is clean and smooth.
Spread a thin layer of peanut butter buttercream all over the cake. Don’t worry about making it pretty. Just cover the cake completely. Then pop it in the fridge for about 30 minutes. The frosting will firm up, and when you add your final coat, you won’t get those annoying crumbs in your frosting.
For the final coat, I use an offset spatula and a bench scraper. Start with a generous amount of frosting on top, then spread it down the sides. Use the bench scraper to smooth it out. It doesn’t have to be perfect. Remember, the drip is going to cover up a lot of imperfections.
Once the cake is fully frosted, put it back in the fridge for another 20 to 30 minutes. The cake needs to be cold before you add the ganache. I usually freeze it for about 20 minutes. A cold cake is what stops the ganache from running all the way down.
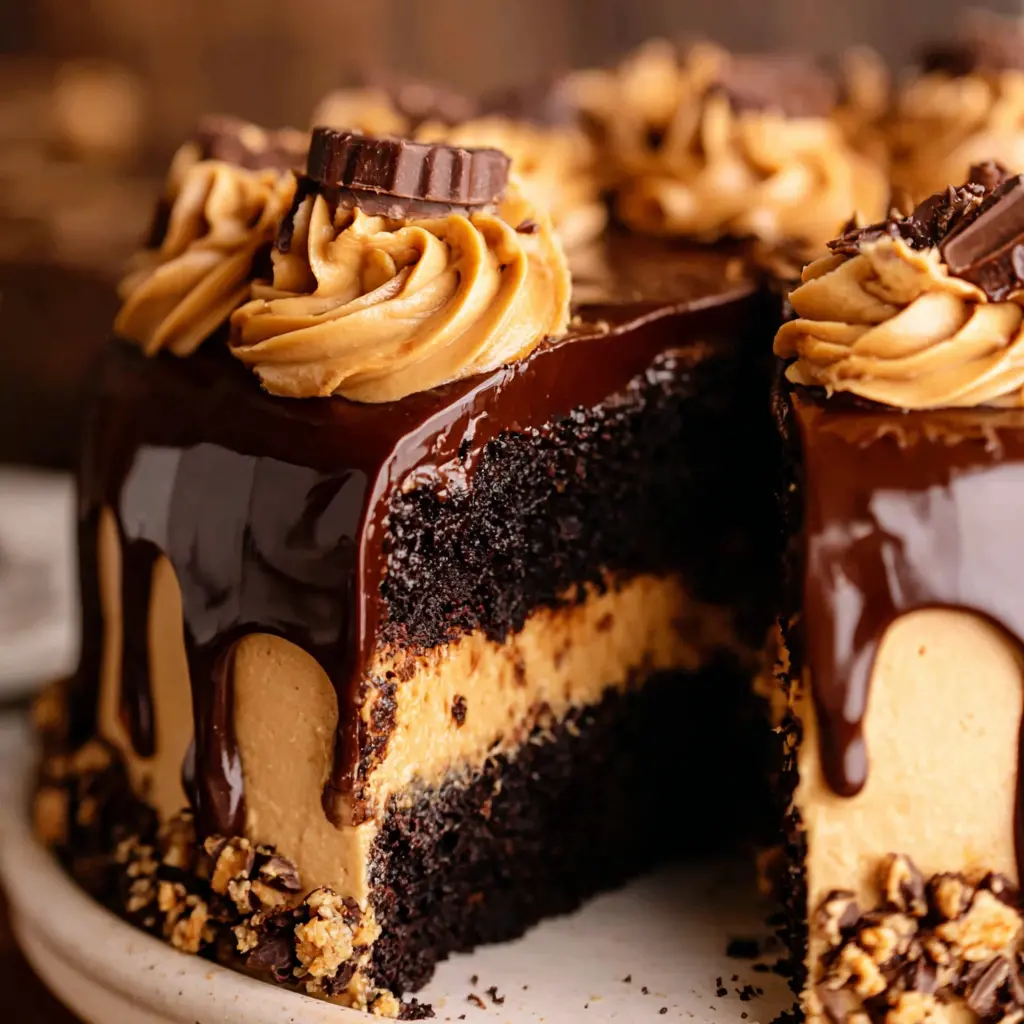
Applying the Ganache Drip
Okay, this is the moment of truth. The part that used to terrify me. But honestly, once you understand the temperature thing, it’s so simple.
There are two methods for applying the drip. I use method one, but both work great.
Method One: Pour the ganache into a squeeze bottle or a piping bag with a small tip. Pipe drips around the edges of the cake first. Start at the top edge and let the ganache run down the sides. You control how far it drips by how much you squeeze. Then pour the remaining ganache on top of the cake and spread it out to the edges with an offset spatula. This method gives you more control over where the drips fall.
Method Two: Pour the ganache directly on top of the cake and use a spatula to push it to the edges. Let it run over naturally. This method is faster but less controlled. I’d only recommend it if you’ve tested your ganache consistency and know it’s perfect.
Either way, work quickly. The ganache will start to set as soon as it hits the cold cake. You have maybe a minute to adjust the drips before they firm up.
And here’s the thing. If a drip goes too far down, you can wipe it off with a paper towel and try again. The cold cake makes it easy to remove. Don’t panic. Just wipe and redo.
Decorating Ideas for Your Cake
Once the drip is set, you can go wild with decorations. I like to keep it simple. A few Reese’s cups around the top edge, some chopped peanuts, maybe a drizzle of chocolate sauce. But you can do whatever you want.
For a birthday cake, add sprinkles or candles. For Mother’s Day, pipe little rosettes around the top. For a graduation, use the school colors in the decorations. The peanut butter buttercream pipes beautifully, so you can add any design you want.
I also love adding a few extra drips of chocolate sauce on the plate when I serve it. It makes the presentation look so professional.
Common Mistakes and Fixes
Common Mistakes & Fixes
Mistake: The ganache runs all the way down the cake.
Solution: Your cake isn’t cold enough, or your ganache is too warm. Chill the cake for another 20 minutes and let the ganache cool longer. Test it on a bowl first.
Mistake: The ganache doesn’t drip at all. It just sits on top.
Solution: The ganache is too cool. Reheat it gently in the microwave in 5-second bursts, stirring between each, until it flows again. Don’t overheat it.
Mistake: The frosting has crumbs in it.
Solution: You skipped the crumb coat. Next time, do a thin layer of frosting first, chill it, then add the final coat. For now, you can scrape off the top layer and redo it.
Mistake: The cake layers are dry.
Solution: You probably overbaked them or measured the flour wrong. Weigh your flour for accuracy. And check the cake a few minutes before the recipe says it’s done.
Mistake: The peanut butter frosting is too stiff.
Solution: You used cold peanut butter. Next time, warm it in the microwave for 10 to 15 seconds before mixing. You can also add a splash of evaporated milk to loosen it up.
Recipe Variations
This chocolate peanut butter drip cake is pretty perfect as is, but you can change it up if you want. Here are a few ideas.
Sheet Cake Version: If you don’t want to deal with layers, bake the batter in a 9×13 pan. Grease the pan, pour in the batter, and bake at 350°F for about 40 to 45 minutes. Halve the frosting recipe and just spread it on top. Skip the drip if you want, or do a simple drizzle.
Cupcakes: This batter makes amazing cupcakes. Fill your liners about two-thirds full and bake at 350°F for 18 to 22 minutes. Pipe the peanut butter buttercream on top and drizzle with ganache. Perfect for parties.
Different Nut Butters: You can use almond butter or cashew butter instead of peanut butter. Just make sure it’s the creamy, no-stir kind. Natural peanut butter that separates will make your frosting grainy and oily.
Extra Chocolate: Add chocolate chips to the cake batter for more chocolate flavor. Or sprinkle some on top of the frosting before adding the drip.
Storage and Leftovers
This cake stores really well, which is great because you’ll probably have leftovers. Unless you’re feeding a crowd, in which case there won’t be any.
Store the cake in an airtight container at room temperature for up to two days. If your kitchen is warm, refrigerate it instead. The frosting and ganache hold up fine in the fridge for up to five days.
To freeze the cake, chill it overnight in the fridge first. Then wrap it tightly in plastic wrap, followed by a layer of foil. Freeze for up to three months. When you’re ready to eat it, thaw it in the fridge overnight, then bring it to room temperature before serving.
And here’s a tip for reheating leftover slices. If you want that fresh-baked taste, microwave a slice for about 10 to 15 seconds. Not too long, or the ganache will melt. Just enough to warm the cake through. It’s so good.
For best results, serve the cake at room temperature on the day you make it. That’s when the flavors are at their peak.
Frequently Asked Questions
Pro Tips for Making This Recipe
I’ve made this chocolate peanut butter drip cake more times than I can count, and I’ve picked up a few tricks along the way. Here are the ones that matter most.
First, weigh your flour. I know it’s an extra step, but it makes such a difference. Scooping flour can give you wildly different amounts, and too much flour makes a dry cake. A kitchen scale costs like fifteen bucks and will improve all your baking.
Second, use room temperature ingredients. The eggs, the buttermilk, the butter. They all incorporate better when they’re at room temperature. Cold ingredients can make your batter curdle or your frosting separate. Just pull everything out of the fridge an hour before you start.
Third, don’t skip chilling the cake before adding the ganache. This is the most important tip I can give you. A cold cake is what stops the ganache from running all the way down. I freeze mine for 20 minutes. It’s non-negotiable.
Fourth, test your ganache before you commit. I know I keep saying this, but it’s because I’ve ruined so many cakes by skipping this step. Just test it on an upside-down bowl. It takes five seconds and saves you so much heartache.
And fifth, don’t stress about perfection. The drip covers up a lot of mistakes. Even if your frosting isn’t perfectly smooth, the ganache will hide it. And once you add the decorations, nobody will notice anything but how amazing it looks and tastes.
For more inspiration, check out my Pinterest boards. I share tons of variations and decorating ideas there.
When you bring this cake to a holiday dinner or a birthday party, everyone will ask for the recipe. I promise, this will be the cake that makes you a hero. Tag me when you make it. I want to see your gorgeous drip. You’ve got this. Now go make that cake.
Source: Nutritional Information
How do you make a glossy chocolate drip for a chocolate peanut butter drip cake?
Use a 2:1 ratio of chocolate to cream. Heat the cream until simmering, pour it over chopped chocolate, and let it sit for a minute before stirring. Cool to about 90°F before using. Test it on an upside-down bowl first.
What is the best way to store a layered chocolate peanut cake with frosting?
Store in an airtight container at room temperature for up to two days, or in the fridge for up to five days. For longer storage, wrap tightly and freeze for up to three months.
Can I use natural peanut butter instead of creamy peanut butter in this rich peanut butter dessert cake?
I don’t recommend it. Natural peanut butter separates and has a different fat content, which makes the frosting grainy and oily. Stick with creamy, no-stir peanut butter like Jif or Skippy.
How long does it take to bake the layers for a decadent peanut butter cake?
For three 8-inch pans, bake at 350°F for about 25 to 30 minutes. For two 9-inch pans, bake for 30 to 35 minutes. Check with a toothpick inserted in the center. It should come out with a few moist crumbs.
What can I use as a substitute for evaporated milk in a glossy drip cake slice?
You can use heavy cream or whole milk in the frosting instead of evaporated milk. The texture will be slightly different, but it still works. For the ganache, use heavy cream only.
How long would you say the peanut butter frosting stays fresh?
The frosting stays fresh for up to five days in the fridge. You can make it ahead and keep it in an airtight container. Let it come to room temperature and give it a good stir before using.
Can I pour the ganache on top the night before and leave it in the fridge until the next evening?
Yes, you can. The ganache will stay glossy and set in the fridge overnight. Just cover the cake loosely with plastic wrap so nothing sticks to the drip. Bring it to room temperature before serving.
Can this cake be done in a 9 by 13 inch pan?
Absolutely. Grease the pan, pour in the batter, and bake at 350°F for 40 to 45 minutes. Halve the frosting recipe and spread it on top. Skip the drip or do a simple drizzle.
Why does the recipe call for baking in 3 pans, but you have 4 layers?
Some bakers split the batter into 4 smaller pans for a taller cake. If you do this, reduce the baking time to about 20 to 22 minutes. The layers will be thinner but the cake will be taller.
Do you think the recipe would turn out ok using GF all purpose flour?
I think it would. Use a good gluten-free all-purpose flour blend like Bob’s Red Mill. The texture might be slightly different, but the moisture from the oil and buttermilk should help keep it tender.
Is it okay to use natural peanut butter if I think it’ll be sweet enough?
For the frosting, I really don’t recommend it. Natural peanut butter will make the frosting separate and turn grainy. If you want less sweetness, use a no-stir peanut butter with reduced sugar.
Why does my water need to be hot?
Hot water blooms the cocoa powder, which intensifies its chocolate flavor. You can also use hot coffee for an even deeper, richer chocolate taste. It doesn’t make the cake taste like coffee, I promise.
My ganache is dripping all the way down my cake. What happened?
Either your cake isn’t cold enough or your ganache is too warm. Chill the cake for another 20 to 30 minutes and let the ganache cool more. Test it on an upside-down bowl before applying.
Can I use this peanut butter chocolate cake recipe to make cupcakes?
Yes, it makes amazing cupcakes. Fill your liners about two-thirds full and bake at 350°F for 18 to 22 minutes. Pipe the peanut butter buttercream on top and drizzle with ganache.
What should I do with extra icing?
Store it in an airtight container in the fridge for up to a week. Use it on cookies, brownies, or just eat it with a spoon. I won’t judge. Let it come to room temperature before using.
What’s the best cocoa powder to use?
I use natural unsweetened cocoa powder for this recipe. Dutch-process cocoa will also work, but the flavor will be milder. Use what you have on hand. Both work fine.