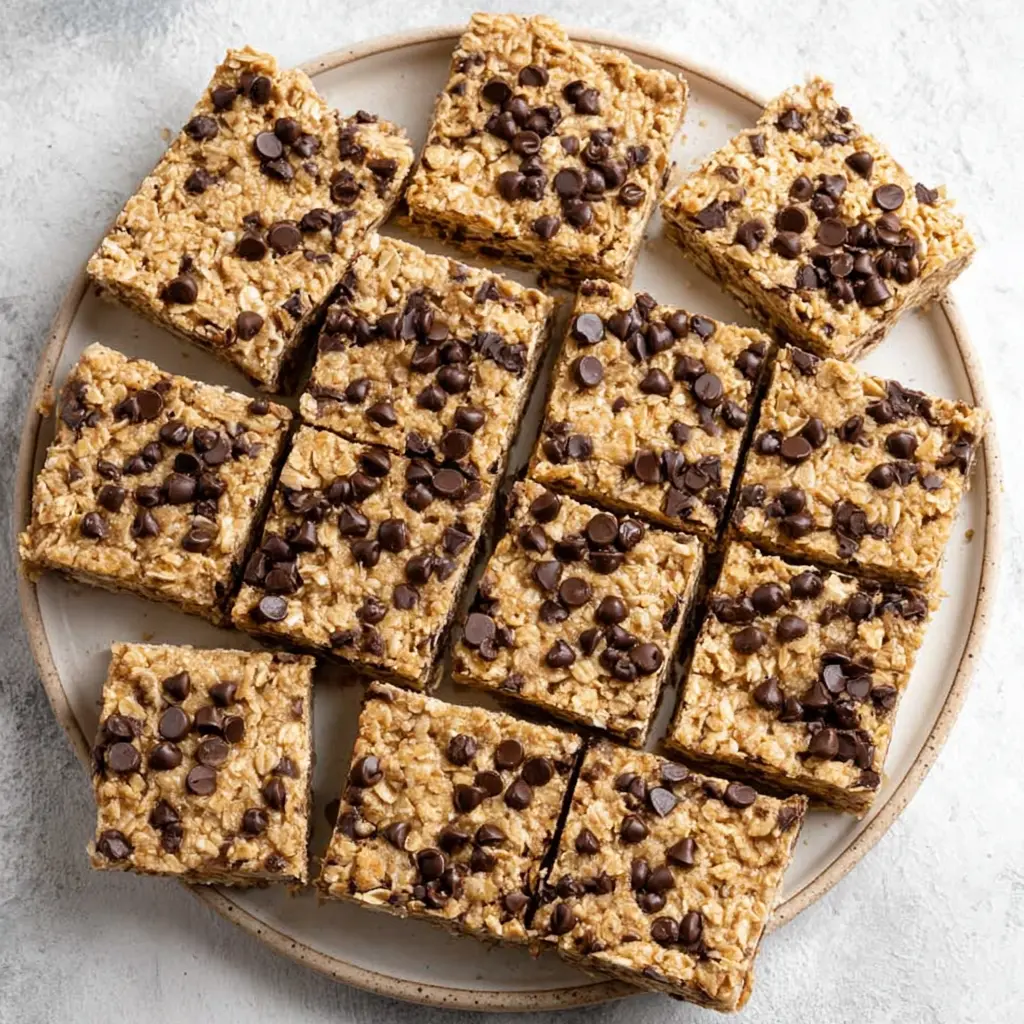
Why You Will Love These Peanut Butter Oat Bars
I used to buy those expensive packaged granola bars from the store. You know the ones. They look so wholesome on the shelf, all wrapped up with promises of whole grains and natural ingredients. But then I’d flip the box over and read the label, and honestly? It’s a whole lot of sugar and stuff I can’t pronounce.
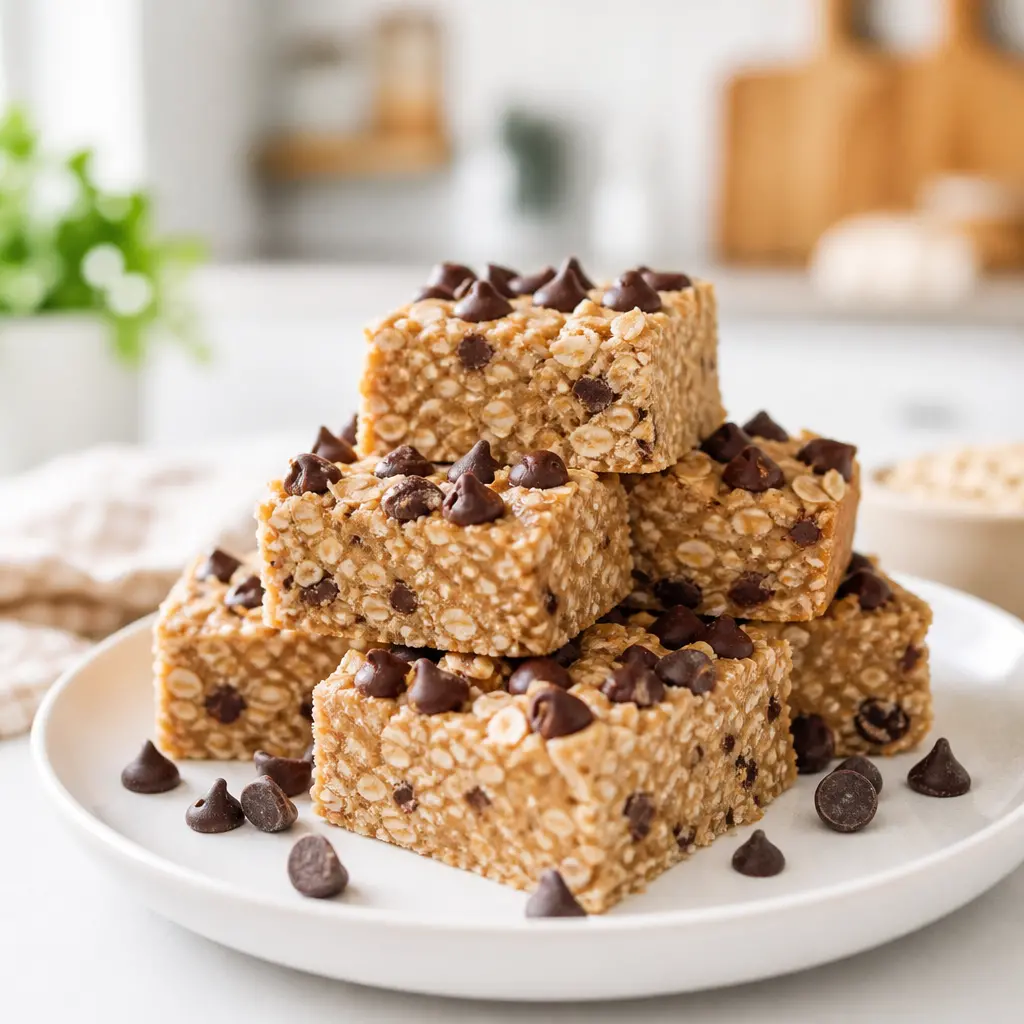
So I started making my own. And let me tell you, these peanut butter oat bars changed my snack game completely. They’re chewy, they’re satisfying, and they come together in about 10 minutes of actual work. No oven required, which is a huge win during these hot summer months when the last thing I want is to heat up my kitchen.
Here’s what I love most about this recipe:
- Just 4 ingredients. You probably have them all in your pantry right now.
- No baking. Seriously, zero oven time. The fridge does all the work.
- Kid-approved. My picky eater devours these. No complaints, no negotiations.
- Actually healthy. Whole oats, natural peanut butter, a touch of honey. Real food.
- Budget-friendly. Way cheaper than buying boxes of bars at the store.
I’ll be honest with you though. My first batch? Total crumble city. I pulled them out of the fridge, tried to cut a clean square, and the whole thing just fell apart in my hands. So frustrating. But I figured out what went wrong, and I’m going to share all those little secrets with you so yours turn out perfect the first time.
These chewy peanut butter bars have become my go-to for busy mornings when we’re running out the door. I grab one, toss it in a bag, and breakfast is handled. They’re also my secret weapon for afternoon hangry moments. You know the ones.
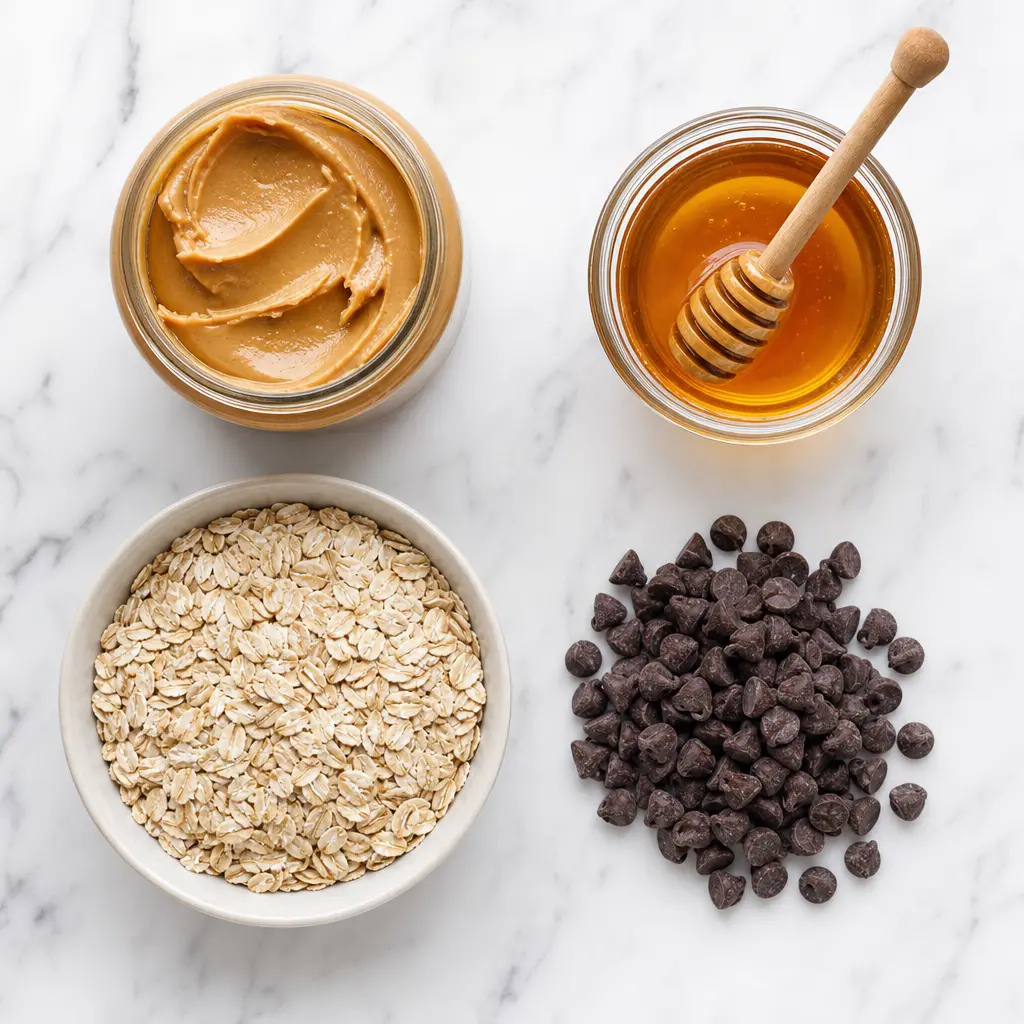
Ingredients You Need
This is where it gets simple. Really simple. You only need four things, and I bet you’ve got at least three of them right now.
Creamy Peanut Butter
This is the glue that holds everything together. I use creamy because it blends so smoothly into the oats. But if you’re a chunky peanut butter person, go for it. Just know the texture will be a little different, with actual peanut pieces throughout. Either way, make sure it’s the kind that’s just peanuts and salt. The natural stuff that separates in the jar? That works too, just stir it really well before measuring.
Honey or Maple Syrup
This is your sweetener and your binder. Honey gives a classic flavor that pairs beautifully with peanut butter. Maple syrup adds a slightly different sweetness, more delicate and woodsy. I’ve used both and honestly, they’re both great. If you’re vegan, go with the maple syrup. If you want that traditional honey-peanut butter combo, go with honey. Can’t go wrong either way.
Rolled Oats
This is where texture comes in. Rolled oats, also called old-fashioned oats, are the best choice here. They have enough structure to hold up in the bars without turning into mush. Quick oats? They absorb liquid faster and can make your bars gummy. I’ll talk more about that in the FAQ section, but for now, trust me on rolled oats.
Dark Chocolate Chips
These little bursts of chocolate are what make these oat bars recipe feel like a treat. Dark chocolate chips add just enough sweetness without going overboard. They melt slightly into the bars, creating little pockets of chocolatey goodness. If you’re not a dark chocolate fan, semi-sweet or milk chocolate chips work too. Or skip them entirely for a simpler bar.
That’s it. Four ingredients. No eggs, no butter, no flour, no complicated stuff.
How To Make Peanut Butter Oat Bars
Alright, let’s get into the actual making part. This is so straightforward, I promise. The whole process takes maybe 10 minutes of hands-on time, then the fridge does the rest.
Step 1: Melt the Peanut Butter and Sweetener
Start by combining your creamy peanut butter and honey (or maple syrup) in a microwave-safe bowl. Pop it in the microwave for 20-second bursts, stirring between each one. You’re looking for a smooth, glossy, fully melted mixture. It should be liquid enough to coat the oats evenly but not so hot that it’s bubbling. If you don’t have a microwave, you can do this on the stovetop in a small saucepan over low heat. Just keep stirring so it doesn’t burn.
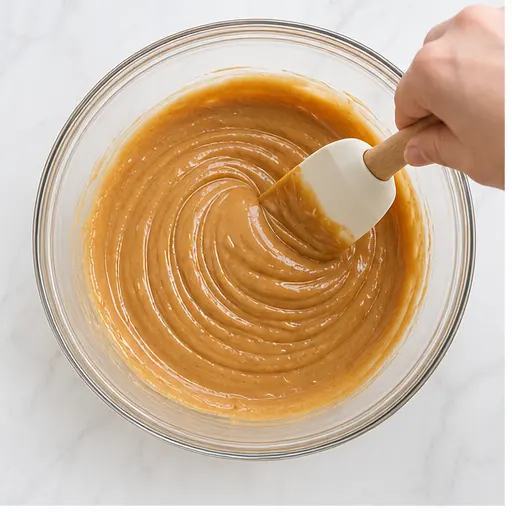
Step 2: Add the Oats
Once your peanut butter mixture is smooth and warm, dump in all the rolled oats. Use a spatula to fold everything together. Stir until every single oat is coated in that peanut butter goodness. It’ll look like a thick, sticky dough. This is where the magic happens. The oats soak up some of the moisture, and the peanut butter acts as the binder that holds everything together.
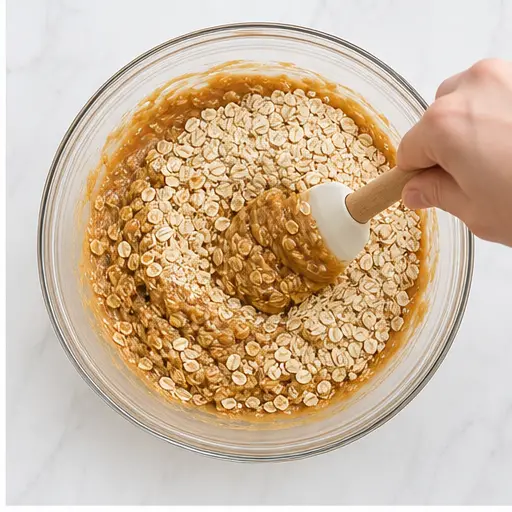
Step 3: Fold in the Chocolate Chips
Now for the fun part. Add your dark chocolate chips and fold them in gently. You want them distributed throughout the dough, not all clustered in one spot. A few strokes with your spatula should do it. If you’re adding any other mix-ins, now’s the time. More on that in a minute.
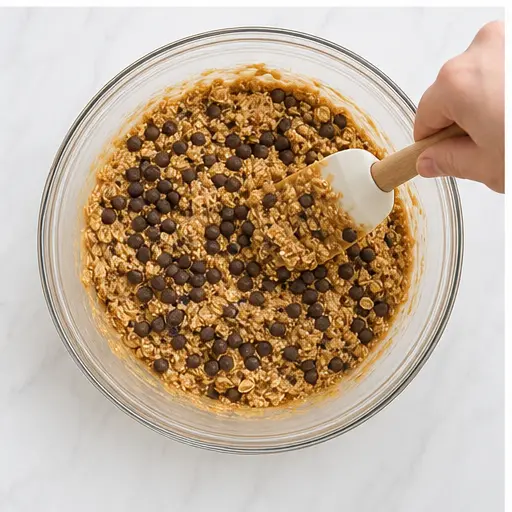
Step 4: Press Into the Pan
Line an 8×8-inch baking pan with parchment paper. I like to leave a little overhang on two sides so I can lift the whole block out later. Give it a light spray of non-stick cooking spray so nothing sticks. Transfer your oat mixture into the pan. Here’s the important part: press it down firmly and evenly. Use your hands or the back of a spatula. You want it compact so the bars hold together when you cut them. But don’t go overboard. Just firm and even. Too much pressure and the bars can get tough.
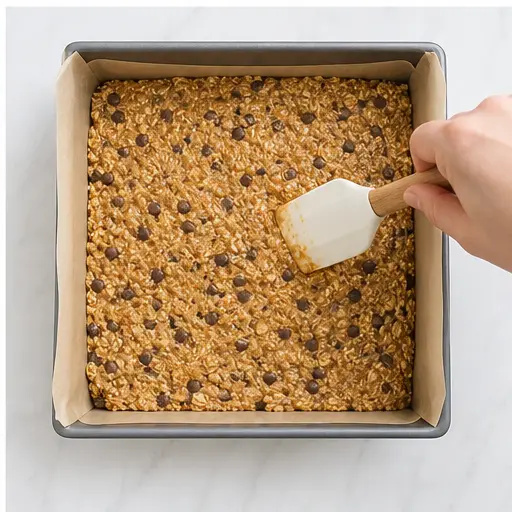
Step 5: Chill and Slice
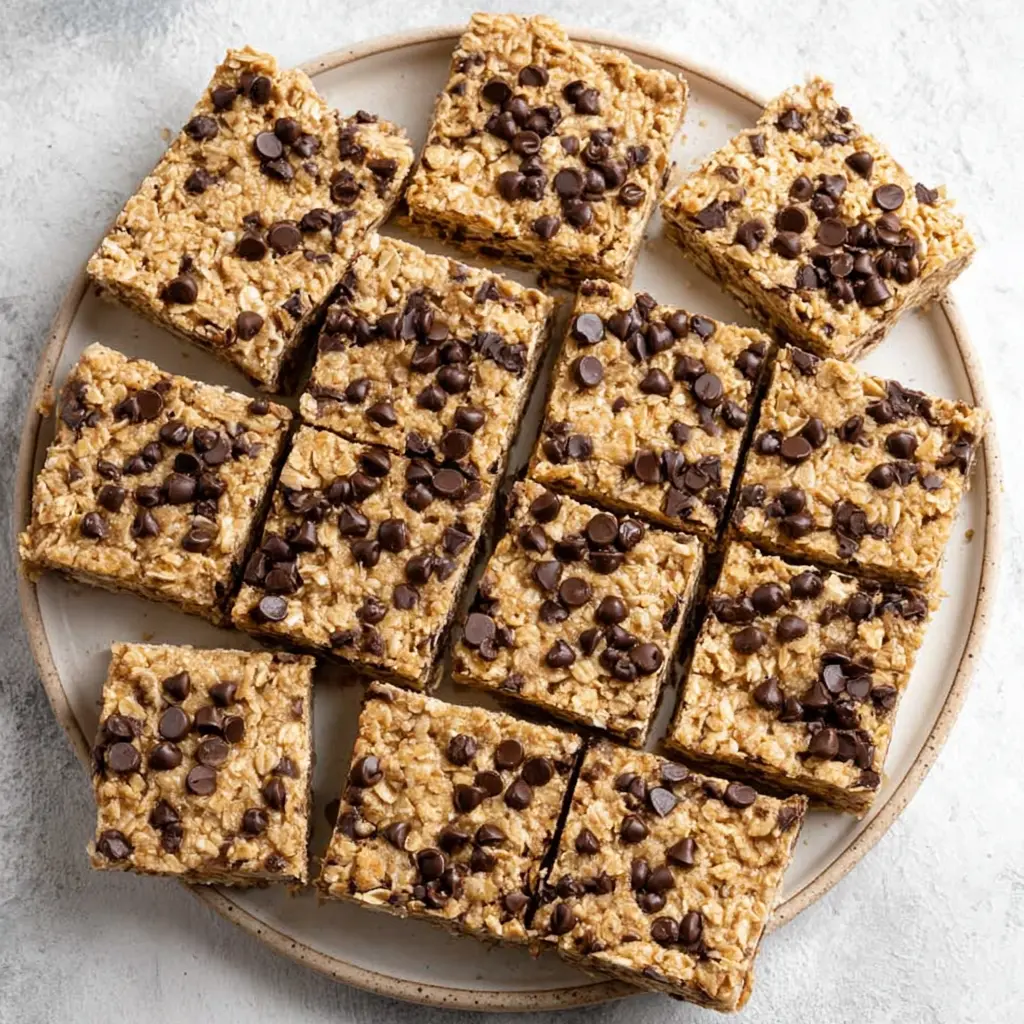
Pop the pan in the fridge for 30 to 60 minutes. This is the hardest part, waiting. But it’s crucial. The bars need time to set up so they hold their shape. After they’re firm, lift the whole block out using the parchment overhang. Place it on a cutting board and slice into 16 squares. A sharp knife works best. Wipe it clean between cuts for neat edges.
You can serve them chilled, at room temperature, or even slightly warmed. I like them straight from the fridge on a hot day. My husband prefers them at room temperature. There’s no wrong way.
Variations and Additions
Once you’ve mastered the basic peanut butter oat bars, you can start playing around. This recipe is super forgiving, and there are so many ways to make it your own.
Nut-Free Option
If you need these for a nut-free lunchbox, swap the peanut butter for sunflower seed butter. It has a similar consistency and works just as well as a binder. The flavor is a little different, but still delicious. Just make sure your oats are certified gluten-free if that’s also a concern.
Add-Ins for Extra Crunch
Chopped nuts add the best crunch. Almonds, walnuts, pecans, whatever you have. Seeds are also great. Try chia seeds, hemp seeds, or ground flaxseed for a boost of fiber and protein. Pumpkin seeds or sunflower seeds add a nice salty crunch too.
Dried Fruit Options
Raisins, dried cranberries, or chopped dried mango or pineapple. The chewy texture of dried fruit pairs really well with the oats and peanut butter. Just fold them in with the chocolate chips.
Different Chips
Dark chocolate is my go-to, but butterscotch chips, white chocolate chips, or peanut butter chips all work. If you’re making these for kids, mini M&Ms are always a hit. Just know they add more sugar.
Coconut Flakes
Shredded coconut adds a tropical twist and a little chewiness. Toast it first for extra flavor. Fold it in with the oats.
Tips for the Best Bars
I’ve made these peanut butter honey oat bars more times than I can count. And I’ve learned a few things along the way. Here are my best tips to make sure yours turn out perfect every time.
Why This Works
The Science: Peanut butter is the glue that holds everything together. When it’s warmed, it becomes liquid enough to coat every oat. As it cools in the fridge, it solidifies, creating a sturdy matrix that keeps the bars from falling apart. The oats absorb just enough moisture to soften slightly without getting mushy. It’s a beautiful balance.
Pressing the Mixture
This is where I messed up my first batch. I pressed too hard, thinking more pressure meant firmer bars. Nope. Pressing too hard can make the bars tough and dense. Just press firmly enough to create an even, compact layer. Not like you’re trying to flatten it into a pancake.
Chilling Time Matters
Don’t rush this. 30 minutes is the minimum, but 60 minutes is better. If you’re in a hurry, you can pop them in the freezer for 15-20 minutes. Just don’t forget about them.
Using Weights
I know, I know, measuring by weight sounds fussy. But it’s actually easier and more accurate. If you have a kitchen scale, use it. 2 3/4 cups of rolled oats is about 250 grams. 1 cup of peanut butter is about 240 grams. Less cleanup too, since you can measure everything in one bowl.
Wet Your Hands
If the mixture is too sticky to press with your hands, lightly wet your fingers. The water creates a barrier so nothing sticks. Works like a charm.
How To Store Peanut Butter Oat Bars
These bars are perfect for meal prep. Make a batch on Sunday, and you’ve got snacks for the whole week. But storage matters, so let’s talk about it.
Refrigerator Storage
Store your peanut butter oat bars in an airtight container in the fridge. They’ll stay fresh for up to a week. The fridge keeps them firm and chewy. If you leave them at room temperature for too long, they’ll soften and can get a little crumbly. So keep them chilled for the best texture.
Freezer Storage
These freeze beautifully. Wrap each bar individually in plastic wrap, then place them in a freezer-safe bag or container. They’ll keep for up to 3 months. When you want one, just pull it out and let it thaw in the fridge overnight. Or eat it straight from the freezer for a cold, chewy treat.
Room Temperature Storage
If you’re packing these in a lunchbox, they’ll be fine at room temperature for a few hours. Just know they’ll soften. If you want them to stay firmer longer, pack them with a small ice pack.
Reheating
These are great cold or at room temperature, but if you want a warm treat, pop a bar in the microwave for 10-15 seconds. The chocolate chips get a little melty, and the peanut butter softens. So good.
Frequently Asked Questions
Go Ahead, Make a Batch This Weekend
I really hope you give these peanut butter oat bars a try. They’ve honestly made my life so much easier. No more scrambling for snacks, no more expensive store-bought bars with ingredients I can’t pronounce. Just simple, wholesome, delicious bars that my whole family loves.
And here’s the thing. Once you make them, you’ll realize how easy it is. And then you’ll start experimenting. Maybe add some dried cranberries. Or swap the chocolate chips for butterscotch. Or double the batch because one pan isn’t enough. Trust me, it happens.
I’d love to hear how yours turn out. Tag me on Pinterest when you make them. I love seeing your creations. It makes my day every single time.
So go ahead. Grab your ingredients. Make a batch this weekend. You’ll thank yourself on Monday morning when you’re running out the door and you grab a homemade bar instead of something from a box. That feeling? It’s the best.
Easy No-Bake Peanut Butter Oat Bars
Ingredients
Method
- In a microwave-safe bowl, combine the creamy peanut butter and honey or maple syrup. Heat in 20-second bursts, stirring between each, until smooth and fully melted.
- Add the rolled oats to the peanut butter mixture and stir with a spatula until the oats are evenly coated.
- Fold in the dark chocolate chips, mixing just until distributed throughout the dough.
- Line an 8x8-inch baking pan with parchment paper and lightly spray with non-stick cooking spray. Transfer the oat mixture into the pan, pressing it down firmly with your hands or the back of a spatula to create an even layer.
- Refrigerate for 30 to 60 minutes, or until the bars are firm. Slice into 16 squares and serve chilled, at room temperature, or slightly warmed.
Nutrition
Notes
Tried this recipe?
Let us know how it was!Source: Nutritional Information
How do you make no-bake peanut butter oat bars chewy?
The key is using the right ratio of wet to dry ingredients. This recipe uses 1 cup of peanut butter and 1/2 cup of honey to 2 3/4 cups of rolled oats. The peanut butter acts as a binder, and when chilled, it creates that perfect chewy texture. Don’t over-press the mixture into the pan, or the bars can get tough instead of chewy.
Can I use maple syrup instead of honey in peanut butter oat bars?
Absolutely. Maple syrup works perfectly as a substitute for honey in this recipe. Use the same amount, 1/2 cup. The flavor will be slightly different, more delicate and woodsy, but the texture will be just as good. If you’re vegan, maple syrup is the way to go since honey isn’t considered vegan.
What is the best way to store chewy peanut butter bars?
Store them in an airtight container in the refrigerator for up to a week. The fridge keeps them firm and chewy. For longer storage, wrap each bar individually and freeze for up to 3 months. Thaw overnight in the fridge before eating. Room temperature storage is fine for a few hours, but they’ll soften.
Are these peanut butter oat bars healthy for breakfast?
Yes, they make a great breakfast option. Each bar has 215 calories, 7 grams of protein, 3 grams of fiber, and no cholesterol. The whole oats provide complex carbs for sustained energy, and the peanut butter adds healthy fats and protein. They’re much better for you than most store-bought granola bars.
Can I substitute rolled oats with quick oats in this oat bars recipe?
You can, but the texture will be different. Quick oats are more finely chopped, so they absorb liquid faster and can make the bars gummy or mushy. Rolled oats provide a better chewy texture and hold their shape. If you only have quick oats, reduce the amount slightly and expect a softer, more dense bar.
Can you eat raw oats in energy bars?
Yes, you can absolutely eat raw oats in no-bake energy bars. Rolled oats have been steamed during processing, so they’re safe to eat without cooking. They soften slightly as they absorb moisture from the peanut butter and honey, which makes them easier to chew and digest.