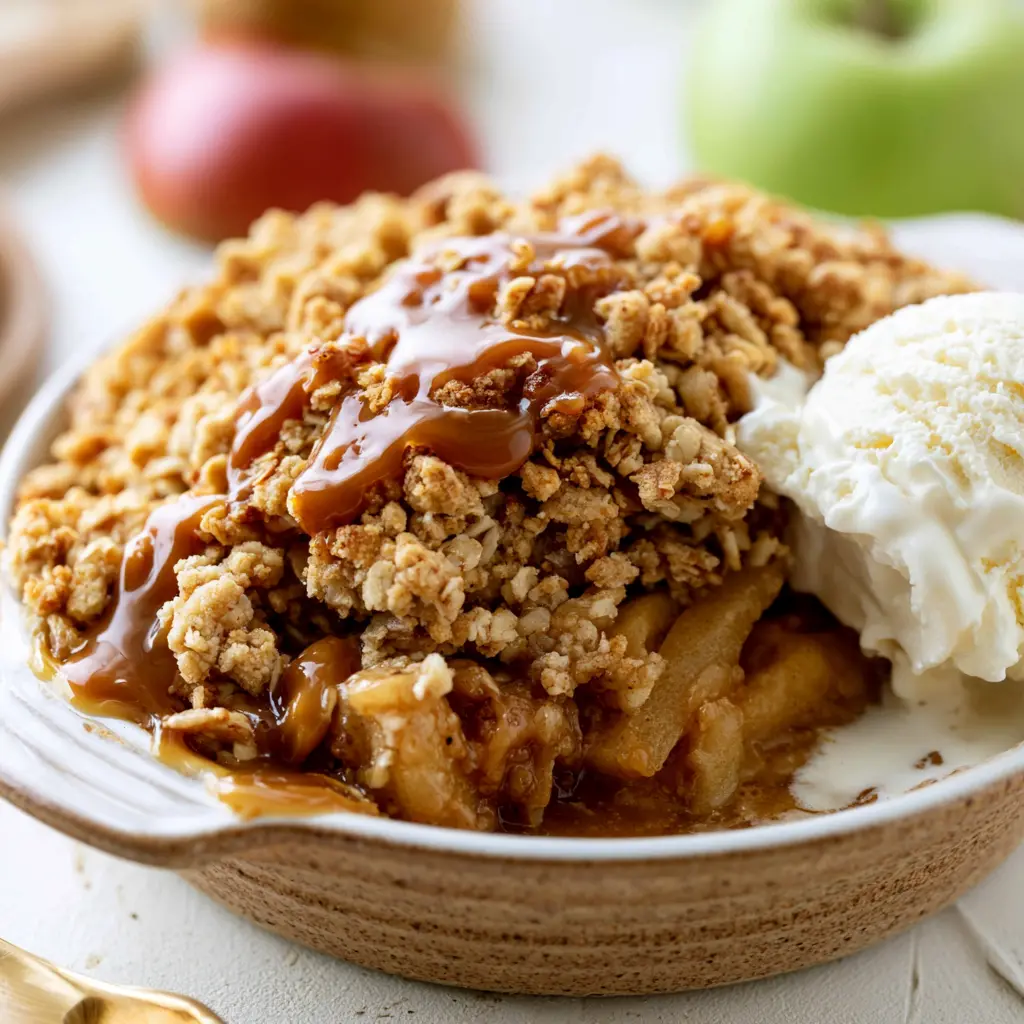
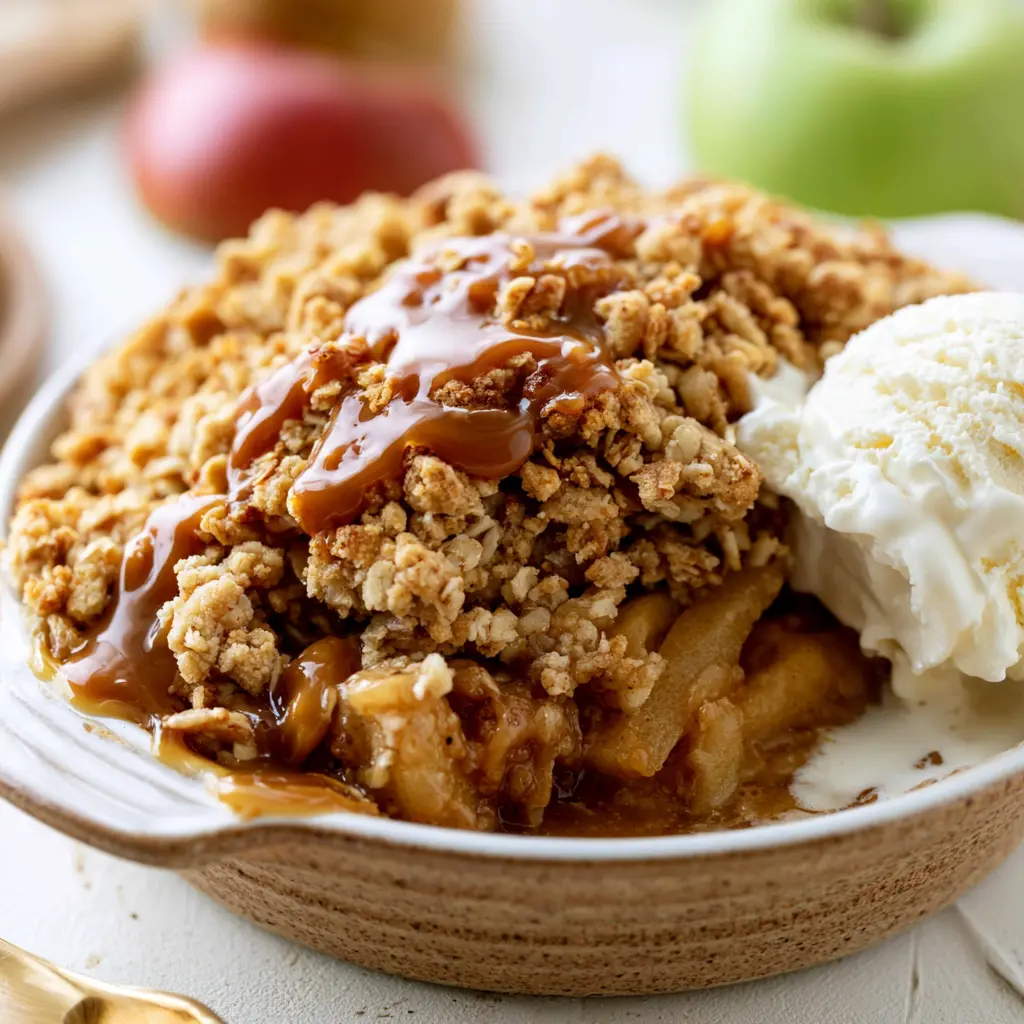
Salted Caramel Apple Crisp
Ingredients
Method
- Heat the oven to 350°F (175°C). Lightly grease a 9x9 inch baking dish with butter or nonstick spray.
- In a large bowl, combine the sliced apples, cinnamon, 1/2 cup of the salted caramel sauce, heavy cream, and sea salt. Toss well, then pour the apple mixture into the prepared baking dish.
- In another bowl, whisk together the flour, packed brown sugar, and rolled oats until evenly distributed.
- Add the softened butter and work it into the dry ingredients with your fingers or a pastry blender until the mixture looks like coarse crumbs.
- Sprinkle the crumble topping evenly over the apple filling, covering the surface completely.
- Bake for 35 minutes, or until the topping is golden brown and the filling is bubbly around the edges.
- Let the crisp cool for 10 minutes, then drizzle with the remaining 1/2 cup of salted caramel sauce before serving.
Nutrition
Notes
Tried this recipe?
Let us know how it was!Why This Salted Caramel Apple Crisp Works
It was one of those sticky August days where the last thing you want is to turn on the oven. But there I was, craving the kind of dessert that feels like a warm hug. This caramel apple crisp is that dessert. It’s the reason I’ll sweat through prep just to get a spoonful of gooey, salted caramel wrapped around a tender slice of baked apple.
Here’s the thing about a truly great caramel apple crisp: it’s all about balance. The tartness of the green apples cuts the sweetness of the caramel. The buttery oat topping gives you that shatter-crunch contrast. And that final drizzle of salted caramel sauce on top? Pure magic. It’s a caramel apple dessert that feels fancy but comes together in a single dish.
Don’t let the word “caramel” scare you. We’re using a rich, store-bought salted caramel sauce here. It saves time without sacrificing flavor. And honestly, the recipe is forgiving enough that even your first attempt will taste like you’ve been making it for years.
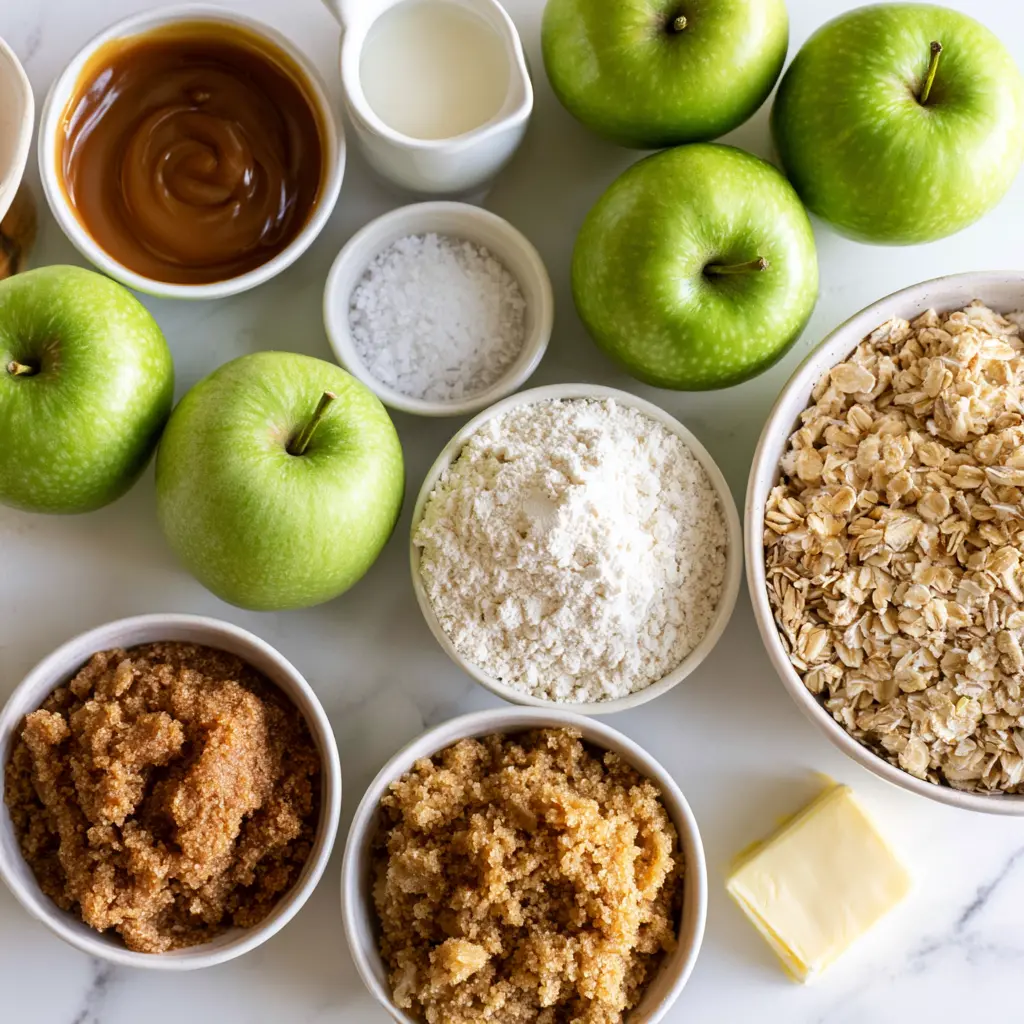
Key Ingredients for Salted Caramel Apple Crisp
This apple crisp recipe uses a short list of everyday staples. Each one pulls its weight, trust me. Here’s what you’re working with:
- Large green apples (about 8 cups sliced): These are the backbone. Granny Smith apples hold their shape when baked and give you that essential tart kick.
- Salted caramel sauce: The star of the show. Half goes into the apple filling, the other half gets drizzled over the finished crisp. You want the good stuff here.
- Heavy cream: This thins the caramel slightly and helps it coat the apple slices in a silky, luscious glaze.
- Sea salt: Flaky if you’ve got it. It amplify the salty-sweet thing that makes this dessert so addictive.
- All-purpose flour, brown sugar, and oats: The trio that builds that golden, crunchy oat topping.
- Unsalted butter: Softened, not melted. This is the trick to a crumble that actually crumbles.
I know, I know. It’s a short list. But when you’re baking a warm apple dessert, simplicity is your friend. You’re not trying to be a mad scientist here. You’re making comfort food.
Best Apples for Apple Crisp
Let’s talk apples for a second, because this is where a lot of apple crisp mistakes happen. You can’t just grab any apple off the shelf. I learned that the hard way with a batch of mushy, flavorless mush that collapsed into a puddle. Not my proudest moment.
Granny Smith apples are my number one pick for this caramel apple crisp. They’re tart, firm, and they don’t turn to applesauce in the oven. When you bake them, they soften just enough but still hold a little bite. That texture contrast against the crunchy topping? Perfection.
If you want a sweeter filling, go with Honeycrisp or Fuji apples. They work beautifully too. Just know that the filling will be a touch less tart. A combination of Granny Smith and Honeycrisp is my favorite compromise. You get the best of both worlds.
What about peeling? The recipe calls for sliced apples, skin on or off, your call. I’ve made this bake both ways. Leaving the skin on adds a little texture and rustic charm. Peeling them makes the filling melt together more smoothly. Go with how you like it.
How to Make Salted Caramel Apple Crisp
This is a four-part process, and each part is genuinely easy. The magic is in the layering. Here’s how the whole thing comes together in about 50 minutes.
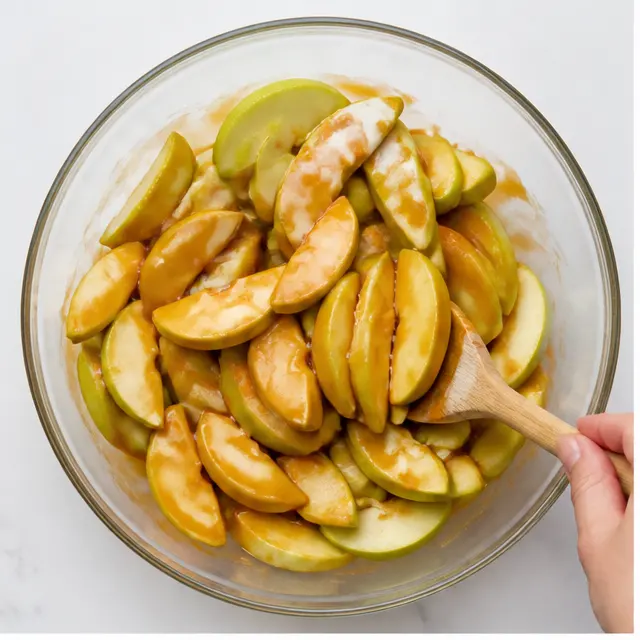
Stage one: the caramel-coated apples. This is where the flavor starts. In a large bowl, you’re tossing your sliced apples with cinnamon, half of the caramel sauce, heavy cream, and a pinch of sea salt. The cream does something special here. It mellows the caramel just enough so it wraps around the apples like a rich, silky sauce instead of just pooling at the bottom.
Stage two: the buttery crumble. In a separate bowl, whisk together the flour, brown sugar, and old-fashioned rolled oats until they’re evenly combined. Then add the softened butter. Use your fingers or a pastry blender to work it into the dry ingredients. You’re looking for a mixture that resembles coarse crumbs. This is the oat topping that’s going to give you that irresistible golden crunch.
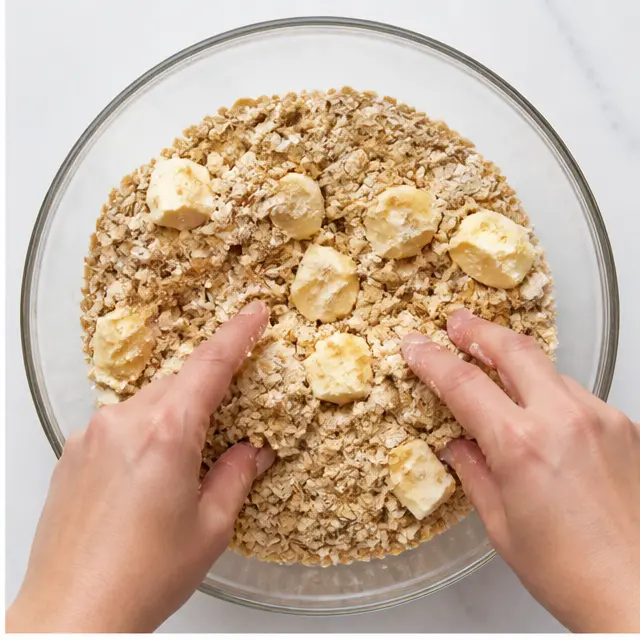
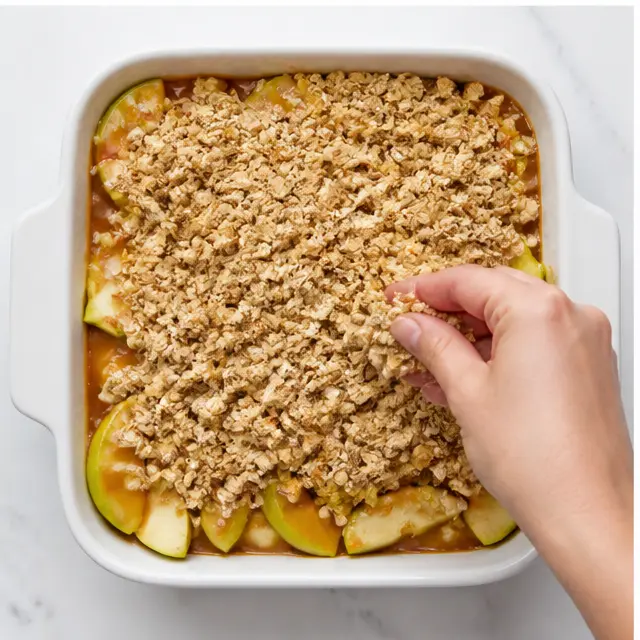
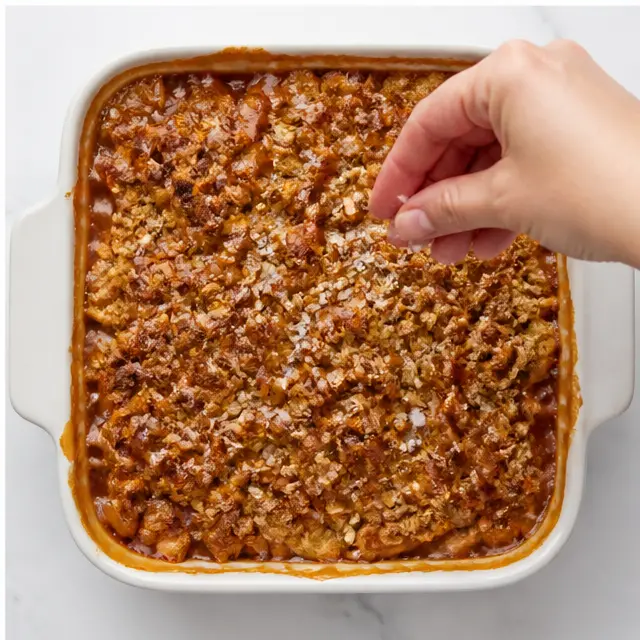
Stage three: assemble and bake. Pour the apple mixture into your prepared baking dish. Then sprinkle the crumble topping evenly over the top. Make sure you cover the apples completely. Bake at 350°F (175°C) for about 35 minutes, until the topping is a deep golden brown and the filling is bubbling up around the edges. That bubbling is your signal. It means the caramel is doing its thing.
Stage four: the final drizzle. This is the part that turns a good crisp into a memorable one. Let the crisp cool for about 10 minutes. Then drizzle the remaining half cup of salted caramel sauce all over the top. A few extra flakes of sea salt? Yes, please. It’s the perfect final touch.
Tips for the Perfect Apple Crisp
Look, baking should be fun, not stressful. This salted caramel apple crisp is the kind of recipe that makes you look like a hero. But a few tips from my own trial and error will save you from the classic apple crisp mistakes.
My Non-Negotiables
❌ Mistake → ✅ Solution: Don’t use melted butter in the topping. It makes the crumble spread out and lose that craggy texture. Use softened butter and work it in until you see coarse crumbs.
- Don’t overmix the topping. Overworking the flour develops gluten, and you’ll end up with a tough, dense crust instead of a crumbly one. Mix until it just comes together.
- Cover it if it’s browning too fast. Every oven runs different. If your topping is looking dark at the 25-minute mark, loosely cover it with foil for the last 10 minutes.
- Let it cool before serving. I know it’s tempting, but hot caramel is basically lava. Give it 10 minutes. Your tongue will thank you.
- Don’t skip the cream in the filling. It sounds odd, but it creates a richer, more cohesive sauce that clings to the apples instead of separating.
Now, what if the topping just isn’t getting crispy? That usually means the butter was too soft or the topping was spread too thick. A good rule of thumb is to make sure you have an even layer, not a huge mound in the center. Cold butter makes a flakier, crunchier topping, so don’t be shy about popping your mixed crumble in the fridge for 10 minutes before baking.
Salted Caramel Apple Crisp Variations
One of the best things about this easy apple crisp is how adaptable it is. You can make it fit your pantry or your dietary needs without sacrificing an ounce of flavor. Here are some of my favorite swaps:
- Gluten-free: Use a 1:1 gluten-free flour blend and certified gluten-free oats. That’s it. The texture holds up beautifully, so no one will even know it’s not the original.
- Dairy-free: Swap the unsalted butter for a plant-based butter alternative and use your favorite dairy-free heavy cream substitute. There are some great oat-based creams out there that work perfectly.
- Sweet tooth? Swap the Granny Smith apples for Honeycrisp or Fuji if you prefer a sweeter, less tart filling.
- Extra salty: Love that salted caramel combo? Sprinkle a pinch of extra flaky sea salt on top right before serving. It really amps up the flavor.
- Nutty twist: While the classic recipe uses a pure oat topping, a handful of chopped pecans or almonds folded into the crumble adds a lovely crunch. Totally optional, but delicious.
If you’re thinking about making this a make-ahead dessert, you’re in luck. Assemble the entire crisp, cover it tightly with plastic wrap, and pop it in the fridge for up to 24 hours. When you’re ready to bake, just add about 5 minutes to the cook time. It’s the ultimate stress-free dinner party finale.
How to Store and Serve Apple Crisp
It’s late, you’ve had a slice (or two), and there’s a little bit of caramel apple crisp left in the dish. Here’s how to keep it delicious for the next couple of days.
For storage: Cover the baking dish with foil or plastic wrap, or transfer leftovers to an airtight container. Store it in the refrigerator for up to 3 days. I don’t recommend leaving it out on the counter for more than 2 hours, mostly because of the dairy in the cream and caramel.
For reheating: This is where the magic happens. The microwave is fast but it can turn that crispy topping into a soggy mess. My preferred method is the oven. Reheat it at 350°F (175°C) for about 10 minutes. It brings back the crunch and warms the caramel back to that gooey, liquid state. It’s a true warm apple dessert again.
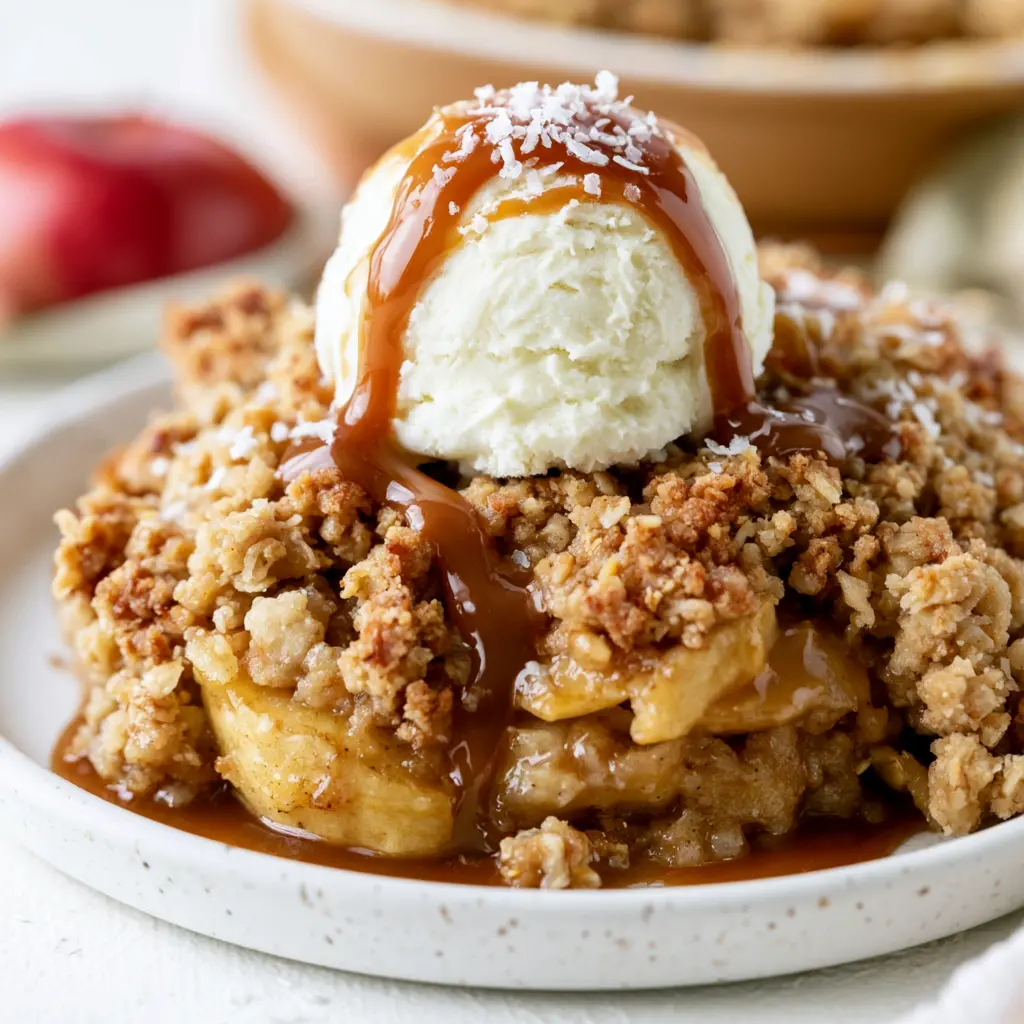
Now, the most important serving tip: vanilla ice cream, and plenty of it. The cold, creamy ice cream melting over the hot, spiced apples is honestly what dreams are made of. No time for ice cream? A generous dollop of whipped cream works in a pinch. I won’t judge.
And hey, want to see more of what I’m baking up? I’m always pinning new ideas. You can follow me on Pinterest for more dessert inspirations. I’d love to see how yours turns out.
Salted Caramel Apple Crisp FAQ
Source: Learn More About This Dish
What kind of apples do you use for apple crisp?
Granny Smith apples are your best bet. They’re tart, firm, and hold their shape beautifully in the oven. If you prefer a sweeter filling, Honeycrisp or Fuji apples are great swaps or additions.
What kind of dish do you use for apple crisp?
I use a 9×9 inch baking dish for this recipe. It gives you the perfect ratio of filling to that crunchy oat topping. A cast iron skillet or an 8×8 pan also works well, just keep an eye on your baking time.
Should I peel the apples?
It’s completely up to you. Leaving the skin on adds texture and a bit of rustic charm. Peeling them results in a smoother, more unified filling. Both ways work beautifully, so go with your preference.
Can I make these ahead of time?
Absolutely. Assemble the entire caramel apple crisp, cover it, and refrigerate for up to 24 hours. When you are ready to bake, add about 5 extra minutes to the cooking time. It’s the perfect make-ahead dessert.
Should I store apple crisp at room temperature or in the fridge?
Always store it in the refrigerator. Because this recipe has heavy cream and caramel sauce, it’s best to keep it chilled. Cover it with foil or plastic wrap, and it will stay fresh for up to 3 days.
Can you freeze apple crisp?
For a standard crisp, freezing is possible but not ideal. The topping tends to lose its crunch when thawed. If you have frozen leftovers, the best way to reheat them is in the oven to help crisp the topping back up.
Can I double this recipe for a 9×12-inch pan?
Yes, you can. Doubling the ingredients for a 9×13-inch baking dish works perfectly. Just be aware that the filling will be deeper, so you’ll likely need to add about 10 minutes to the total baking time to ensure it’s bubbling.
Can I use apple pie filling instead?
I recommend sticking with fresh apples. Apple pie filling is already cooked and coated in a thick gel, which adds too much moisture to this recipe. The result can be a soggy crisp. Fresh, sliced Granny Smith apples are the way to go.
Can I use store-bought caramel sauce?
Yes, and I encourage it. A high-quality store-bought salted caramel sauce is the shortcut that makes this recipe so simple. You don’t have to be intimidated by making homemade caramel; the store-bought version works beautifully here.
Can I use Honeycrisp apples?
Yes, Honeycrisp apples are a wonderful choice, especially if you prefer a sweeter dessert. They’re slightly less tart than Granny Smith apples but they hold their shape just as well when baked, giving you a deliciously tender bite.