

Why You’ll Love This Cherry Yum Yum
You know those days when the temperature hits ninety and the idea of turning on the oven feels like a personal attack? Yeah, me too. That’s exactly when this cherry yum yum comes to the rescue. It’s the kind of dessert that makes you look like you spent hours in the kitchen when really, you barely broke a sweat.
I first made this cherry yum yum for a potluck that I totally forgot about until the morning of. I was scrambling, kids were asking for snacks, and I needed something that wouldn’t make my kitchen feel like a sauna. This recipe saved my sanity. And honestly? It was the first dish to disappear at that party. People kept asking for the recipe, and I just smiled knowing how easy it was.
This no bake cherry dessert is basically a dream come true. It’s got a buttery graham cracker crust, a creamy cheesecake-like filling made with cream cheese and sweetened condensed milk, and a generous layer of cherry pie filling on top. The whole thing sets up in the fridge, so you just chill it and forget about it. No stress, no sweat, just pure dessert magic.
And here’s the thing it’s nearly impossible to mess up. Seriously. If you can stir and press crumbs into a pan, you can make this. It’s the perfect easy cherry dessert for summer barbecues, family reunions, or honestly just a Tuesday when you need a little something sweet.
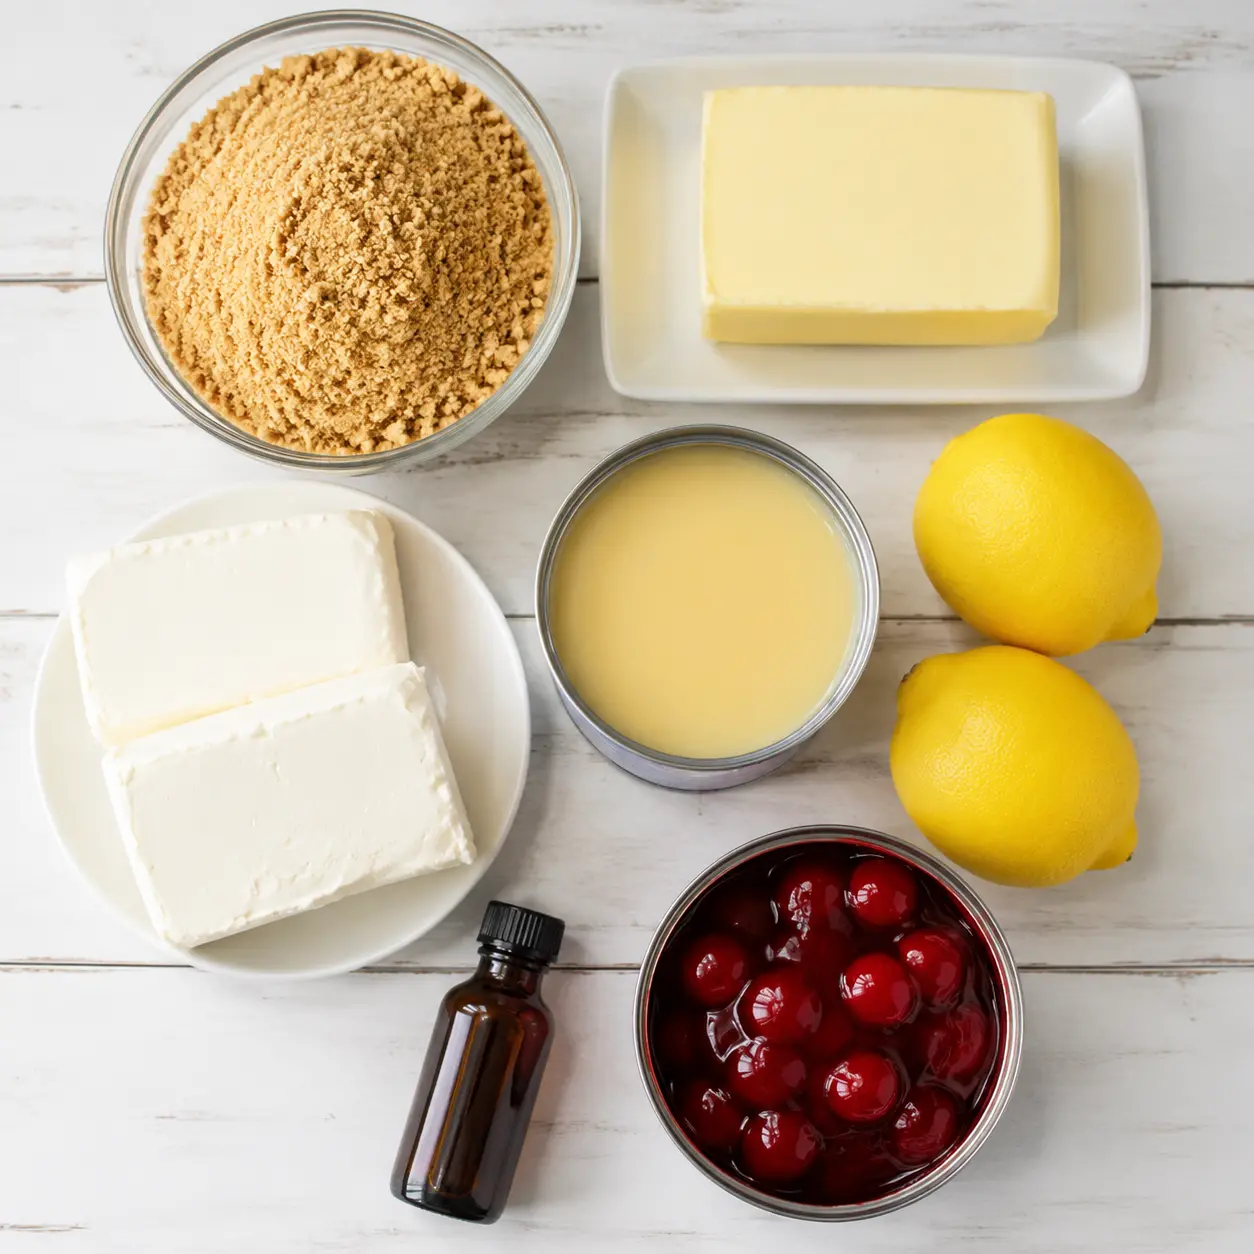
Ingredients You’ll Need
Let’s talk about what goes into this cherry cream cheese dessert. The ingredient list is short and sweet, and you probably have most of it already. That’s the beauty of this recipe it’s made from pantry staples that won’t break the bank.
For the crust:
- Graham cracker crumbs about 10 to 12 full crackers, crushed fine. You can buy pre-crushed crumbs if you’re in a hurry, but crushing your own is super satisfying and gives a better texture.
- Unsalted butter melted, to bind everything together. Six tablespoons is the sweet spot for a crust that holds together without being greasy.
For the filling:
- Full-fat cream cheese two 8-ounce blocks, softened to room temperature. This is non-negotiable for that silky smooth texture. Low-fat works in a pinch, but full-fat gives you that rich, luxurious mouthfeel.
- Sweetened condensed milk one 14-ounce can. This is what makes the filling thick and luscious without any cooking. It’s the secret weapon of this no bake layered dessert.
- Freshly squeezed lemon juice a quarter cup, from about two lemons. Don’t use the bottled stuff here. Fresh lemon juice reacts with the condensed milk to help thicken the filling naturally.
- Vanilla extract a teaspoon for warmth and depth.
For the topping:
- Cherry pie filling one 21-ounce can. I like to buy the premium kind with extra cherries, but any brand works. The cherries glisten like jewels on top of that creamy layer, and it’s just gorgeous.
That’s it. Seven ingredients for a dessert that tastes like you fussed for hours. I love this cherry dessert recipe because it’s so simple, but the result is absolutely stunning.
How to Make Cherry Yum Yum
Alright, let’s get into the how-to. This cherry yum yum comes together in four main stages, and I’ll walk you through each one. The key is to take your time with the crust and make sure your cream cheese is properly softened. Trust me on that.
Stage 1: Prepare the Crust
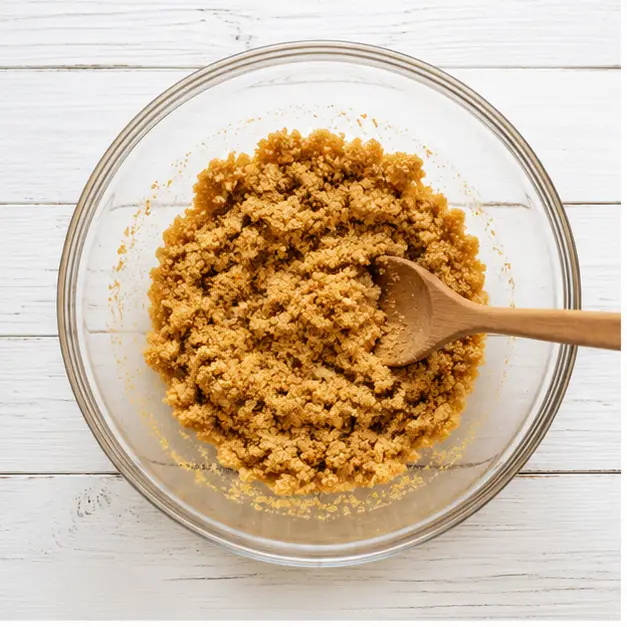
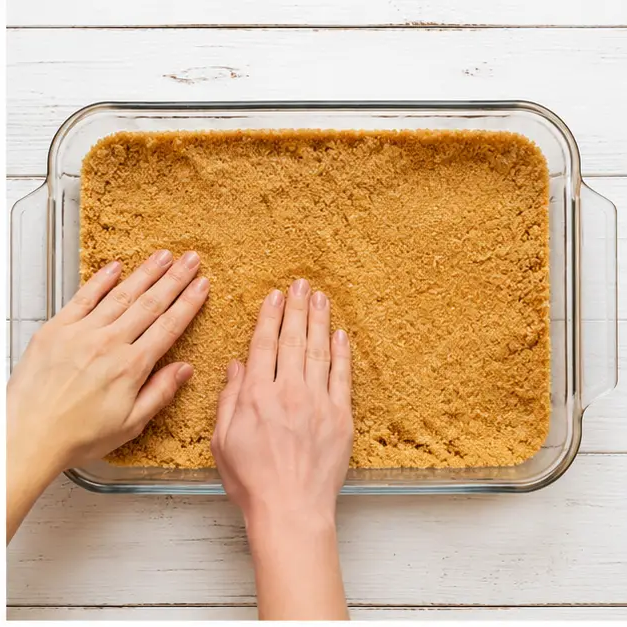
First things first, preheat your oven to 350°F. In a medium bowl, combine the graham cracker crumbs with the melted butter. Mix it until it looks like wet sand you want every crumb coated. Then press the mixture firmly into the bottom of a 9×13-inch baking dish. I use the bottom of a measuring cup to really pack it down. Bake for 10 minutes until it’s lightly golden and set. Let it cool completely before adding the filling. If you really don’t want to use the oven, you can freeze the crust for 30 minutes instead. But honestly, the baked version is worth the tiny bit of effort it gives the crust a nice crunch that contrasts with the creamy layers.
Stage 2: Make the Filling
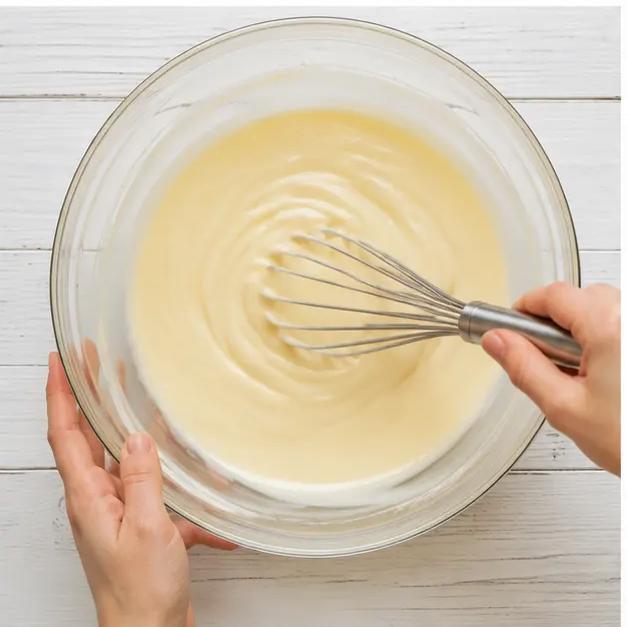
While the crust cools, get your filling ready. In a large mixing bowl, whisk together the sweetened condensed milk and lemon juice. You’ll see it start to thicken almost immediately that’s the magic of the acid reacting with the milk. Then add the softened cream cheese and vanilla extract. Beat with an electric mixer on medium speed until everything is creamy and fully combined. This takes about 2 minutes. Scrape down the sides of the bowl halfway through to make sure there are no lumps.
Here’s where my first attempt went wrong. I was in a hurry and used cold cream cheese straight from the fridge. Big mistake. The filling was lumpy and I had to pick out little chunks of cream cheese. Not the end of the world, but not as smooth as it should be. So learn from my mistake let that cream cheese sit out for at least 30 minutes before you start.
Stage 3: Assemble the Layers
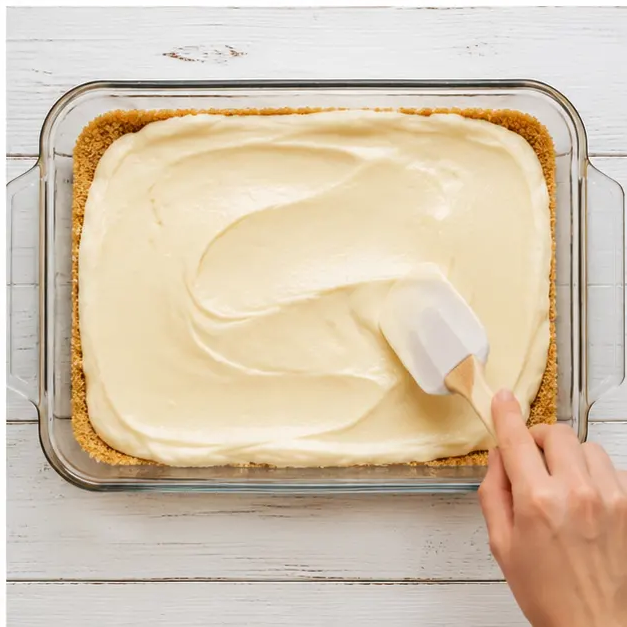
Spread the cream cheese filling evenly over the cooled crust. Use a metal spatula to get it all the way to the edges without pulling up the crust. Then gently spoon the cherry pie filling over the top and spread it into an even layer. Try not to disturb the filling underneath too much you want those layers to stay distinct. The contrast between the white creamy layer and the bright red cherries is just beautiful.
Stage 4: Chill and Serve
Cover the dish with plastic wrap and refrigerate for at least 6 hours, but overnight is even better. I know, the wait is the hardest part. But this cherry yum yum needs that time to set up properly. If you cut into it too soon, it’ll be a sloppy mess. After it’s fully set, cut into squares and serve chilled. For clean slices, dip a sharp knife in hot water and wipe it dry between cuts. It makes a huge difference.
Tips for the Best Cherry Yum Yum
After making this cherry yum yum more times than I can count, I’ve picked up a few tricks that make it even better. Here are my top tips for success:
- Soften your cream cheese. I cannot stress this enough. Room temperature cream cheese blends smoothly and gives you that luscious, lump-free filling. If you forget to take it out, microwave it for 10 seconds at a time until it’s soft but not melted.
- Use fresh lemon juice. The bottled stuff has preservatives that can affect the thickening reaction. Fresh lemon juice makes the filling set up perfectly.
- Chill for the full time. Six hours is the minimum. Overnight is ideal. This cherry dessert for potluck needs that time to firm up so it slices cleanly.
- Don’t skimp on the crust. Press it down firmly so it holds together. A loose crust will crumble when you try to cut the dessert.
- Use a metal spatula to spread the filling. It glides smoothly without disturbing the crust underneath.
- Buy premium cherry pie filling if you can. The extra cherries make a big difference in every bite.
One more thing if you want a crunchier crust, bake it. If you prefer a softer crust, freeze it for 30 minutes before adding the filling. Both work great, it’s just a matter of preference.
How to Serve
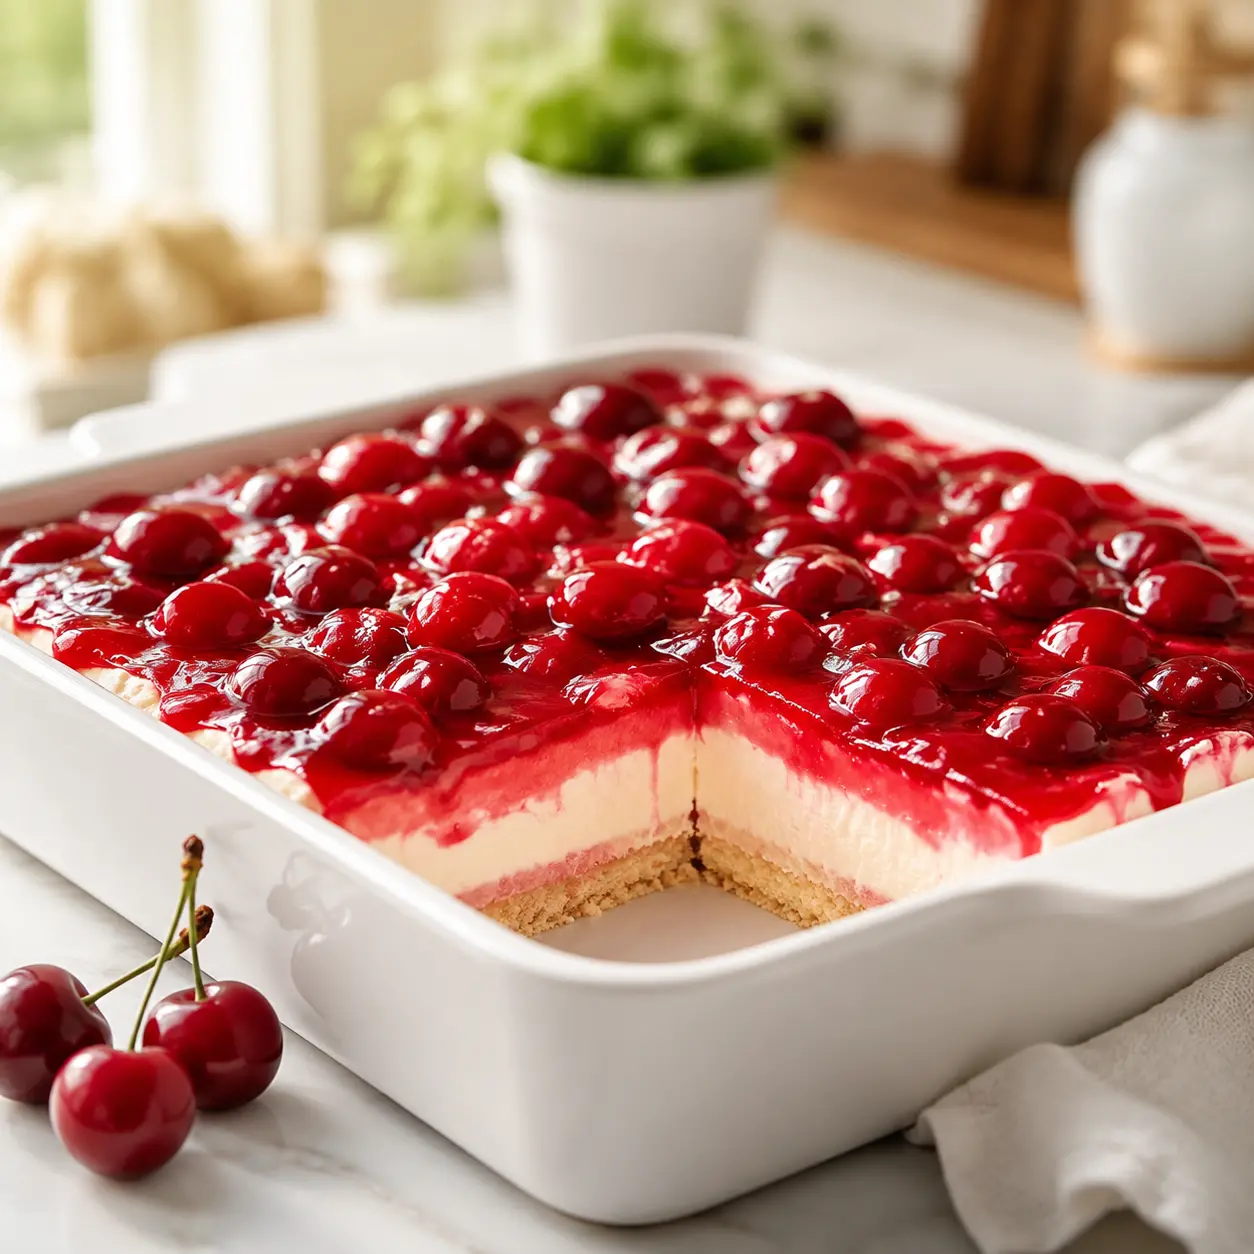
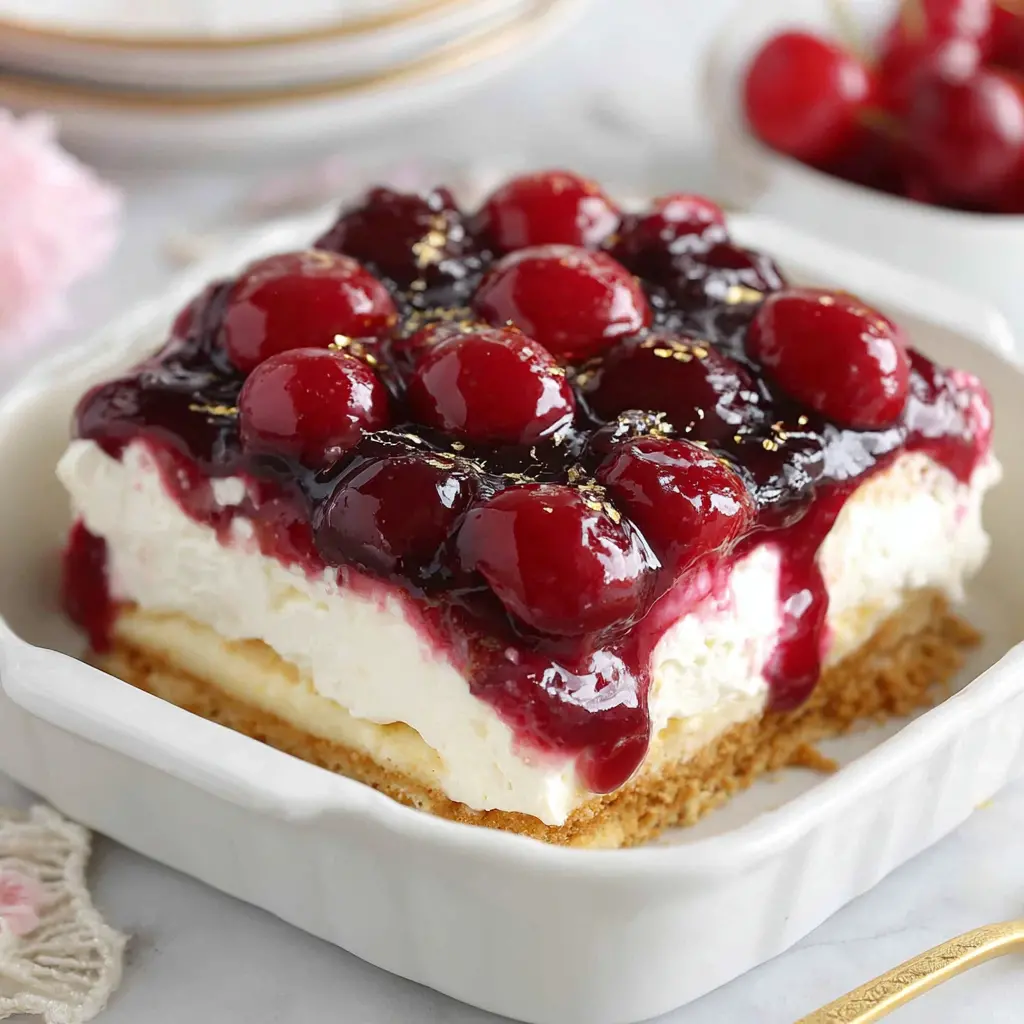
This cherry yum yum is a showstopper on its own, but there are a few ways to make it even more special. I like to serve it chilled straight from the fridge, cut into neat squares. The layers are so pretty the golden crust, the creamy white filling, and the glossy cherry topping with those deep red cherries.
For a little extra flair, you can add a dollop of whipped cream on top of each slice. Or serve it with a scoop of vanilla ice cream on the side the cold creaminess pairs perfectly with the sweet cherry layer. I’ve also drizzled a little chocolate sauce over the top, and let me tell you, that combination is dangerous.
This summer no bake dessert is perfect for potlucks because it travels well. Just keep it refrigerated until you’re ready to leave, and it’ll be fine for a few hours. When you pull it out at the party, everyone’s going to ooh and aah over the beautiful layers. And you can just smile knowing it took you about 15 minutes of active work.
Storage and Make Ahead
One of the best things about this cherry yum yum is that it’s perfect for making ahead. In fact, it actually tastes better after sitting in the fridge for a day. The flavors meld together, and the texture gets even creamier.
To store leftovers, cover the dish with plastic wrap or transfer the squares to an airtight container. Keep it in the refrigerator for 3 to 4 days. The crust might soften a little over time, but it’s still delicious. You can also freeze this cherry yum yum for up to a month. Wrap it tightly in plastic wrap and then foil, and let it thaw in the fridge overnight before serving. Just know that the texture might be slightly different after freezing the filling can get a little icy if not wrapped well.
For make-ahead prep, I like to make this cherry yum yum the day before I need it. It sets up perfectly overnight, and then I don’t have to think about dessert the day of the event. It’s one less thing to stress about, and that’s always a win in my book.
Variations and Substitutions
This cherry yum yum recipe is super versatile. Once you master the base, you can switch things up with different flavors. Here are some ideas:
- Different pie fillings: Try blueberry, strawberry, peach, or apple pie filling instead of cherry. Each one gives a different flavor, and they all work beautifully.
- Different crusts: Use crushed digestive biscuits, vanilla wafers, or even shortbread cookies instead of graham crackers. Each one adds a unique flavor and texture.
- Add nuts: Sprinkle chopped pecans or walnuts over the cherry layer for some crunch. Toast them first for extra flavor.
- Different extracts: Swap the vanilla for almond extract or coconut extract for a different twist. Just use a little less since they’re stronger.
- Make it lighter: Use reduced-fat cream cheese and a sugar-free pie filling if you’re watching calories. The texture will be slightly less rich, but it’s still good.
I’ve made this with blueberry pie filling for a Fourth of July party, and it was a hit. The deep blue color against the white cream cheese layer is gorgeous. Don’t be afraid to experiment this cherry cream cheese dessert is forgiving and fun to play with.
Frequently Asked Questions
I hope you love this cherry yum yum as much as my family does. It’s one of those recipes that feels special but is so simple to throw together. If you’re looking for more no-bake desserts, I’ve got plenty more where this came from. And if you try this recipe, I’d love to hear how it turns out for you. Drop a comment below or tag me in your photos I’m always excited to see what you make!
For more dessert inspiration, you can find me on Pinterest where I share all my favorite recipes. Go make this cherry yum yum, and get ready for the compliments!
Classic Cherry Yum Yum Dessert
Ingredients
Method
- Preheat your oven to 350°F. In a medium bowl, combine the graham cracker crumbs with the melted butter until the mixture looks like wet sand.
- Press the crumb mixture firmly into the bottom of a 9x13-inch baking dish. Bake for 10 minutes until lightly golden and set. Let cool completely. (You can skip baking and freeze the crust for 30 minutes if preferred.)
- In a large mixing bowl, whisk together the sweetened condensed milk and lemon juice until smooth and slightly thickened.
- Add the softened cream cheese and vanilla extract. Beat with an electric mixer on medium speed until the mixture is creamy and fully combined, about 2 minutes.
- Spread the cream cheese filling evenly over the cooled crust, reaching all the way to the edges.
- Gently spoon the cherry pie filling over the cream cheese layer and spread into an even layer without disturbing the filling underneath.
- Cover the dish with plastic wrap and refrigerate for at least 6 hours, preferably overnight, until firm and set.
- Cut into squares and serve chilled. Store leftovers covered in the refrigerator for 3 to 4 days.
Nutrition
Notes
Tried this recipe?
Let us know how it was!How do I store leftovers of this cherry yum yum dessert?
Cover the dish tightly with plastic wrap or transfer individual squares to an airtight container. Store in the refrigerator for 3 to 4 days. The crust may soften slightly, but the flavor actually improves as it sits. You can also freeze it for up to a month, wrapped well in plastic and foil.
Can I use different nuts instead of pecans in the crust?
Absolutely! Chopped walnuts are a great substitute for pecans in this cherry yum yum. You can also skip the nuts entirely and just use the graham cracker crust as written. For a nut-free version, try adding a sprinkle of toasted coconut or extra graham cracker crumbs on top for crunch.
Does this yum yum dessert require baking?
Not really! This is a no bake cherry dessert at heart. The crust is baked for 10 minutes to give it a nice crunch, but you can skip the oven entirely by freezing the crust for 30 minutes instead. The filling and topping require no cooking at all, making this a perfect summer dessert.
Can I make this yum yum pie ahead of time?
Yes, and I actually recommend it! This cherry yum yum needs at least 6 hours to set in the fridge, so making it the day before is perfect. The flavors meld together overnight, and it slices even cleaner after a full 24 hours. Just cover it tightly and keep it refrigerated until you’re ready to serve.










6 Responses
Quick question: Could I use a different fruit topping, like blueberry or strawberry pie filling? Also, how long does it keep in the fridge? Planning to make it for a picnic.
Absolutely, David! Any pie filling works wonderfully—blueberry and strawberry are both fantastic. It keeps well in the fridge for up to 5 days, just cover it tightly. Perfect for a picnic!
This was good but a bit too sweet for my taste. Next time I might try using light cream cheese and cutting back on the condensed milk a little. Has anyone tried reducing the sugar?
Hi Mark! You can definitely reduce the sweetness by using low-fat cream cheese or even adding a pinch of salt to the crust to balance it. I’ve also had readers use a no-sugar-added cherry pie filling with great results!
Made this for a family BBQ last weekend and it was a huge hit! So creamy and refreshing. I used a gluten-free graham cracker for the crust and it worked perfectly. Thanks for the easy recipe!
I love no-bake desserts, and this cherry yum yum was so simple to throw together. The lemon juice really brightens up the filling. I added a little almond extract too—highly recommend!