Ingredients
Method
- Preheat your oven to 350°F (175°C). Grease and flour two 8-inch round cake pans, then line the bottoms with parchment paper and set aside. In a medium mixing bowl, cream together the butter and sugar until light and fluffy. Beat in the eggs one at a time, then continue mixing on high speed for about 3 minutes, until the mixture becomes pale and airy. Stir in the vanilla extract or paste. In a separate bowl, whisk together the flour, baking powder, and salt. Add the dry ingredients to the creamed mixture in three additions, alternating with the milk and beginning and ending with the dry mixture. Mix until just combined, being careful not to overbeat. Evenly divide the batter between the prepared pans and smooth the tops with the back of a spoon or spatula. Bake for 30 to 40 minutes, or until a toothpick inserted into the center comes out clean. Let the cakes cool in the pans for 5–10 minutes, then turn them out onto a wire rack to cool completely.
- For the frosting, beat the softened butter until smooth and fluffy. Gradually add the powdered sugar, one cup at a time, and mix until fully incorporated. Add ⅓ cup of the cooled caramel sauce and beat again until light and fluffy. If the frosting appears too thick, add 1 to 2 tablespoons of cream or milk to adjust the consistency.
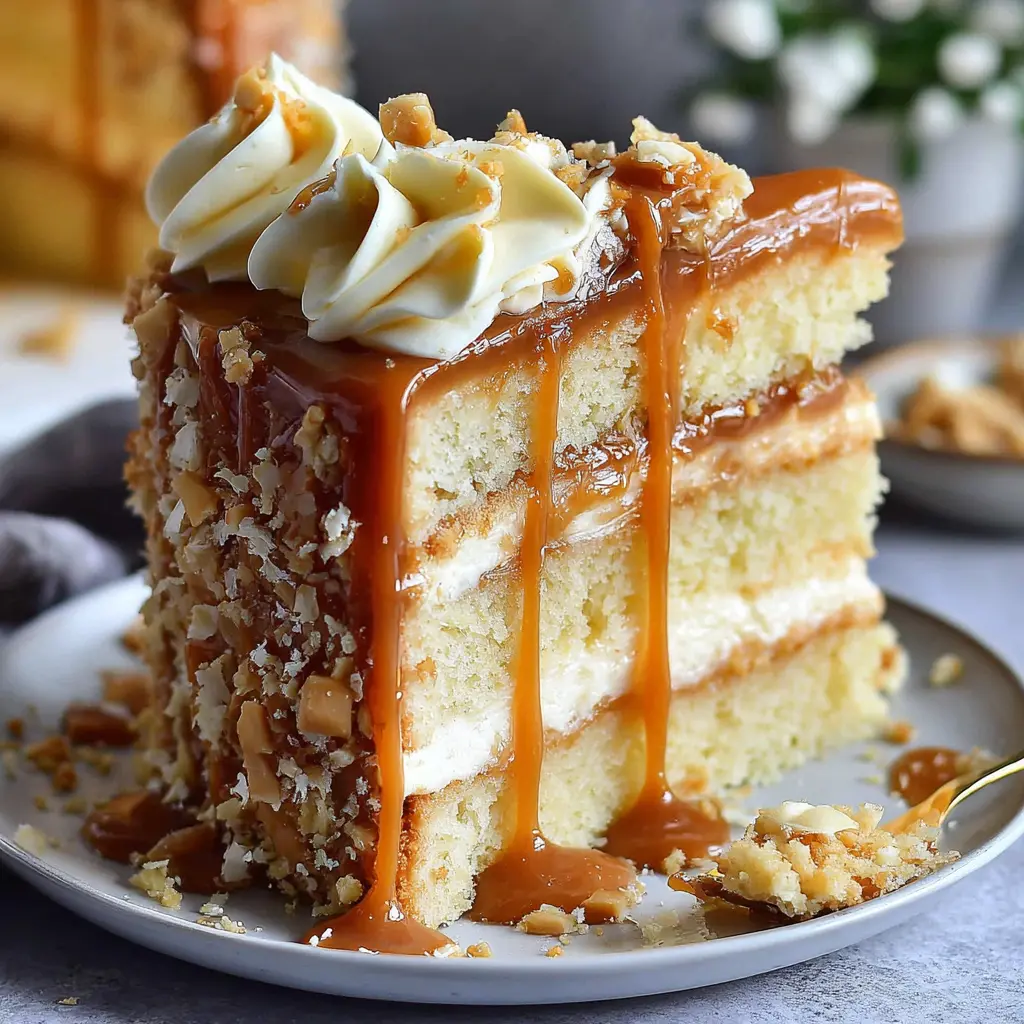
- To assemble the cake, place one cake layer on a serving plate or cake stand. Use a fork to gently poke holes across the surface of the cake. Carefully pour about ⅓ cup of the caramel sauce over the top, allowing it to seep into the holes. Spread a thick layer of frosting over the caramel-soaked layer. Add the second cake layer on top, with the flattest side facing up. Repeat the process of poking holes, drizzling with the remaining caramel sauce, and spreading on the frosting. For an extra touch, sprinkle flaky sea salt over the top if desired.
Notes
Vanilla Bean Swap: I love using a whole vanilla bean scraped directly into the batter here, it gives the cake those beautiful little black specks and a deeper, more floral flavor than extract alone.
Caramel Sauce Tip: Don't skip poking holes in the cake layers before adding the caramel.
I've learned this the hard way, the caramel just slides right off a smooth surface and you lose all that wonderful moisture.
Make Ahead Frosting: You can make the frosting a day ahead and keep it in the fridge.
Just let it come back to room temperature and give it a quick whip with a mixer before using, it will be silky smooth again.
Storage Instructions: This cake stays moist for days if you keep it covered at room temperature.
I usually store it under a cake dome for up to three days, but never refrigerate it, the fridge dries out the cake and makes the frosting stiff.
Common Mistake to Avoid: Do not overbeat the batter once you add the flour.
I mix just until the flour disappears, then stop.
Overmixing develops the gluten and makes the cake tough instead of tender.
Serving Suggestion: A sprinkle of flaky sea salt right before serving is my favorite finishing touch.
It cuts through the sweetness of the caramel and frosting perfectly, making each bite more interesting.
Equipment Alternative: If you don't have two 8-inch pans, you can bake this in a 9x13 inch pan instead.
Just increase the baking time by about 5 to 10 minutes and check for doneness with a toothpick.
