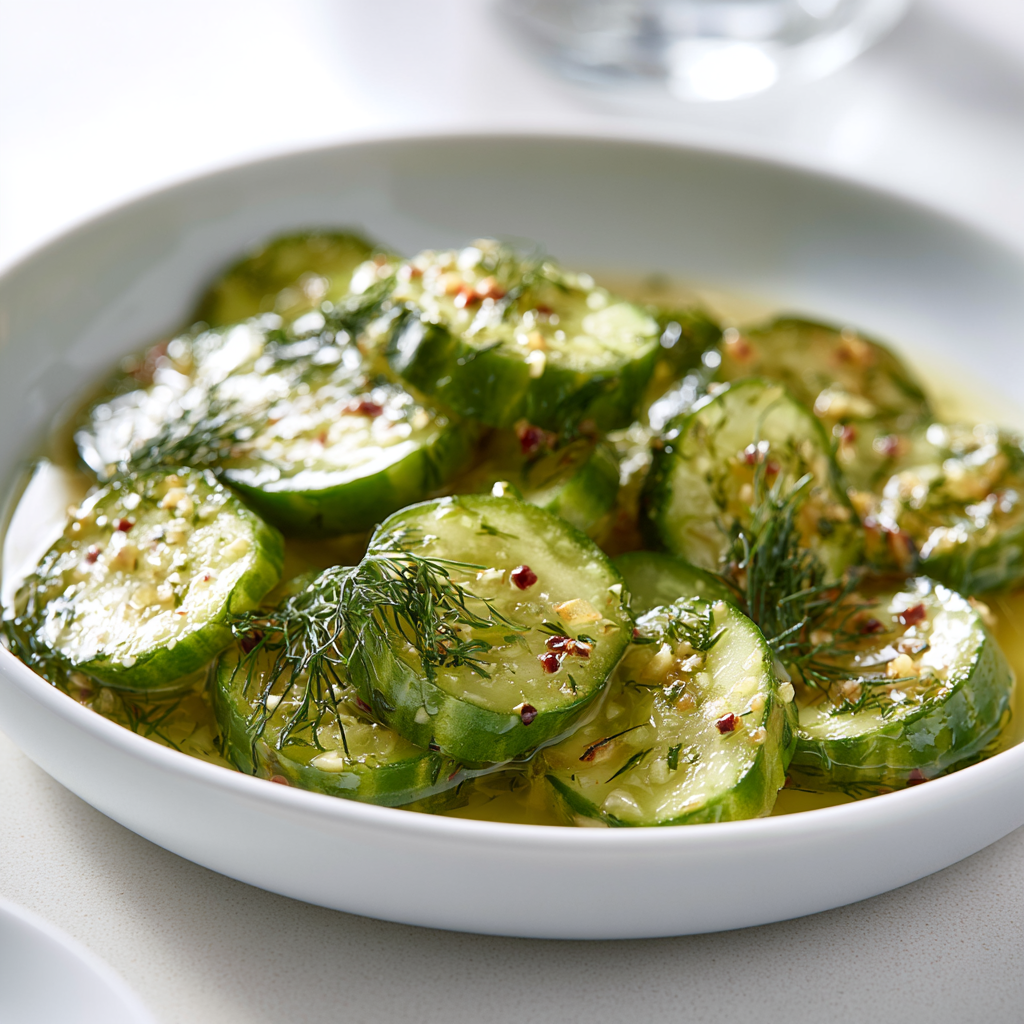
Why Make These Quick Dill Pickles
Let me tell you about the first time I made these quick dill pickles. It was a scorching July afternoon, and I had just come back from the Santa Monica Farmers Market with a bag of the most beautiful Kirby cucumbers I’d ever seen. My plan was to make a simple side for our Taco Tuesday spread, but honestly? I was intimidated. I’d tried pickling before and ended up with sad, limp spears that tasted more like vinegar than anything else.
But here’s the thing about these quick dill pickles they’re basically impossible to mess up. No water baths, no sterilization, no complicated equipment. Just a saucepan, some jars, and about 25 minutes of your time. And the payoff? Crisp, tangy, garlicky pickles that’ll make you wonder why you ever bought the store-bought stuff.
I’m a recipe developer by trade, which means I’ve tested a lot of pickle recipes. Like, a lot. And this one? It’s the one I keep coming back to. It’s the one I make for every summer BBQ, every potluck, every time I want something crunchy and satisfying without turning on the oven. Trust me on this once you try these quick dill pickles, you’ll never go back.
Plus, they’re ready in just 24 hours. That’s right you can have homemade pickles on your table tomorrow. No waiting weeks for fermentation, no special equipment. Just crisp, flavorful pickles that taste like summer in a jar.
Ingredients for Quick Dill Pickles
The beauty of this recipe is its simplicity. You don’t need a pantry full of exotic spices or special pickling salt. Here’s what you’ll need:
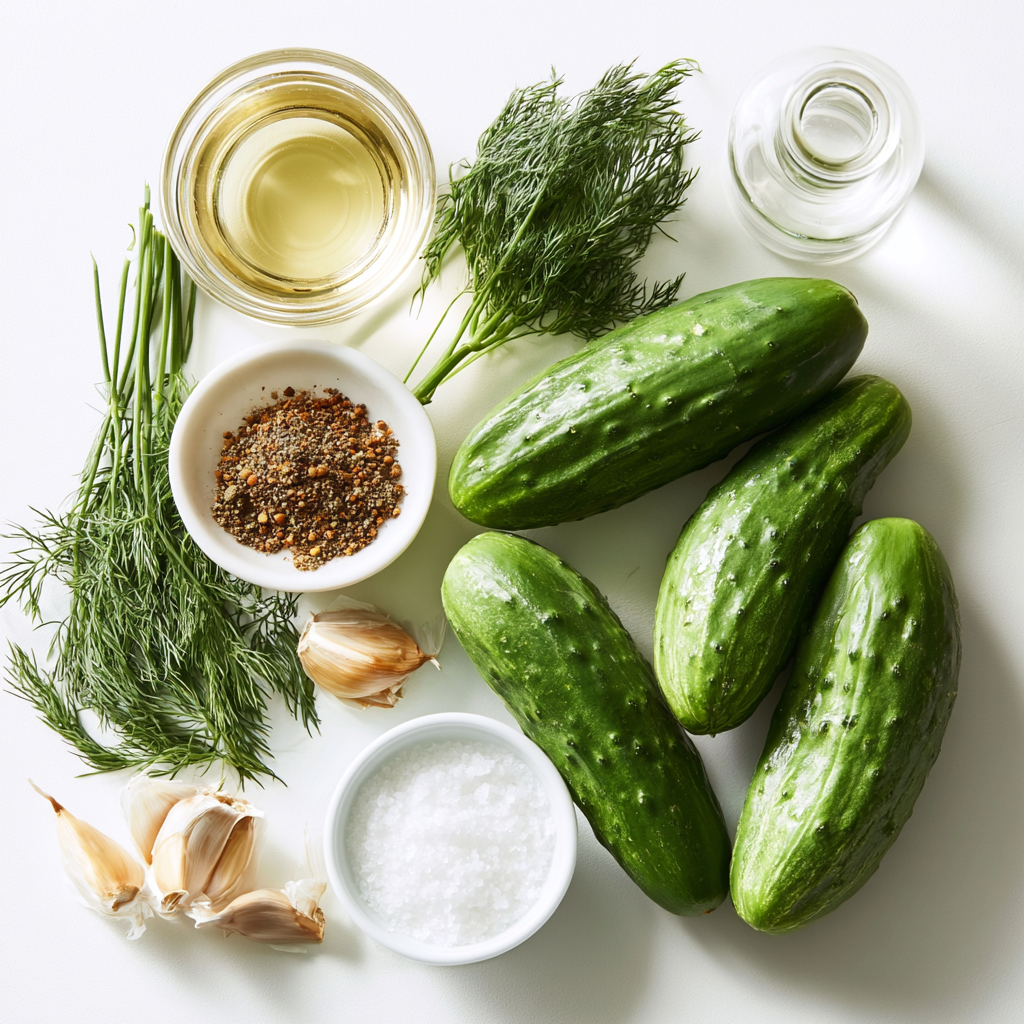
For the brine:
- 3 cups water
- 3/4 cup white vinegar
- 3 tablespoons granulated sugar
- 2 tablespoons kosher salt
For the pickles:
- 6 small cucumbers (about 6 inches long)
- 8 sprigs fresh dill
- 4 cloves garlic, sliced
- 2 tablespoons pickling spice
That’s it. Seven ingredients total. And here’s the thing the quality of those ingredients really matters. Use the freshest, firmest cucumbers you can find. If they’re a little soft or bendable, they’ll turn into mushy pickles. And nobody wants that.
I like to use Kirby cucumbers for these quick dill pickles. They’re the classic pickling cucumber firm, thin-skinned, and they hold up beautifully to the brine. But if you can’t find Kirbys, English or Persian cucumbers work great too. Just avoid the big waxed supermarket cucumbers. They’re bred for salads, not pickling, and they’ll turn out sad and watery.
The fresh dill is non-negotiable, by the way. Dried dill just doesn’t have the same bright, grassy flavor. And the garlic? I always add a little extra. But that’s a personal preference thing. You do you.
How to Make Quick Dill Pickles
Alright, let’s get into the actual process. I’m going to walk you through four main stages. Each one is simple, but I’ll explain the why behind each step so you understand what’s happening.
Stage 1: Make the Brine
Start by combining the water, white vinegar, sugar, and kosher salt in a medium saucepan. Bring it to a boil over medium-high heat, then reduce the heat and let it simmer for 15 minutes. This simmering step is important it dissolves everything completely and helps the flavors meld together.
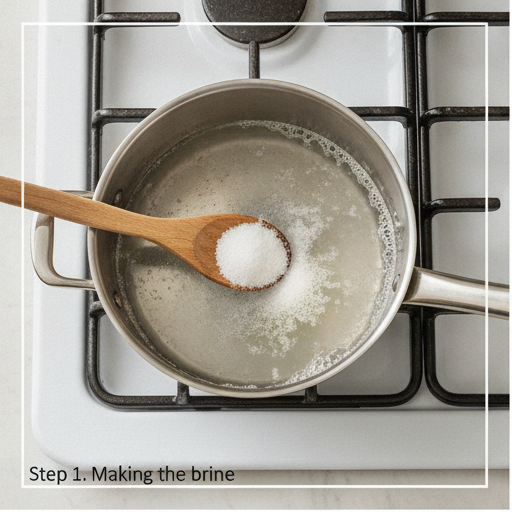
Here’s the trick: after 15 minutes, remove the brine from the heat and let it cool slightly. You want it warm, not boiling hot, when you pour it over the cucumbers. Boiling-hot brine can start cooking the cucumbers, and that leads to softer pickles. Warm brine? That’s the sweet spot.
Stage 2: Prepare the Cucumbers
While the brine is simmering, wash your cucumbers thoroughly. Trim off the ends this is important because the blossom end contains enzymes that can make pickles mushy. Then cut each cucumber lengthwise into 4 spears. You should end up with 24 spears total.
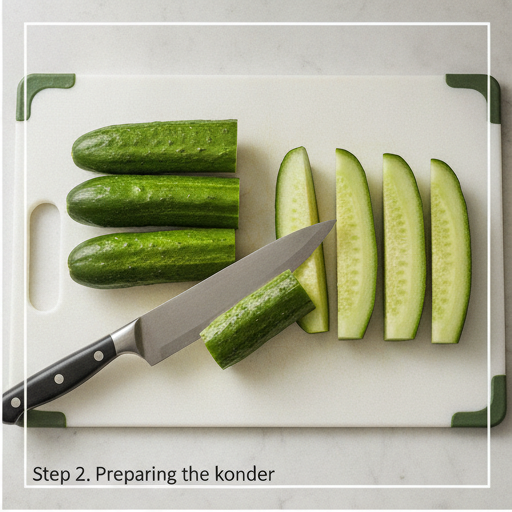
If the spears are too tall for your jars, trim them to fit. They should stand upright without poking above the rim. Pack them tightly into two 1-quart jars. They might not all fit if you have extras, just set them aside for snacking or another use.
Stage 3: Add the Aromatics
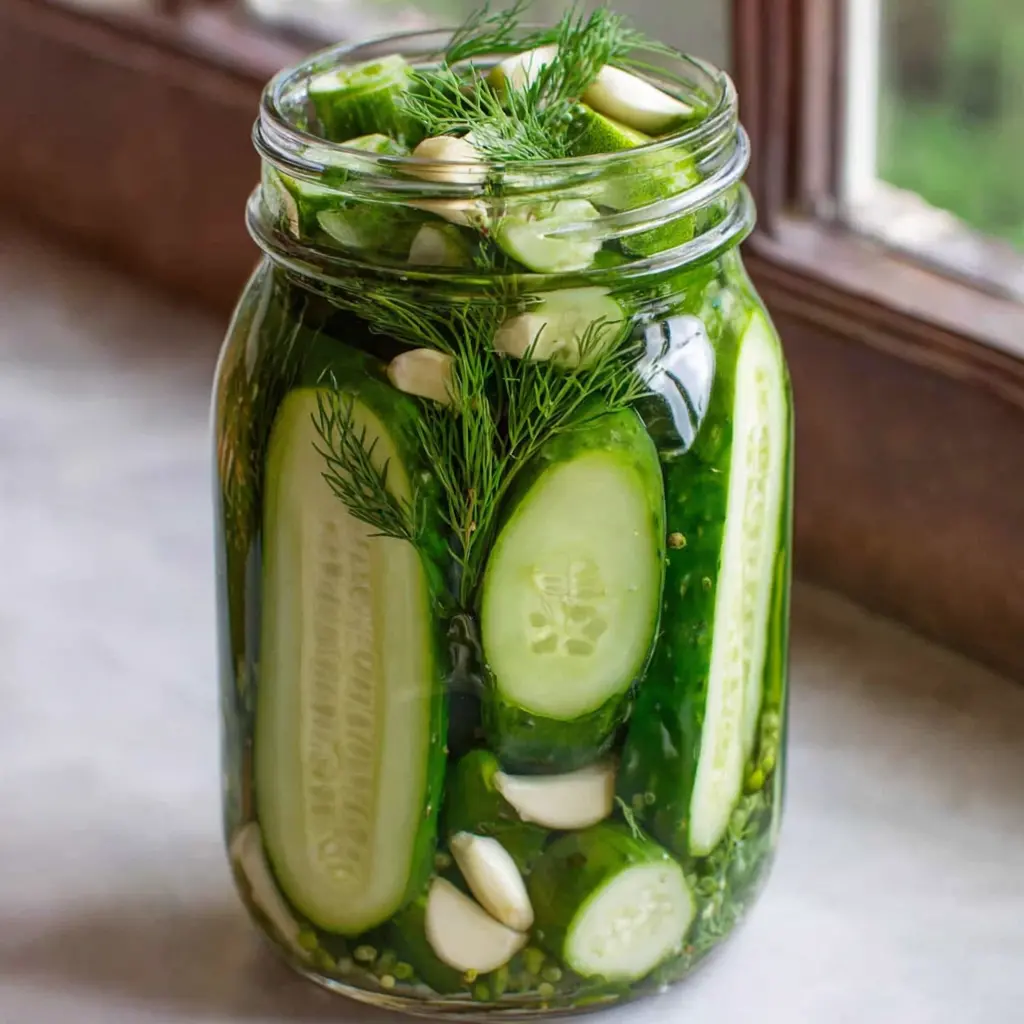
Now comes the fun part. Tuck the fresh dill sprigs down between the cucumber spears. Add the sliced garlic and pickling spice, distributing evenly between the two jars.
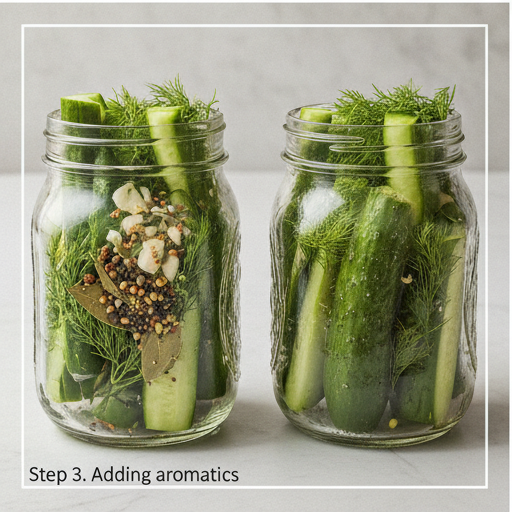
The smell at this point is incredible. Fresh dill, garlic, and that warm pickling spice it’s like a promise of what’s to come. I always take a moment to just breathe it in before pouring the brine.
Stage 4: Pour the Brine and Chill
Pour the warm brine evenly over the cucumbers in each jar. Make sure they’re fully submerged any cucumbers poking above the brine can spoil. Seal the jars with their lids.
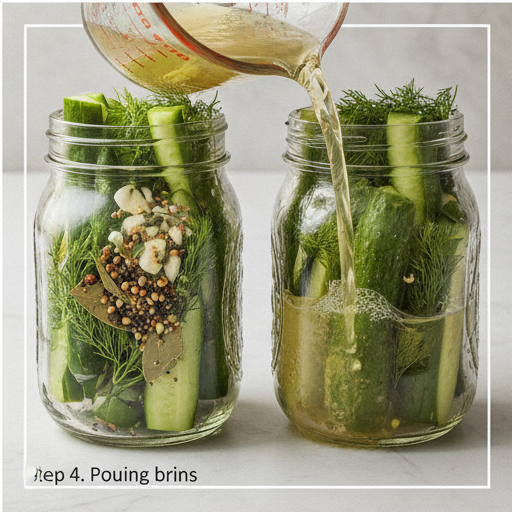
Now the hard part: waiting. Refrigerate the pickles for at least 24 hours before serving. I know, I know it’s tough. But trust me, the flavors need time to develop. The first time I made these quick dill pickles, I tried one after just 12 hours and it was… okay. But at 24 hours? Magic. At 48 hours? Even better.
Pickling Cucumbers vs Other Varieties
Let’s talk about cucumbers for a minute, because this is where a lot of people go wrong. Not all cucumbers are created equal when it comes to pickling.
Kirby cucumbers are the gold standard for pickling. They’re small, firm, and have thin skins that absorb the brine beautifully. They’re also less watery than other varieties, which means they stay crisp longer. If you see them at the farmers market or grocery store, grab them.
English cucumbers (the long ones wrapped in plastic) work well too. They’re seedless and have thin skins, so they pickle evenly. Just be aware that they’re a bit more watery than Kirbys, so the texture might be slightly less crisp.
Persian cucumbers are my second choice after Kirbys. They’re small, firm, and have a great crunch. Plus, they’re the perfect size for spears.
Regular slicing cucumbers (the big waxed ones) are the worst choice for pickling. They have thick skins, large seeds, and a high water content. They’ll turn into mushy, watery pickles that just don’t have the right texture. Save those for salads.
Storage and Shelf Life
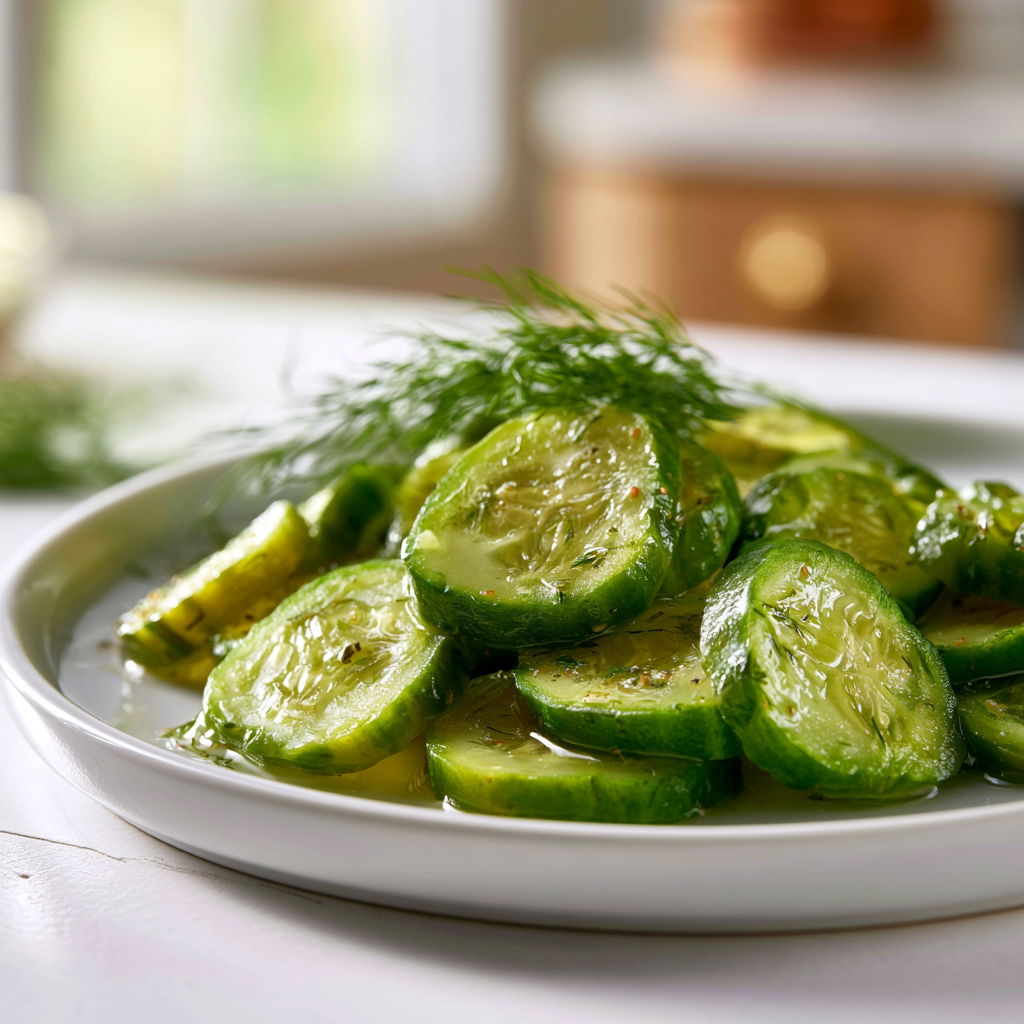
These quick dill pickles are refrigerator pickles, which means they need to stay cold. They’re not shelf-stable like canned pickles, so always keep them in the fridge.
How long do they last? Up to one month in the refrigerator. After that, the texture starts to decline and the flavor becomes less vibrant. I usually mark the date on the lid so I don’t forget.
Storage tips:
- Always keep the cucumbers fully submerged in the brine. If they’re poking out, they can spoil.
- Store in the coldest part of your fridge, not the door.
- Use clean utensils every time you take pickles out of the jar. Introducing bacteria can shorten their shelf life.
- Discard if you notice any off smells, mold, or discoloration.
One thing I love about these quick dill pickles is that they actually get better with a little age. The first few days, they’re good. But after a week? The flavors have really melded and deepened. They’re incredible.
Tips for the Best Results
After making these quick dill pickles more times than I can count, I’ve picked up a few tricks. Here’s what I’ve learned:
For extra crunch:
- Use the freshest, firmest cucumbers you can find. If they’re bendable, they’re too old.
- Keep everything cool. Cold cucumbers + cool brine = crisper pickles.
- Don’t skip the 15-minute simmer for the brine. It helps the salt and sugar dissolve completely and creates a more stable brine.
If your pickles turn out too salty:
Don’t panic. Add a splash of vinegar or water to the jar to dilute the brine. Let it sit for another day, and the flavors should balance out.
For more garlicky pickles:
Add an extra clove or two per jar. I’m a garlic fiend, so I usually do 3 cloves per jar instead of 2.
For spicier pickles:
Add a few red pepper flakes or a sliced jalapeño to each jar. This is totally optional, but it adds a nice kick.
Common mistakes to avoid:
- ❌ Using the wrong type of cucumber → ✅ Use Kirby, English, or Persian cucumbers
- ❌ Not cooling the brine enough → ✅ Let it cool slightly before pouring
- ❌ Using iodized salt → ✅ Use kosher salt (iodized salt can make the brine cloudy)
- ❌ Not ensuring brine covers cucumbers completely → ✅ Make sure they’re fully submerged
- ❌ Using reactive cookware (aluminum, copper, cast iron) → ✅ Use stainless steel, glass, or ceramic
Quick Dill Pickle FAQs
Serving Ideas and Pairings
These quick dill pickles are incredibly versatile. Here are some of my favorite ways to enjoy them:
- On burgers and hot dogs obviously. A good pickle makes a burger.
- Alongside sandwiches. Try them with a classic turkey and Swiss or a grilled cheese.
- As a snack straight from the jar. I’m not judging.
- On a charcuterie board. They add a bright, tangy contrast to rich cheeses and cured meats.
- Chopped into potato salad or tuna salad for extra crunch.
- As a garnish for bloody marys or other cocktails (if that’s your thing).
- Alongside grilled meats at your next summer BBQ. They cut through the richness perfectly.
And here’s a little secret the pickle juice itself is gold. Use it in marinades, salad dressings, or even drink it as a quick electrolyte boost after a workout. Don’t let it go to waste.
Final Thoughts
These quick dill pickles have become a staple in my kitchen, and I think they’ll become one in yours too. They’re simple, they’re reliable, and they taste like something you’d buy at a fancy farmer’s market. But you made them. In your own kitchen. With your own hands.
There’s something deeply satisfying about opening a jar of homemade pickles and hearing that perfect crunch. The smell of dill and garlic hitting your nose. The tangy, briny flavor that makes your mouth water. It’s a small victory, but it’s a real one.
I’d love to see your pickle creations. Tag me on social media or leave a comment below. And if you’re looking for more inspiration, check out my Pinterest board for more summer recipes and preserving ideas.
Happy pickling, friends.
Easy Refrigerator Dill Pickles
Ingredients
Method
- In a medium saucepan, combine the water, white vinegar, granulated sugar, and kosher salt. Bring to a boil over medium-high heat, then reduce the heat to low and let it simmer for 15 minutes. Remove from heat and set aside to cool slightly.
- Wash the cucumbers thoroughly. Trim off the ends and cut each cucumber lengthwise into 4 spears, giving you 24 spears total. If the spears are too tall for your jars, trim them to fit so they stand upright without poking out above the rim.
- Pack the cucumber spears tightly into two 1-quart jars (or similar size). They may not all fit; reserve any extra for another use.
- Tuck the fresh dill sprigs down between the cucumber spears. Add the sliced garlic and pickling spice, distributing evenly between the jars.
- Pour the warm brine evenly over the cucumbers in each jar, making sure they are fully submerged. Seal the jars with their lids.
- Refrigerate the pickles for at least 24 hours before serving to allow the flavors to develop. They will keep in the refrigerator for up to one month. Discard any leftovers after that time.
Nutrition
Notes
Tried this recipe?
Let us know how it was!Source: Health & Nutrition Research
How long do refrigerator dill pickles last in the fridge?
These quick dill pickles will keep for up to one month in the refrigerator. Just make sure they stay fully submerged in the brine and store them in the coldest part of your fridge. Discard any pickles that develop off smells or mold.
Can I use this recipe for small batch pickles 24 hours?
Absolutely. This recipe is perfect for small batch pickles 24 hours ahead. Just scale down the ingredients to fit a smaller jar. The brine ratio stays the same 3 cups water to 3/4 cup vinegar, with 3 tablespoons sugar and 2 tablespoons salt.
What type of vinegar is best for quick dill pickles?
White vinegar is the best choice for these quick dill pickles. It has a clean, sharp flavor that lets the dill and garlic shine. You can use apple cider vinegar if you prefer, but it will change the flavor slightly and may darken the brine.
Why do my refrigerator dill pickles turn out soft instead of crispy?
Soft pickles usually come from using older cucumbers or pouring boiling-hot brine over them. Use the freshest cucumbers you can find and let the brine cool slightly before pouring. Also, make sure you’ve trimmed the blossom end of the cucumbers.
Can I reuse the brine from these refrigerator dill pickles?
I don’t recommend reusing the brine for a second batch of pickles. The brine loses its acidity and flavor after the first use, which can affect both taste and food safety. It’s better to make fresh brine for each batch.
Where can you find pickling cucumbers?
Look for Kirby cucumbers at farmers markets, specialty grocery stores, or larger supermarkets like Ralphs or Vons. They’re often labeled as pickling cucumbers. If you can’t find them, English or Persian cucumbers work well as substitutes.
Can I use apple cider vinegar instead of distilled vinegar?
Yes, you can substitute apple cider vinegar for white vinegar in these quick dill pickles. Just be aware that it will add a slightly fruity flavor and may darken the brine. If you try it, use the same amount called for in the recipe.
Can you add things like yellow mustard seeds, coriander seeds, bay leaf, and dill seed?
Absolutely. Those spices are actually the main components of pickling spice, which is already in the recipe. Feel free to customize by adding extra mustard seeds, coriander, or a bay leaf to each jar for more complex flavor.
Can I add other vegetables to the brine?
Yes, this brine works great for other vegetables too. Try adding carrot sticks, cauliflower florets, or green beans along with the cucumbers. Just make sure everything is cut to similar sizes so they pickle evenly.
Do you have to use pickling cucumbers? Can I use regular cucumbers?
You don’t have to use pickling cucumbers, but they give the best results. If you use regular slicing cucumbers, expect softer pickles with more watery texture. English or Persian cucumbers are the best substitutes if you can’t find Kirbys.