Classic Key Lime Pie
Ingredients
Method
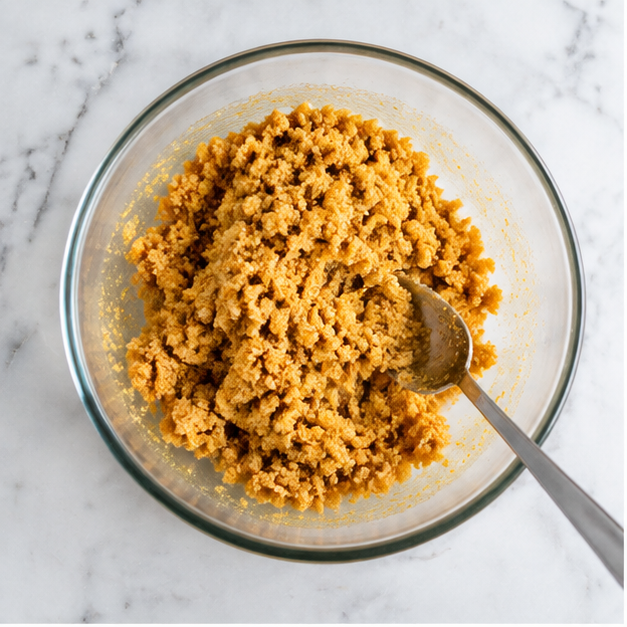
- In a medium bowl, combine the melted butter and sugar. Stir in the graham cracker crumbs until evenly moistened.
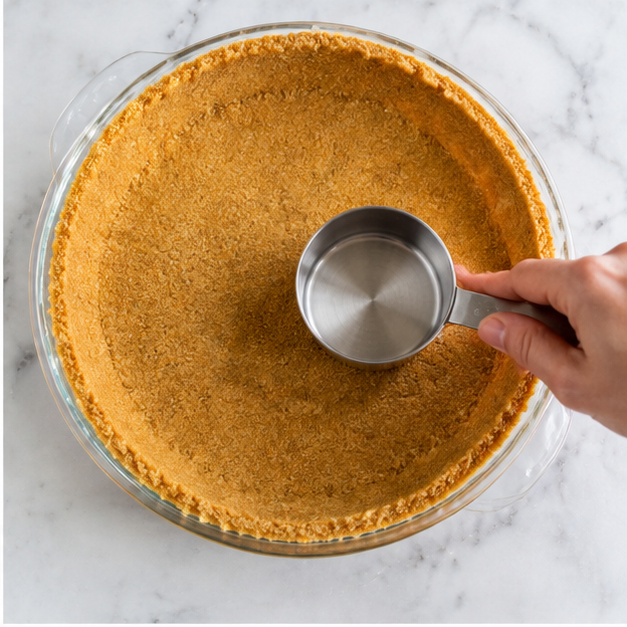
- Press the mixture firmly into the bottom and up the sides of a 9-inch pie plate. Use the bottom of a measuring cup to compact it evenly. Chill the crust for 1 hour until firm, or bake at 375°F for 5 minutes and let cool completely before filling.
- Preheat the oven to 350°F. Zest the key limes until you have 2 teaspoons of zest, then juice them. Pour the fresh juice into a 1/2-cup measuring cup; if it doesn't reach the 1/2-cup line, top it off with bottled key lime juice.
- In a stand mixer or with an electric hand mixer, beat the egg yolks on medium speed until thick and pale yellow. Gradually add the sweetened condensed milk while mixing on low speed.
- Slowly pour in the key lime juice and add the zest, mixing on low just until combined. Do not overmix.
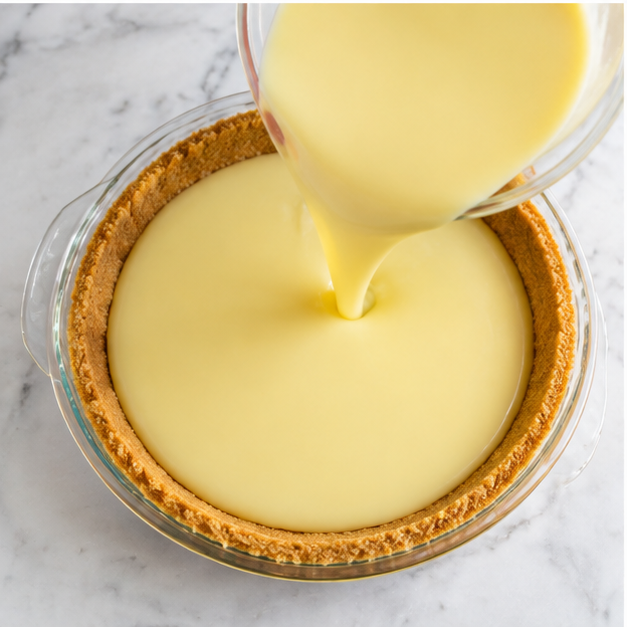
- Pour the filling into the prepared crust and bake for 15 minutes, until the center is set but still slightly jiggly.
- Remove from the oven and let cool to room temperature, then refrigerate until fully chilled, about 2 hours.
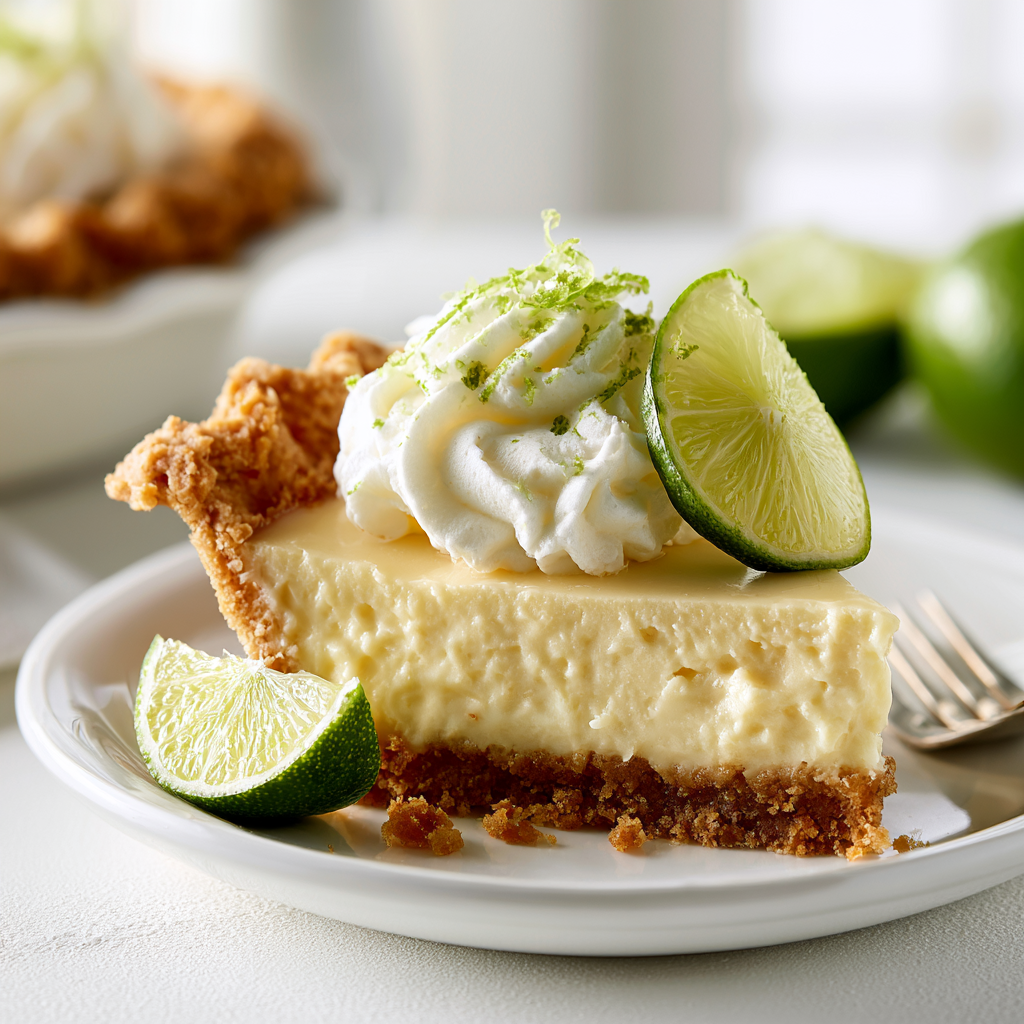
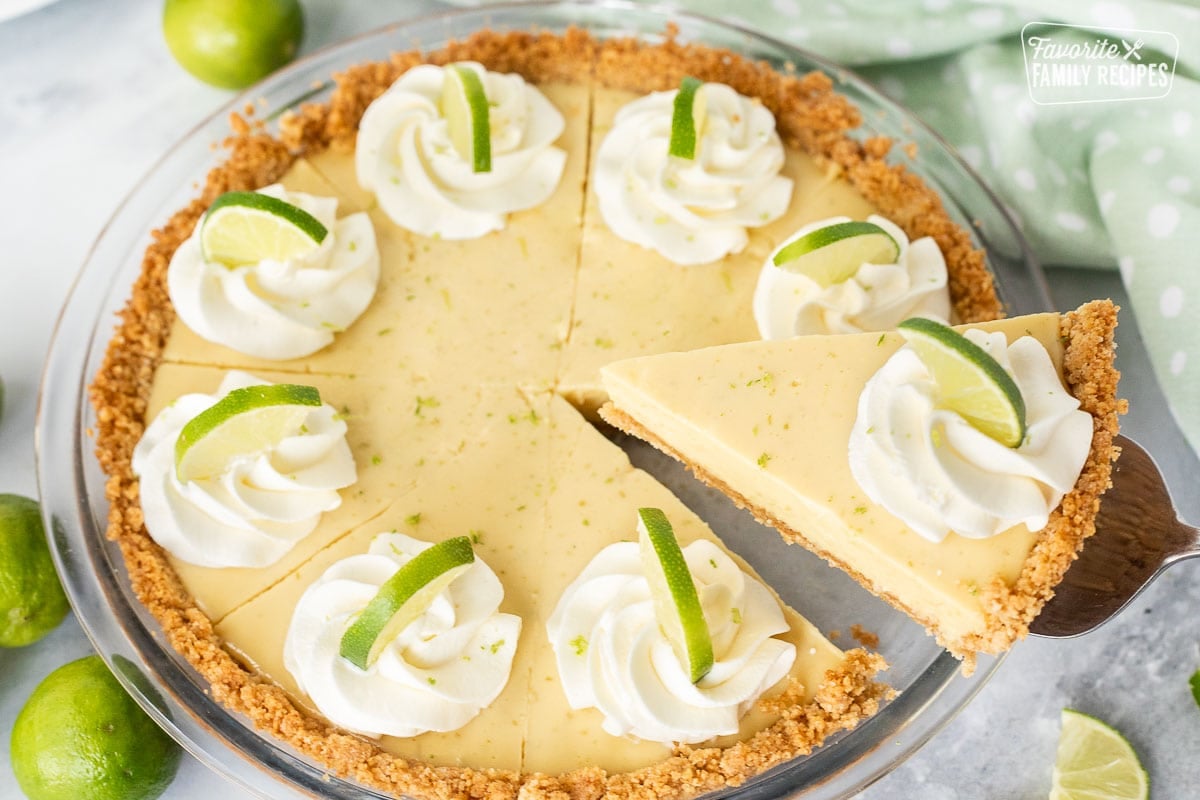
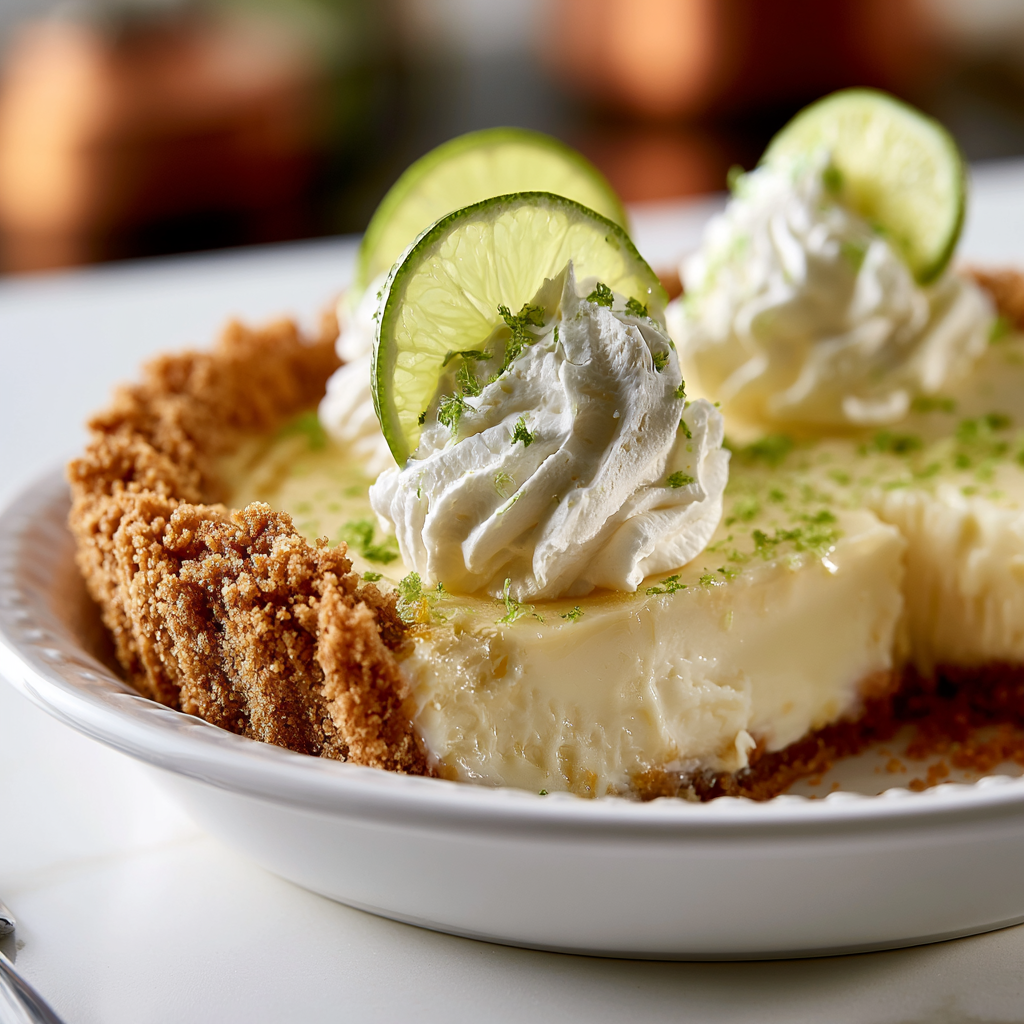
- Serve slices garnished with whipped topping, thin lime slices, and a sprinkle of lime zest if desired.
Nutrition
Notes
Tried this recipe?
Let us know how it was!Why This Key Lime Pie Recipe Works
The first key lime pie I ever made… split right down the middle. I was so proud pulling it out of the oven, then watched a crack form right across the center. But you know what? It still disappeared in minutes. That’s the magic of this pie. It’s forgiving, it’s foolproof, and it tastes like pure summer.
This isn’t just any key lime pie recipe. It’s the one I’ve tweaked over years of making it for July 4th cookouts, summer potlucks, and lazy Sunday afternoons. The filling is creamy, tangy, and perfectly sweet. The crust is buttery and crisp. And the best part? It’s secretly one of the easiest desserts you’ll ever make.
Here’s the thing about this recipe. It uses just a handful of ingredients, most of which you probably already have. No fancy equipment needed. No complicated techniques. Just honest, straightforward baking that delivers every single time. I promise, if you follow these tips, you’ll get that perfect slice every time.
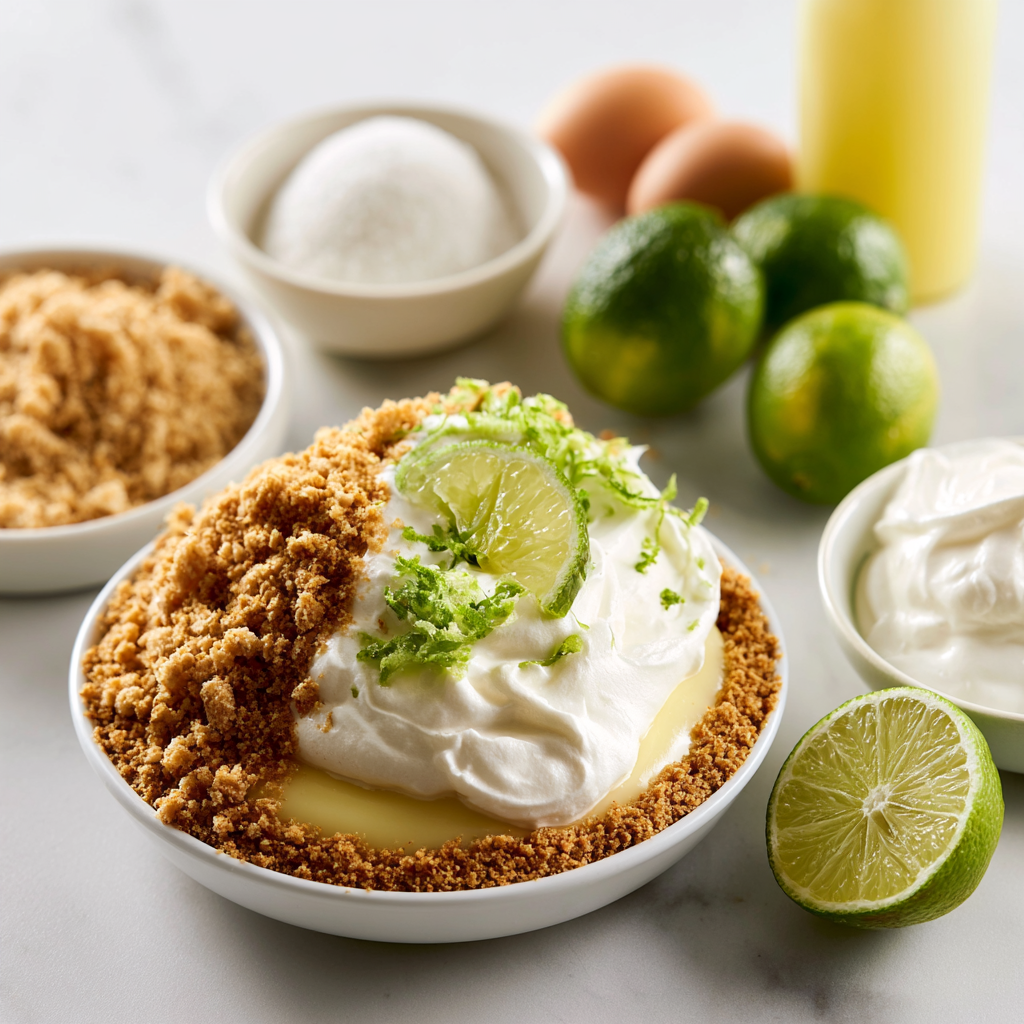
How to Make Key Lime Pie
Let’s break this down into two simple parts: the crust and the filling. Both are easier than you think.
Graham Cracker Crust
The crust is where it all starts. And honestly, it’s the part most people stress about for no reason. A good graham cracker crust is just three ingredients: melted butter, sugar, and graham cracker crumbs. That’s it.
Here’s the trick. You want to press the mixture firmly into the pie plate. I use the bottom of a measuring cup to really compact it. Form the sides first, then press in the bottom. This helps prevent a soggy crust later. Then you have two options: chill it for an hour until firm, or bake it at 375°F for 5 minutes and let it cool completely. Both work great. I usually bake it because it gives the crust a little extra structure and helps with clean slices.
Pro tip: You can swap graham crackers for vanilla wafers, gingersnaps, or Biscoff cookies. Each gives a slightly different flavor. Gingersnaps add a warm spice that’s amazing with the lime.
Key Lime Filling
Now for the filling. This is where the magic happens. You only need four things: egg yolks, sweetened condensed milk, key lime juice, and lime zest. And here’s the secret to a perfectly creamy texture: whip those egg yolks first.
I mean really whip them. Use a stand mixer or hand mixer and beat them on medium speed until they’re thick and pale yellow. This takes about 3-4 minutes. It might feel like an extra step, but it makes a huge difference. It gives the pie that light, airy texture that just melts in your mouth.
Then you gradually add the sweetened condensed milk while mixing on low. Slowly pour in the key lime juice and add the zest, mixing just until combined. Do not overmix. Overmixing can make the filling thin and runny. Trust me on this one.
Here’s the thing about key limes: They’re tiny and a pain to juice. You’ll need about 15-25 of them to get 1/2 cup of juice. That’s why I always use a combination of fresh and bottled. I zest the fresh ones first (you need about 2 teaspoons of zest), then juice them. I pour the fresh juice into a 1/2-cup measuring cup, and if it doesn’t reach the line, I top it off with bottled key lime juice. My go-to brand is Nellie & Joe’s. It’s in most grocery stores next to the bottled lemon juice.
Texture Targets
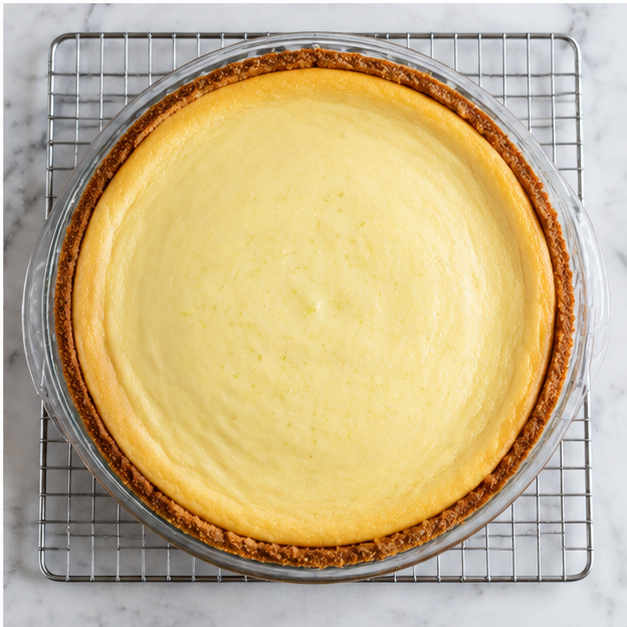
What to look for: The filling should be thick, creamy, and pale yellow. When you pour it into the crust, it should hold its shape slightly, not run like water. After baking, the center should be set but still slightly jiggly. Think of it like a firm cheesecake. It will continue to set as it cools.
How to Tell Key Lime Pie Is Done
This is the part that trips people up. How do you know when it’s done without overbaking it? Here’s my secret: bake until the center is set but still slightly jiggly.
At 350°F, this takes about 15 minutes. The edges should look firm and the center should wobble just a tiny bit when you gently shake the pie plate. It should not look liquid or sloshy. But it should not be completely solid either. It will finish setting as it cools on the counter and then in the fridge.
Visual cue: The filling will look slightly puffed around the edges and the center will be just barely set. If it cracks, don’t panic. Just cover it with whipped cream. Nobody will ever know.
How to Decorate Key Lime Pie
This is the fun part. A beautifully decorated pie makes it feel extra special. And it’s so simple.
My favorite way is to pile on a generous amount of whipped topping. I use store-bought for convenience, but homemade is amazing too. Then I add thin lime slices and a sprinkle of fresh lime zest. It looks like something from a fancy bakery.
Other ideas:
- Pipe the whipped cream in rosettes for an elegant look
- Add a few fresh berries on top for color
- Dust with a tiny bit of powdered sugar
- Top with candied lime zest for a crunchy contrast
Honestly, even a simple dollop of cream and a slice of lime makes it look gorgeous. The bright green against the creamy filling is just stunning.
Storage and Make-Ahead Tips
This pie is perfect for making ahead. In fact, it tastes better after it’s had time to chill and set. Here’s what you need to know:
- Refrigerate: Store covered in the fridge for up to 3 days. The flavors actually meld and get even better.
- Freeze: The pie (without whipped topping) can be frozen for up to 2 months. Wrap it tightly in plastic wrap then foil. Thaw in the fridge before serving. Add whipped cream after thawing.
- Make ahead: You can make the crust a day ahead and keep it in the fridge. Then make the filling and bake the day you want to serve it.
Pro tip: For the cleanest slices, chill the pie for at least 2 hours before serving. Use a sharp knife dipped in hot water and wiped dry between cuts. This gives you those perfect, Instagram-worthy slices.
Common Mistakes and Troubleshooting
Even with the best recipe, things can go wrong. Here’s how to fix them:
- ❌ Overbaking the pie: The filling becomes rubbery and cracks. ✅ Solution: Bake until the center is just slightly jiggly. It will set as it cools.
- ❌ Not chilling long enough: The slices fall apart and the filling is runny. ✅ Solution: Chill for at least 2 hours, preferably longer. Patience is key.
- ❌ Using evaporated milk instead of sweetened condensed milk: The pie won’t set properly. ✅ Solution: Always use sweetened condensed milk. They are not the same thing.
- ❌ Overmixing the filling: It becomes thin and runny. ✅ Solution: Mix just until combined. Stop as soon as the ingredients come together.
- ❌ Soggy crust: The crust gets mushy. ✅ Solution: Pre-bake the crust for 5 minutes at 375°F. This creates a barrier that keeps it crisp.
Remember, this pie is incredibly forgiving. Even if it’s not perfect, it will still taste amazing. That crack in my first pie? Nobody cared. They just wanted another slice.
Frequently Asked Questions
So there you have it. The best key lime pie recipe that’s creamy, tangy, and surprisingly easy. Your kitchen is about to smell like summer. Go make that pie!
If you loved this recipe, I’d love for you to share it on Pinterest and save it for your next summer gathering!
Source: Nutritional Information
Can I use bottled key lime juice?
Absolutely. In fact, I recommend it. Fresh key limes are tiny and a pain to juice. I use a combination: zest fresh limes for the flavor, then top off the juice with bottled. Nellie u0026amp; Joe’s is my go-to brand. It’s consistent and tastes great.
Why does key lime pie use sweetened condensed milk?
Sweetened condensed milk is the secret to the creamy, thick texture. It’s already sweet and thick, so it sets the pie without needing to cook it for a long time. Regular milk or evaporated milk won’t give you the same result. Trust me, don’t substitute.