
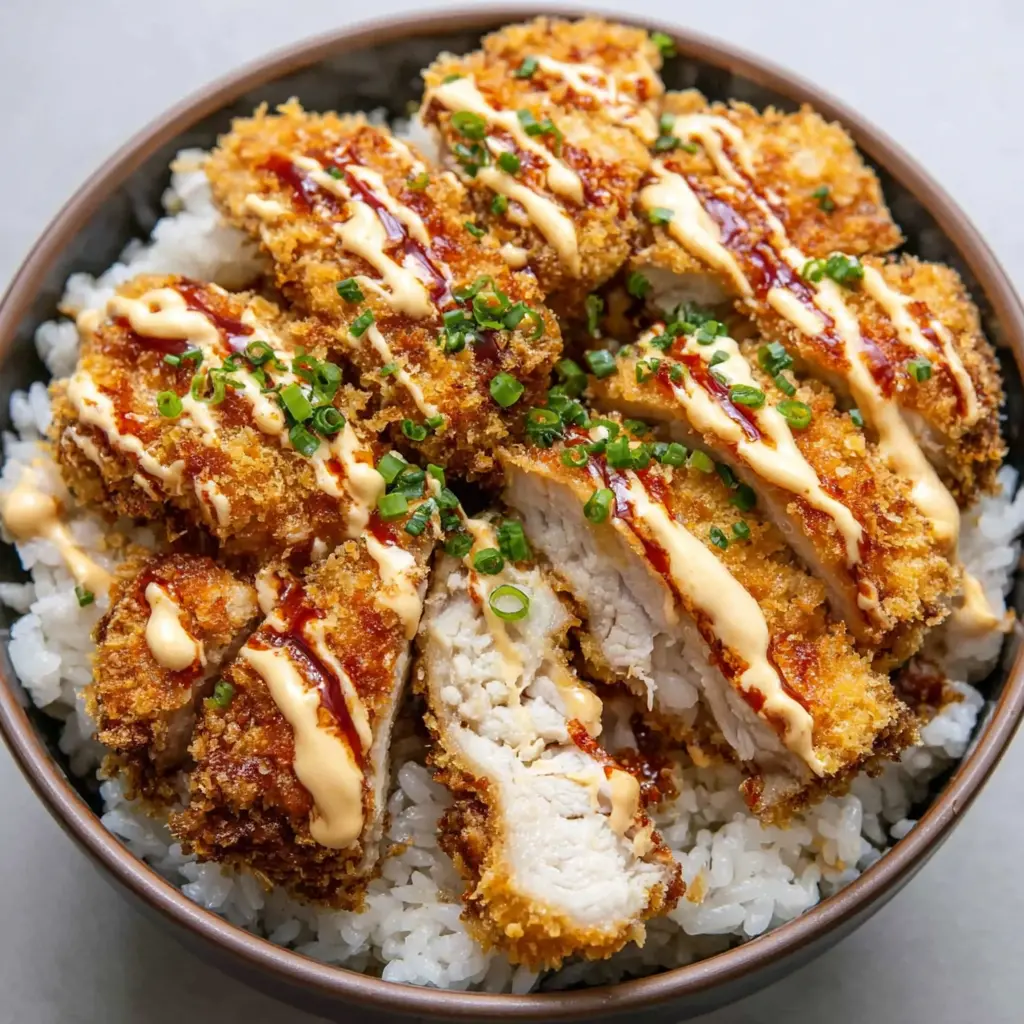
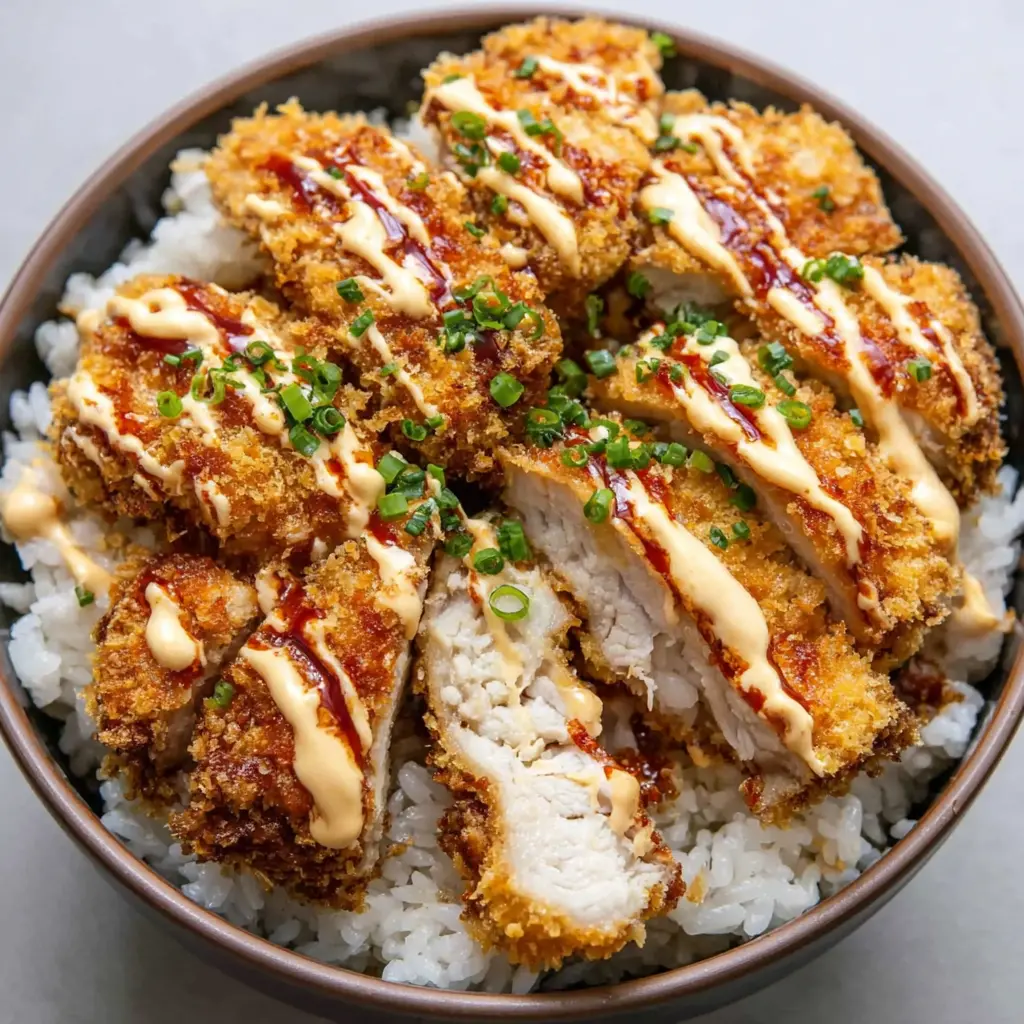
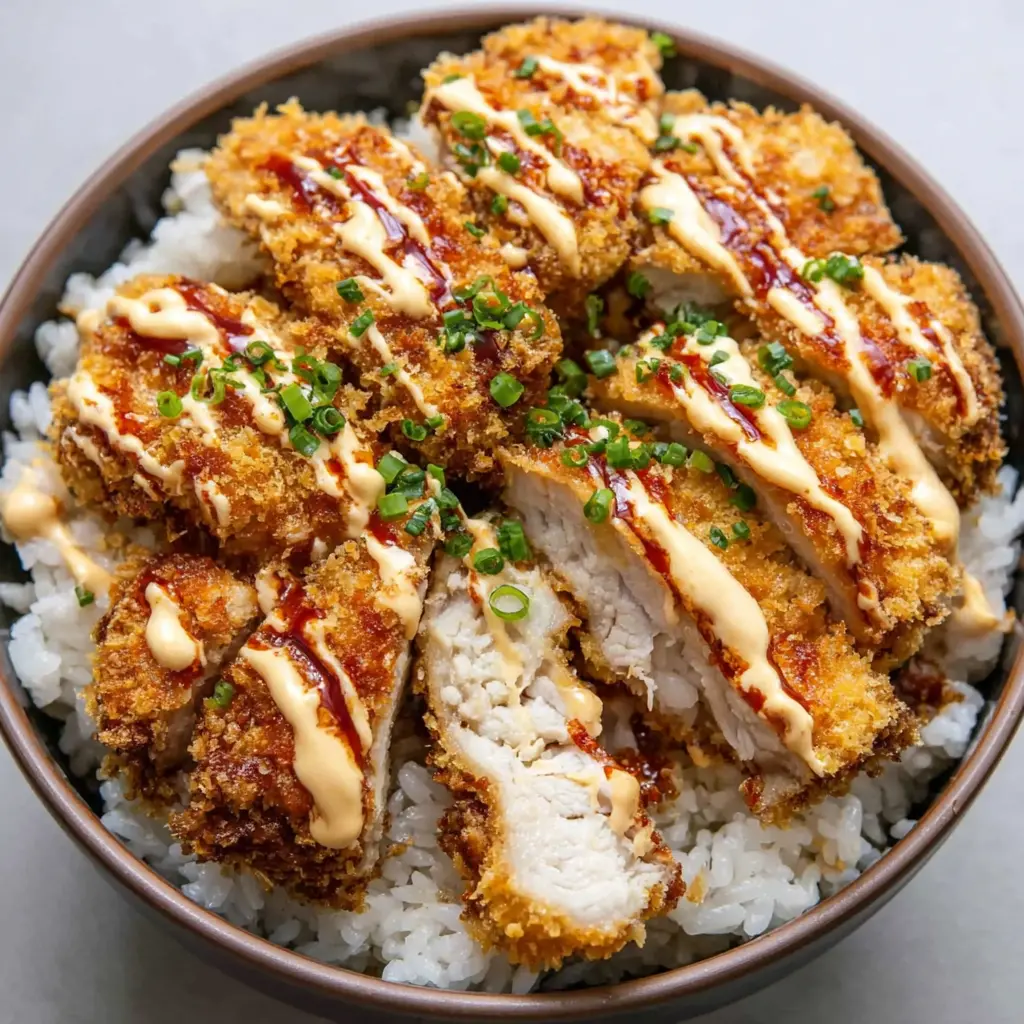
Crispy Chicken Taco Bowl with Spicy Mayo
Ingredients
Method
- Preheat the oven to 400°F (200°C).
- Prepare three bowls: one with flour, one with beaten eggs, and one with panko breadcrumbs.
- Season the chicken pieces with salt, pepper, garlic powder, and paprika.
- Dredge each piece of chicken in flour, dip in eggs, and coat with panko breadcrumbs.
- Place the coated chicken on a baking sheet and bake for 20-25 minutes until golden and crispy.
- In a small bowl, mix mayonnaise, sriracha, and soy sauce to create the spicy mayo.
- To assemble, place cooked rice in a bowl, top with crispy chicken, and drizzle with spicy mayo.
- Garnish with chopped green onions and serve immediately.
Nutrition
Notes
Tried this recipe?
Let us know how it was!Why This Bowl is About to Become Your Weeknight Hero
You know that 6pm struggle when you’re hangry and dinner seems impossible? I live that life. Last Tuesday, I was staring into the fridge, kids asking what’s for dinner, and I had nothing. No plan. No energy. I almost ordered pizza. But then I remembered this Crispy Chicken Taco Rice Bowl I’d been testing, and I had a feeling about this one.
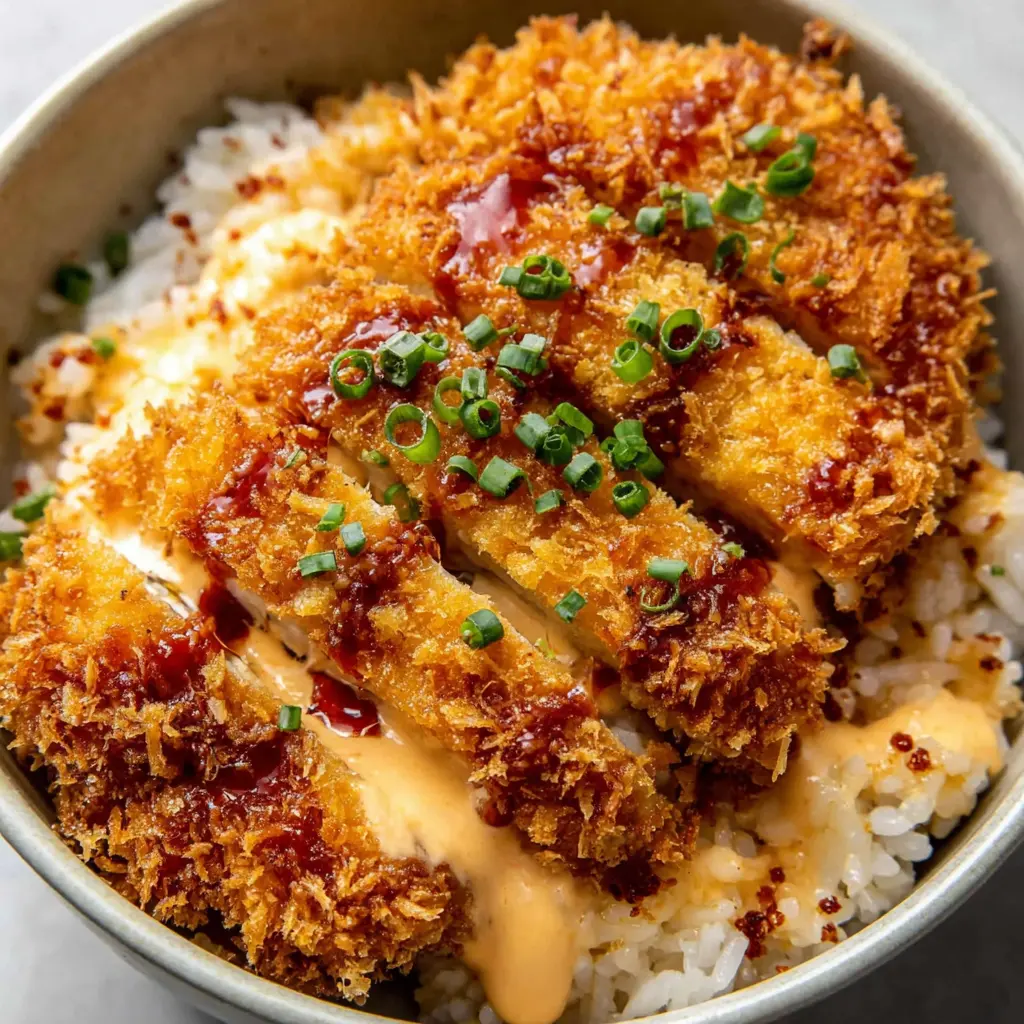
Look, I didn’t want to turn on the oven either. But this is worth it. I promise. It’s one of those meals that feels like you spent an hour in the kitchen when really it’s about 30 minutes and minimal dishes. That’s the stuff right there. The chicken gets shatteringly crispy on the outside, juicy on the inside, and you pile it all over rice with whatever toppings you’ve got. It’s not the prettiest dish, but it’s got heart.
And honestly, I’ve been making this for weeks now. My kids love it. My wife requests it. I’ve even brought it to potlucks and people asked for the recipe. So trust me when I say this Crispy Chicken Taco Rice Bowl is going to save your weeknights. Let’s not overthink this, okay?
What You’ll Need (and What You Can Skip)
Here’s the thing about this recipe. Most of the ingredients are probably in your kitchen right now. The chicken, the rice, the eggs, the flour. The stuff you might need to grab is panko breadcrumbs and maybe some sriracha if you like heat. But honestly, you can adapt. Nobody will judge you for using what you’ve got.
I remember the first time I made this, I didn’t have green onions. I used chives from the garden. Worked fine. Another time, I was out of panko and used crushed tortilla chips. That was actually amazing. So don’t stress if you’re missing something. Worst case, we order pizza. But I really don’t think you’ll need to.
The key players here are chicken breast, panko breadcrumbs, and a quick coating that uses mayo and eggs. I know mayo sounds weird, but trust me. It keeps the chicken moist and helps the panko stick like a dream. I learned that one from Nana Jo. She used to say, “A little fat never hurt nobody.” She was right.
How to Make Crispy Chicken Taco Rice Bowls (Without Losing Your Mind)
Okay, so the process is simple. Get that pan screaming hot before you add the protein. That’s rule number one. You want the oil shimmering, almost smoking. Then you add the chicken and let it be. Don’t touch it. Let the crust set. That’s how you get that shatteringly crisp exterior.
First, you set up your breading station. Flour in one bowl, beaten eggs with a splash of sriracha and soy sauce in another, and panko mixed with garlic powder and paprika in a third. Season the chicken generously with salt (and I mean generously, don’t be shy). Then dredge, dip, and coat. Press the panko on firmly. You want it to stick.
Fry the chicken in batches. Don’t crowd the pan. If you do, the temperature drops and you get soggy chicken. That’s a tragedy. Cook about 3-4 minutes per side, until golden brown and the internal temp hits 165°F. Let it rest on a wire rack. Not paper towels. Paper towels make it soggy. A wire rack keeps it crisp. Trust your nose, not the timer. If it smells like toast, you’ve gone too far.
While the chicken cooks, get your rice ready. I like to cook it with a little salt and a squeeze of lime if I have it. I once forgot the lime and the rice was so sad. Don’t be like me. Season your rice. It’s the foundation of the bowl.
Tips for the Best Texture (From Someone Who’s Failed a Lot)
The cornstarch trick is real. If you want extra crunch, add a tablespoon of cornstarch to your flour mixture. It creates a thin, shatteringly crisp crust that’s just incredible. I tested this side by side once, and the cornstarch version won every time.
Another thing. Let the chicken rest for a few minutes after frying. If you cut into it immediately, all those juices run out and you get dry chicken. Let it rest. It’s not a hostage situation. Give it five minutes. You’ll thank me.
If your rice is too wet, spread it on a sheet pan and let it steam dry for 5 minutes. That’s a trick I learned from a restaurant cook. It saves mushy rice every time. And if your beans are too watery, drain and rinse them well. Nobody wants a soupy bowl.
I probably should have started this yesterday, but here’s the thing. You can make the rice and chop the green onions ahead of time. Store the chicken separately from the rice. That way, when you’re ready to eat, you just reheat and assemble. It’s a game changer for meal prep.
Variations to Try (Because You’ll Get Bored Otherwise)
I get it. You’ll make this once, and then you’ll want to switch it up. Here’s what I’ve done. Instead of chicken breast, use boneless thighs. They’re juicier and more forgiving. You can also use ground chicken or turkey. Just cook it in the pan like you would for tacos, then pile it on the rice.
For a vegetarian version, skip the chicken and double up on the beans. Or add roasted cauliflower. I did that once and my kids didn’t even notice. They just ate it. That’s a parenting win right there.
If you need this recipe to be even easier, or you don’t have a well-stocked spice cabinet, substitute a packet of taco seasoning for all of the spices and herbs. I won’t tell anyone. Seriously. Sometimes you just need dinner on the table, and that’s okay.
Want it spicy? Add more sriracha to the egg mixture or drizzle hot sauce on top. My wife likes it mild, so I keep the heat separate. That way everyone’s happy. It’s all about customization.
Storage & Leftovers (Because You’ll Want to Make Extra)
Store the chicken, rice, and toppings in separate containers. If you put it all together, the chicken gets soggy and the rice gets mushy. Nobody wants that. Keep the green onions in a separate bag or container. They’ll stay fresh longer.
For reheating, the microwave works fine for the rice and chicken. But if you want that crispy texture back, reheat the chicken in a skillet over medium heat for a couple of minutes per side. Or use an air fryer at 350°F for 3-4 minutes. That’s the best way. Trust me.
You can freeze the cooked chicken for up to 3 months. Just wrap it tightly in plastic wrap and then foil. When you’re ready, thaw in the fridge overnight and reheat in the oven or air fryer. Add fresh green onions before serving. It’s almost as good as fresh.
If you want to knock out some of the prep the day before, cook the rice and trim the chicken. While the chicken cooks, chop the green onions. It makes the whole process faster on a busy night.
Common Mistakes to Avoid (I’ve Made Them All)
Common Mistakes & Fixes
Mistake: The coating falls off during frying.
Solution: This happens if the oil isn’t hot enough or you flipped the chicken too soon. Let the crust set for 2-3 minutes before touching it. Also, press the panko on firmly. It needs to stick.
Mistake: The chicken is dry and tough.
Solution: You likely overcooked it. Use a meat thermometer. Pull the chicken at 160°F and let it rest. The carryover cooking will bring it to 165°F. Also, don’t skip the mayo in the coating. It keeps the meat moist.
Mistake: The rice is bland.
Solution: Season your cooking water with salt. A lot of salt. Like, enough that it tastes like the sea. Then add a squeeze of lime and some chopped green onions after cooking. That’s the stuff right there.
Mistake: The bowl is too dry overall.
Solution: You need a sauce. The sriracha mayo from the chicken coating works great as a drizzle. Or add a dollop of sour cream or Greek yogurt. Moisture is flavor, baby.
Frequently Asked Questions
Make This Bowl Your Own
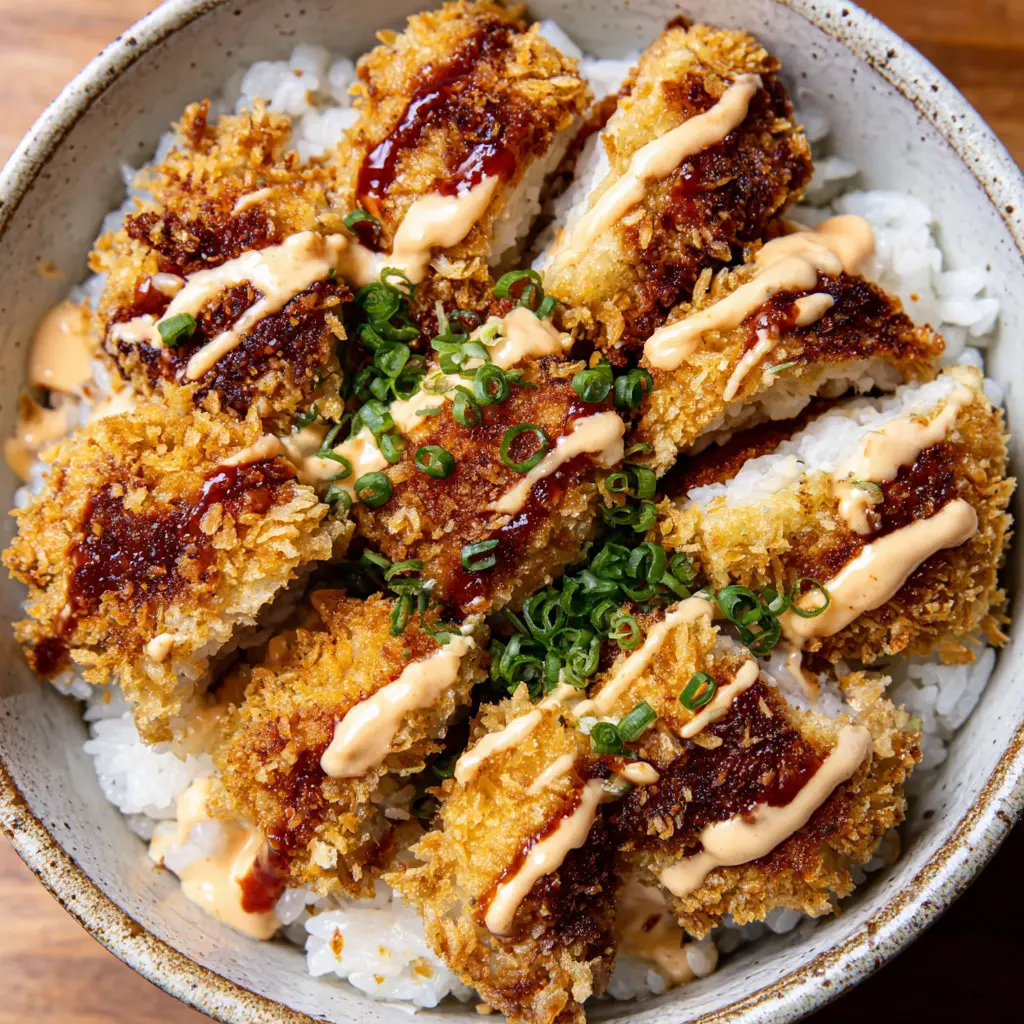
When you make this, your family will think you’re a magician. The crunch of the chicken, the zing of the sriracha, the fresh pop of green onions. It’s a bowl that delivers on every level. I could eat this every day for the rest of my life and die happy. Okay, maybe not every day. But close.
I love seeing what you guys create. Tag me on Instagram when you make it. I want to see your beautiful bowls. And if you mess up, that’s okay. I’ve burned my share of chicken. You learn and you try again. That’s what cooking is all about.
For more inspiration, check out my Pinterest boards. I share tons of variations there. Now go make that bowl. You deserve it. Oh, this is going to ruin you for store bought.
Source: Nutritional Information
How do you make a crispy chicken taco rice bowl at home?
Start by breading chicken breast in flour, then an egg mixture with sriracha and soy sauce, then panko seasoned with garlic powder and paprika. Pan fry until golden and cooked through. Serve over seasoned rice with green onions and any toppings you like. It’s that simple.
Can I use a different protein for this loaded taco bowl?
Absolutely. Boneless chicken thighs work great. You can also use ground chicken, turkey, or even steak. For a vegetarian version, skip the chicken and add extra beans or roasted cauliflower. The coating method works for most proteins.
What can I substitute for panko breadcrumbs in this crispy chicken taco meal?
Crushed tortilla chips work perfectly and add a corn flavor. You can also use regular breadcrumbs, crushed cornflakes, or even crushed pork rinds for a low-carb version. Just make sure they’re finely crushed for even coating.
How do you store leftover crispy chicken taco rice bowls?
Store the chicken, rice, and toppings in separate containers. The chicken stays crispier that way. Keeps in the fridge for up to 4 days. For longer storage, freeze the cooked chicken for up to 3 months. Add fresh green onions when serving.
What is the best way to reheat this savory taco chicken plate?
For the crispiest results, reheat the chicken in a skillet over medium heat for 2-3 minutes per side. An air fryer at 350°F for 3-4 minutes works great too. The microwave is fine for the rice, but it will soften the chicken coating.
Can I make this Crispy Chicken Taco Rice Bowl gluten free?
Yes. Use gluten free panko or crushed tortilla chips instead of regular breadcrumbs. Use gluten free flour in the dredging step. The rest of the ingredients are naturally gluten free. Just check your soy sauce label, some brands contain wheat.
How can I make this bowl spicier?
Add extra sriracha to the egg mixture or double the paprika. You can also drizzle hot sauce over the finished bowl. For a smoky heat, add a pinch of cayenne to the panko coating. Taste as you go. Don’t be shy.
Is this Crispy Chicken Taco Rice Bowl good for meal prep?
It’s perfect for meal prep. Cook the rice and chicken ahead of time. Store them separately. Chop the green onions and keep them in a bag. When you’re ready to eat, reheat the chicken in a skillet and assemble. Takes about 5 minutes.




4 Responses
I’ve been looking for a quick dinner idea that doesn’t skimp on taste, and this delivered. The only change I made was using brown rice instead of white, and it worked great. The spicy mayo is super addictive—I’m already planning to double the batch next time!
Really enjoyed the flavors, but I found the panko didn’t stick as well as I’d hoped—any tips for getting a better crust? I tried patting the chicken dry before coating, but it still fell off a bit during frying. Otherwise, the sauce was fantastic!
Ah, I’ve been there myself, James! Next time, try letting the coated chicken rest in the fridge for 15-20 minutes before frying—that little chill time helps the panko really lock onto the meat like a warm hug.
Made this last night and it was a huge hit with my family! The chicken turned out perfectly crispy, and the spicy mayo was just the right amount of kick. I didn’t have green onions, so I used some cilantro instead, and it still tasted amazing. Definitely adding this to my weeknight rotation!