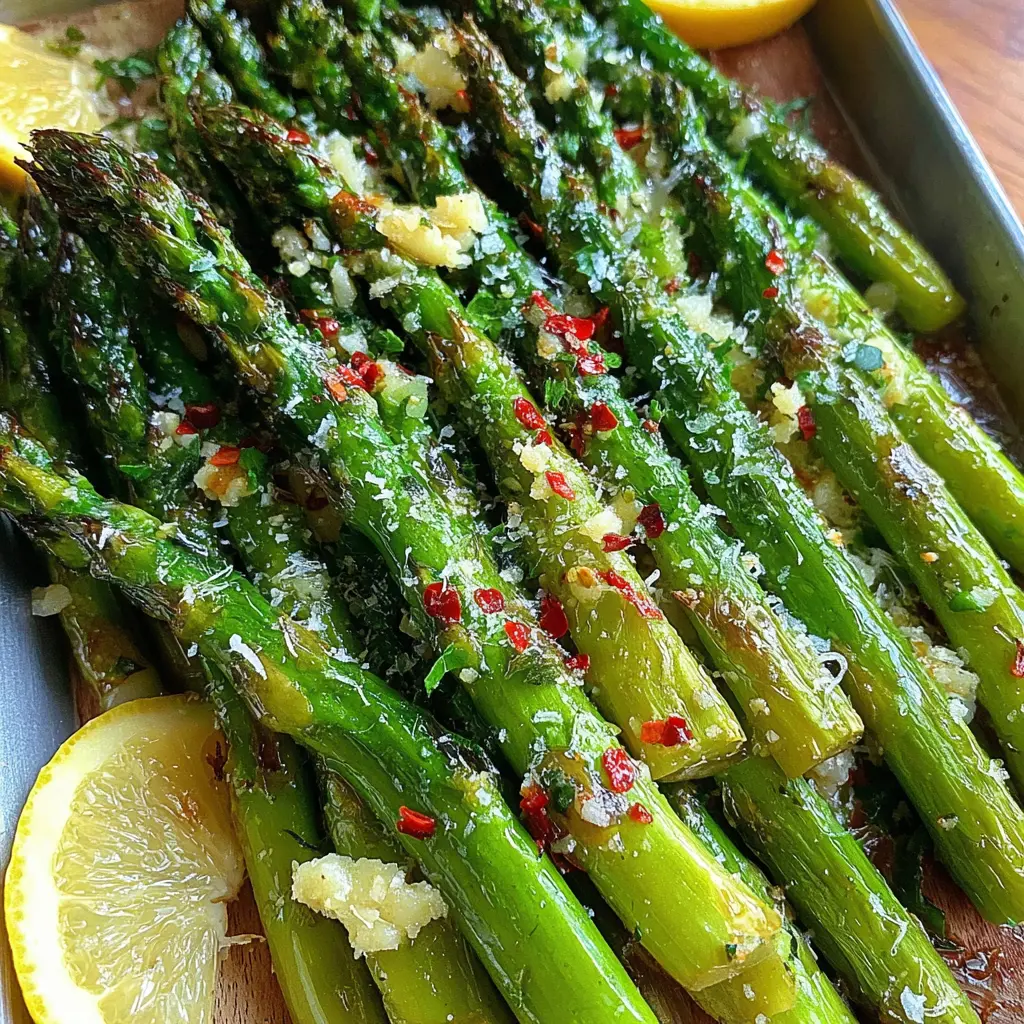
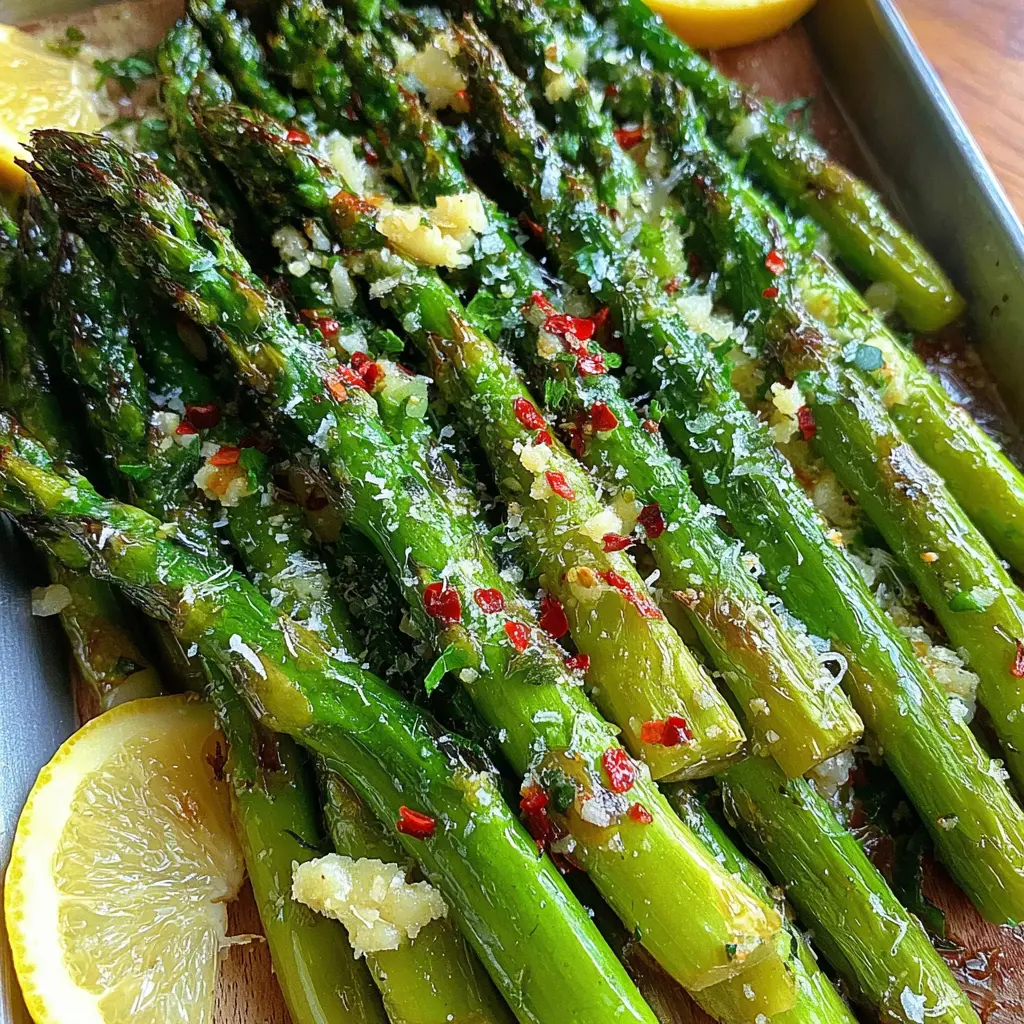
Lemon Garlic Parmesan Roasted Asparagus
Ingredients
Method
- Preheat your oven to 400°F (200°C).
- Prepare a baking sheet by lining it with parchment paper for easy cleanup.
- In a large bowl, combine the trimmed asparagus, olive oil, minced garlic, lemon zest, lemon juice, salt, black pepper, and red pepper flakes (if using).
- Toss the asparagus with the mixture until evenly coated.
- Spread the asparagus in a single layer on the prepared baking sheet.
- Roast in the preheated oven for 15-20 minutes, or until the asparagus is tender and slightly crispy, tossing halfway through for even cooking.
- If using, sprinkle the grated Parmesan cheese over the asparagus during the last 5 minutes of roasting.
- Once done, remove from the oven and garnish with freshly chopped parsley before serving.
Nutrition
Notes
Tried this recipe?
Let us know how it was!Why These Roasted Garlic Asparagus Bites Actually Work
I used to think asparagus was only for fancy dinners, reserved for those special occasions where you needed a vegetable that looked like you tried. You know the ones. The kind where you plate it just so and hope nobody notices it’s basically just boiled. But then I had this moment in my kitchen, staring at a bunch of asparagus that was about to go bad, and I thought, “Let’s just see where this goes.”
These Roasted Garlic Asparagus Bites are what came out of that experiment. And honestly? They’re the reason I now buy asparagus every week. The trick is getting that perfect balance of crispy edges and tender centers, with garlic that’s actually roasted, not burned. Because nothing ruins a good veggie snack faster than bitter, acrid garlic. I’m not saying it’s perfect, but it’s pretty darn close.
The best part is how simple it all is. You don’t need a ton of fancy equipment or some special technique. Just a baking sheet, some good olive oil, and a little patience. The oven does all the heavy lifting. And I mean, who doesn’t love a recipe that makes you look like a kitchen wizard while you’re actually just standing there scrolling through your phone?
What You Need to Know Before You Start
Look, I’ll be honest. Not all asparagus is created equal. I’ve grabbed bunches from the grocery store that looked great on top but were all woody and sad underneath. So here’s what I’ve learned from too many disappointing spears.
When you’re at the store, check the bottoms. They should look moist and freshly cut, not dry or cracked. The tips should be tight and colorful, not mushy or spreading open. And give them a little bend test. A fresh spear should snap with a clean break, not bend all floppy. I usually check the back or bottom of the produce section, because that’s where the newer stock tends to be. The front stuff? That’s what everyone’s been picking through all day.
And here’s something I wish someone had told me earlier. You don’t have to peel the stalks. I used to think you had to, especially for thicker spears. But unless you’ve got some monster asparagus that’s like an inch thick, just give them a good rinse and trim the ends. That’s it. I mean, if you’ve got really thick ones, you can peel the bottom half, but honestly, I rarely bother. Life’s too short for vegetable peeling, if you ask me.
The Simple Secret to Crispy Roasted Garlic Asparagus Bites
So you want that perfect crunch, right? The kind where you bite into a Roasted Garlic Asparagus Bite and it actually makes a sound? That’s not luck. That’s science. And I’m not a fancy chef, I just play one in my kitchen, but I’ve tested this enough times to know what works.
The secret is heat and space. High heat, like 425 degrees Fahrenheit, is where the magic happens. That’s hot enough to caramelize the natural sugars in the asparagus without turning it into a limp, sad mess. And you’ve got to give each spear some room to breathe on the baking sheet. Don’t crowd the pan. I know it’s tempting to cram them all on there, especially when you’re making a big batch for a party. But if they’re touching, they’ll steam instead of roast. And steamed asparagus is fine, but it’s not crispy. Give them space. Trust me on this.
Another thing I learned the hard way is to pat the asparagus dry after washing. Water is the enemy of crispiness. If you toss wet spears in oil, you’re basically creating a steam bath in your oven. So take a minute, dry them off with a clean kitchen towel or paper towels. It makes a difference. That’s what I call a happy accident, discovering that little step changes everything.
Thick vs. Thin Asparagus: What You Need to Know
This is one of those things that nobody tells you, but it matters. Thin asparagus, the kind that’s like pencil lead, cooks way faster. We’re talking maybe 5 to 7 minutes at that high heat. Thick spears, the ones that look like they’ve been hitting the gym, need more like 10 to 12 minutes. I’ve burned more thin asparagus than I care to admit because I walked away and forgot about it.
Here’s a quick guide I keep in my head. For thin spears, check them at 5 minutes. For medium, check at 8. For thick, start checking at 10. You want them fork-tender but still with a little bite. They should bend slightly when you pick them up, but not flop over completely. And the edges should be starting to brown and get those crispy little bits. That’s where all the flavor lives.
Tips for Perfect Results Every Time
I’ve made these Roasted Garlic Asparagus Bites more times than I can count, and I’ve definitely had my share of failures. So let me save you some trouble. Here are the things I’ve learned that actually matter.
First, use parchment paper or foil on your baking sheet. Not just for easy cleanup, though that’s a huge bonus. It also helps prevent sticking and makes sure the asparagus gets evenly browned. I prefer parchment because it’s non-stick and doesn’t add any metallic taste. But foil works in a pinch.
Second, don’t skimp on the olive oil. You want each spear lightly coated, not drenched. I drizzle it on, then toss with my hands. You’ll feel when it’s right, when every spear has a thin, even sheen. If you’re using too much oil, the asparagus will get greasy instead of crispy. If you’re using too little, it’ll dry out. It’s a Goldilocks situation.
Third, and this is important, taste as you go. I know the recipe says a certain time, but every oven is different. Mine runs a little hot, so I usually start checking a minute or two early. You can’t un-cook asparagus. Once it’s mushy, it’s done. So err on the side of undercooked and give it another minute if needed.
Common Mistakes & Fixes
Mistake: The asparagus is soggy, not crispy.
Solution: You probably overcrowded the pan or didn’t dry the spears well enough. Next time, use two baking sheets if needed and pat them dry first.
Mistake: The garlic is burned and bitter.
Solution: Garlic burns fast at high heat. If you’re using minced garlic, toss it with the asparagus halfway through baking, not at the beginning. Or use whole cloves that you can remove later.
Mistake: The Parmesan isn’t sticking.
Solution: Add the cheese in the last 2 to 3 minutes of baking. If you add it too early, it’ll melt off and burn on the pan. A light sprinkle right at the end is all you need.
Serving Suggestions That Actually Work
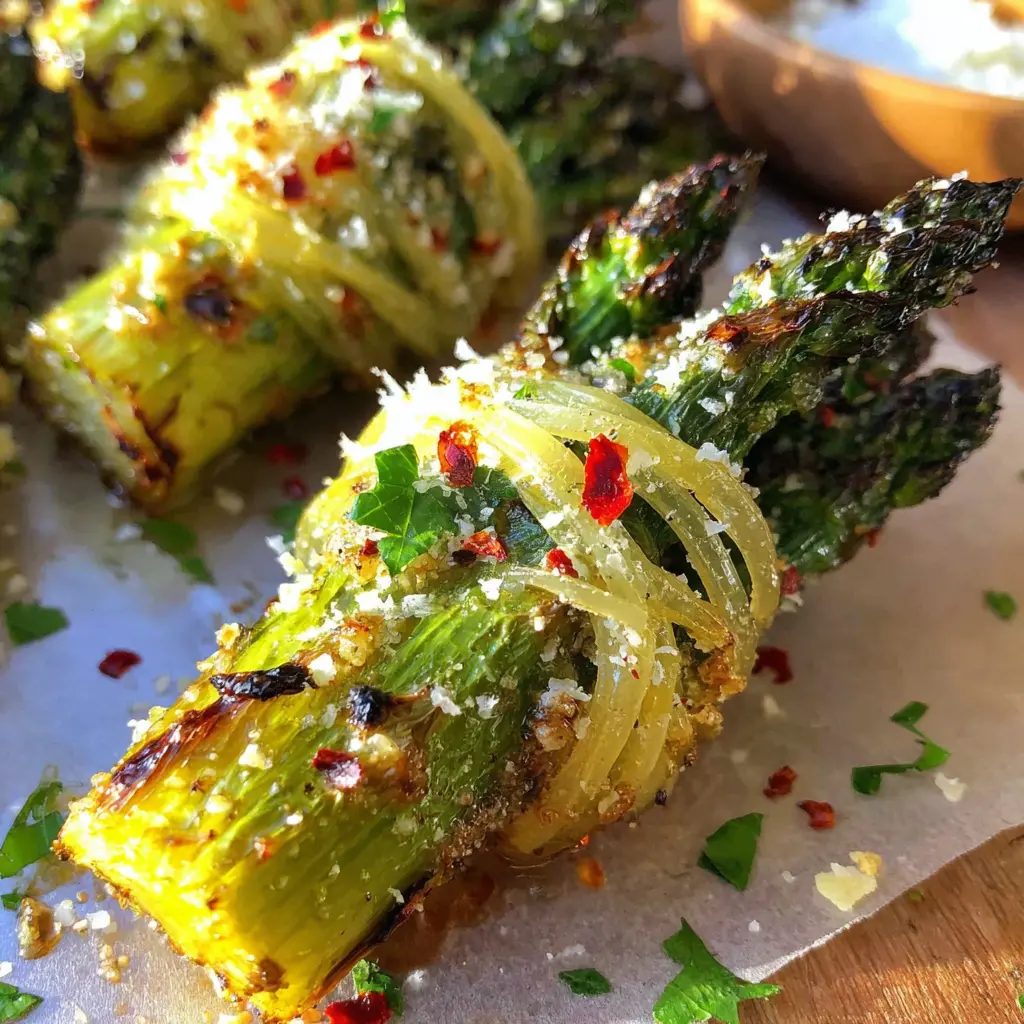
These Roasted Garlic Asparagus Bites are pretty versatile. I’ve served them as a party appetizer on a big platter, and they disappeared before the main course even came out. I’ve also made them as a side dish for a simple weeknight dinner, and my five-year-old Ellie ate them without complaint. Which, if you have kids, you know is basically a miracle.
For a party, I like to arrange them on a wooden board with a little bowl of dipping sauce in the center. A simple aioli or a lemon yogurt dip works great. You can also sprinkle some extra Parmesan and a bit of lemon zest right before serving for a fresh pop of flavor. It looks fancy, but it’s literally just a sprinkle.
For a dinner side, they pair beautifully with just about any protein. Grilled chicken, seared fish, even a simple steak. The bright, garlicky flavor cuts through richer dishes perfectly. And if you’re doing a spring menu, they’re basically required. Easter dinner, Mother’s Day brunch, any of those occasions where you want something that feels special but doesn’t take all day.
One of my favorite ways to serve them is as a snack. I know, vegetables as a snack. But hear me out. When they’re crispy and salty and full of roasted garlic flavor, they hit that same spot as potato chips. Seriously. I’ve sat on the couch and eaten an entire batch while watching TV. Pass me that, no, the other one. The good one.
How to Store and Reheat Leftovers
If you somehow have leftovers, which honestly is rare in my house, here’s what you need to know. Store them in an airtight container in the fridge. They’ll keep for about 3 to 5 days, though the texture will soften over time. The first day is definitely the best.
For reheating, don’t use the microwave. I know it’s tempting, but it’ll turn them into sad, limp strings. Instead, spread them on a baking sheet and pop them in a 350-degree oven for about 5 minutes. Or use a skillet on medium heat with a tiny splash of water or broth. Cover it for a minute to steam them back to life, then uncover to let the edges crisp up again. That’s the best way to get close to that original texture.
If you’re meal prepping, you can wash and trim the asparagus ahead of time. Store it upright in a jar with a bit of cold water, like flowers. Or wrap the bottoms in a damp paper towel and put the whole bunch in a plastic bag in the fridge. That keeps them fresh for a few days. Then when you’re ready, just toss and roast. Easy.
Can You Freeze These?
Short answer: yes, but with some caveats. If you’ve made a big batch and want to save some for later, you can freeze them. But the texture won’t be quite the same. Asparagus has a lot of water, and freezing and thawing changes that structure. They’ll be softer after reheating.
If you want to try it, let the roasted asparagus cool completely. Spread them on a baking sheet in a single layer and freeze until solid, about an hour. Then transfer to a freezer-safe bag or container. They’ll keep for up to 3 months. To reheat, you can go straight from frozen to a hot oven, no need to thaw. Just add a few extra minutes to the reheating time.
Honestly, I’d rather just make a fresh batch. They’re so quick and easy that freezing doesn’t really save you that much time. But if you’re someone who likes to have things ready to go, it’s an option.
Frequently Asked Questions
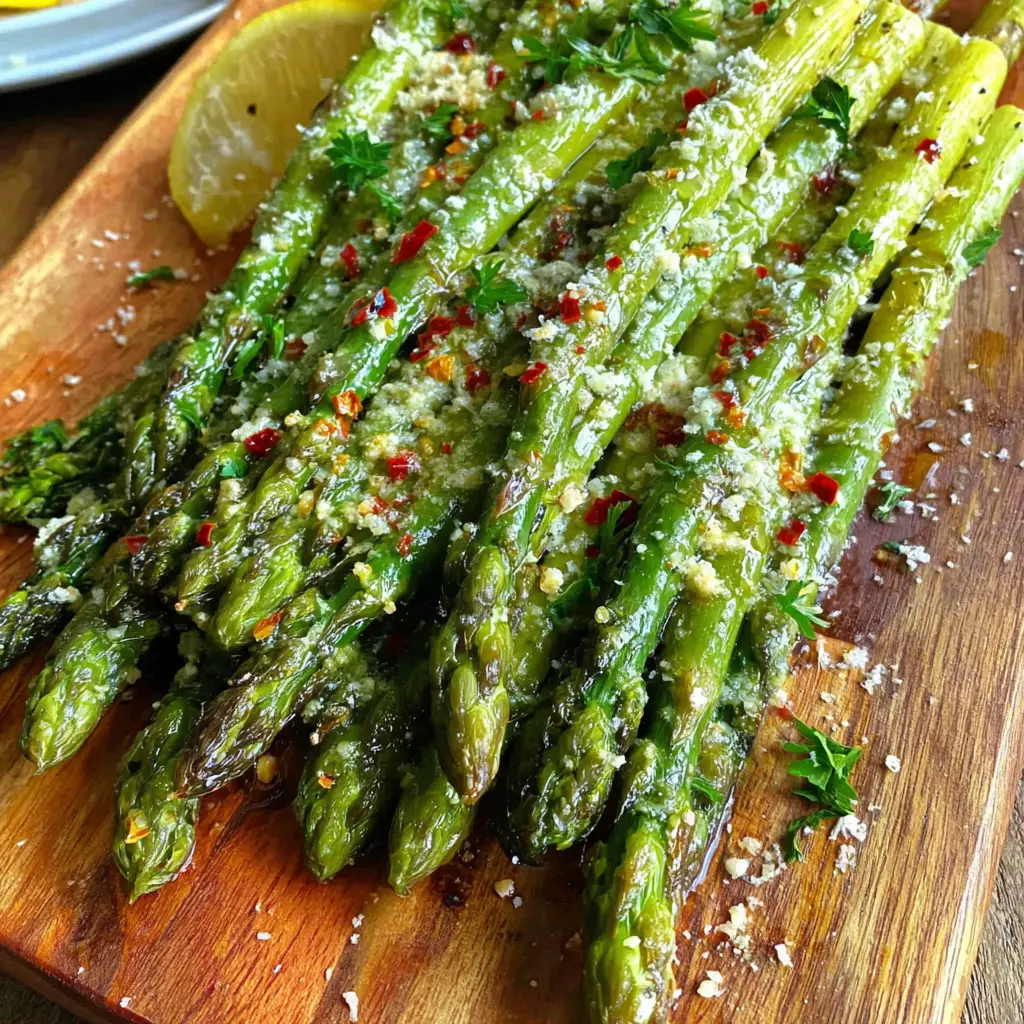
When you serve these Roasted Garlic Asparagus Bites, watch how fast they go. I mean it. Set them out at your next gathering and just stand back. People will hover around the platter, grabbing one after another, that first crunch audible across the room. And you’ll just smile, knowing it took you maybe 20 minutes of actual work. From boring bunch to bite of the night. That’s the kind of magic I can get behind.
Make these tonight, and watch them disappear. Tag me on Instagram with your crispy creations. I’d love to see how they turn out. And if you’re looking for more inspiration, check out my Pinterest boards for even more easy, impressive recipes.
Source: Nutritional Information
How do you make Roasted Garlic Asparagus Bites crispy?
High heat is the key. Roast at 425 degrees Fahrenheit on a parchment-lined baking sheet, giving each spear space so they don’t steam. Pat them dry before tossing with oil, and don’t add the cheese until the last few minutes so it doesn’t burn.
Can I prepare these savory asparagus side plate bites ahead of time?
You can wash, trim, and dry the asparagus up to two days ahead. Store them in the fridge with the bottoms wrapped in damp paper towels. When you’re ready, just toss with oil and garlic and roast. For best texture, don’t roast them fully until just before serving.
What is the best way to store leftover crispy asparagus snack?
Place leftovers in an airtight container in the fridge for 3 to 5 days. To reheat, spread on a baking sheet at 350 degrees for about 5 minutes, or use a covered skillet with a splash of broth to steam and re-crisp. Avoid the microwave, it makes them soggy.
How long should you oven roast asparagus dish for the perfect texture?
It depends on thickness. Thin spears need 5 to 7 minutes at 425 degrees. Medium spears need 8 to 10. Thick spears need 10 to 12. Start checking early and look for fork-tender spears with crispy, browned edges. Every oven runs a little different.
Can you substitute Parmesan cheese in this healthy asparagus bites recipe?
Absolutely. For a dairy-free version, try nutritional yeast for that savory, cheesy flavor. You can also use a vegan Parmesan substitute or just skip it entirely. The roasted garlic and lemon will still carry the dish. It’ll be different, but still delicious.