Why This Garlic Brown Sugar Chicken Saves My Sanity
It’s 5pm. You’ve got nothing planned for dinner. The kids are already asking what’s for dinner. You open the fridge and see chicken. Again. I’ve been there more times than I can count. And honestly? This garlic brown sugar chicken has saved my sanity more times than I want to admit.
It’s one of those recipes that looks like you spent way more effort than you actually did. The kind of meal that makes people go “wow, where did you order this from?” And all you did was whisk together a few pantry staples and let the oven do the heavy lifting. The best part? It’s a one-pan situation. Minimal cleanup, maximum flavor. That’s my kind of math.
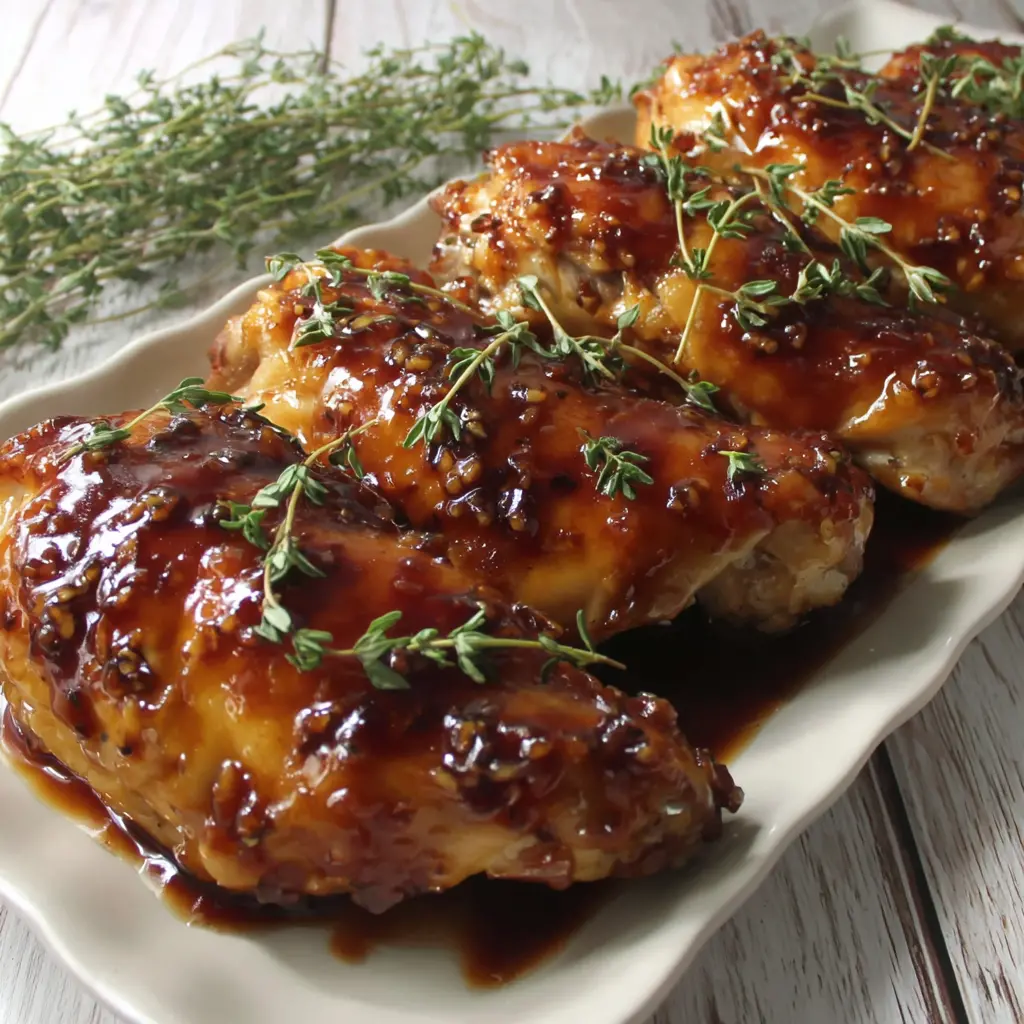
The magic here is the combination of sweet and savory. The brown sugar caramelizes into this sticky, glossy coating that clings to every bite of chicken. The garlic gets all roasty and mellow. And the soy sauce? It brings that umami punch that keeps everything from being too sweet. It’s balanced. It’s addicting. And it’s exactly what you need on a busy Tuesday night.
I’ve definitely scorched this the first time I made it. Like, blackened garlic, smoking kitchen, the whole deal. But I learned from my mistakes. And now I’m going to share all my secrets so you nail it on your first try. No burnt garlic. No dry chicken. Just pure, sticky, golden perfection.
Ingredients You’ll Need
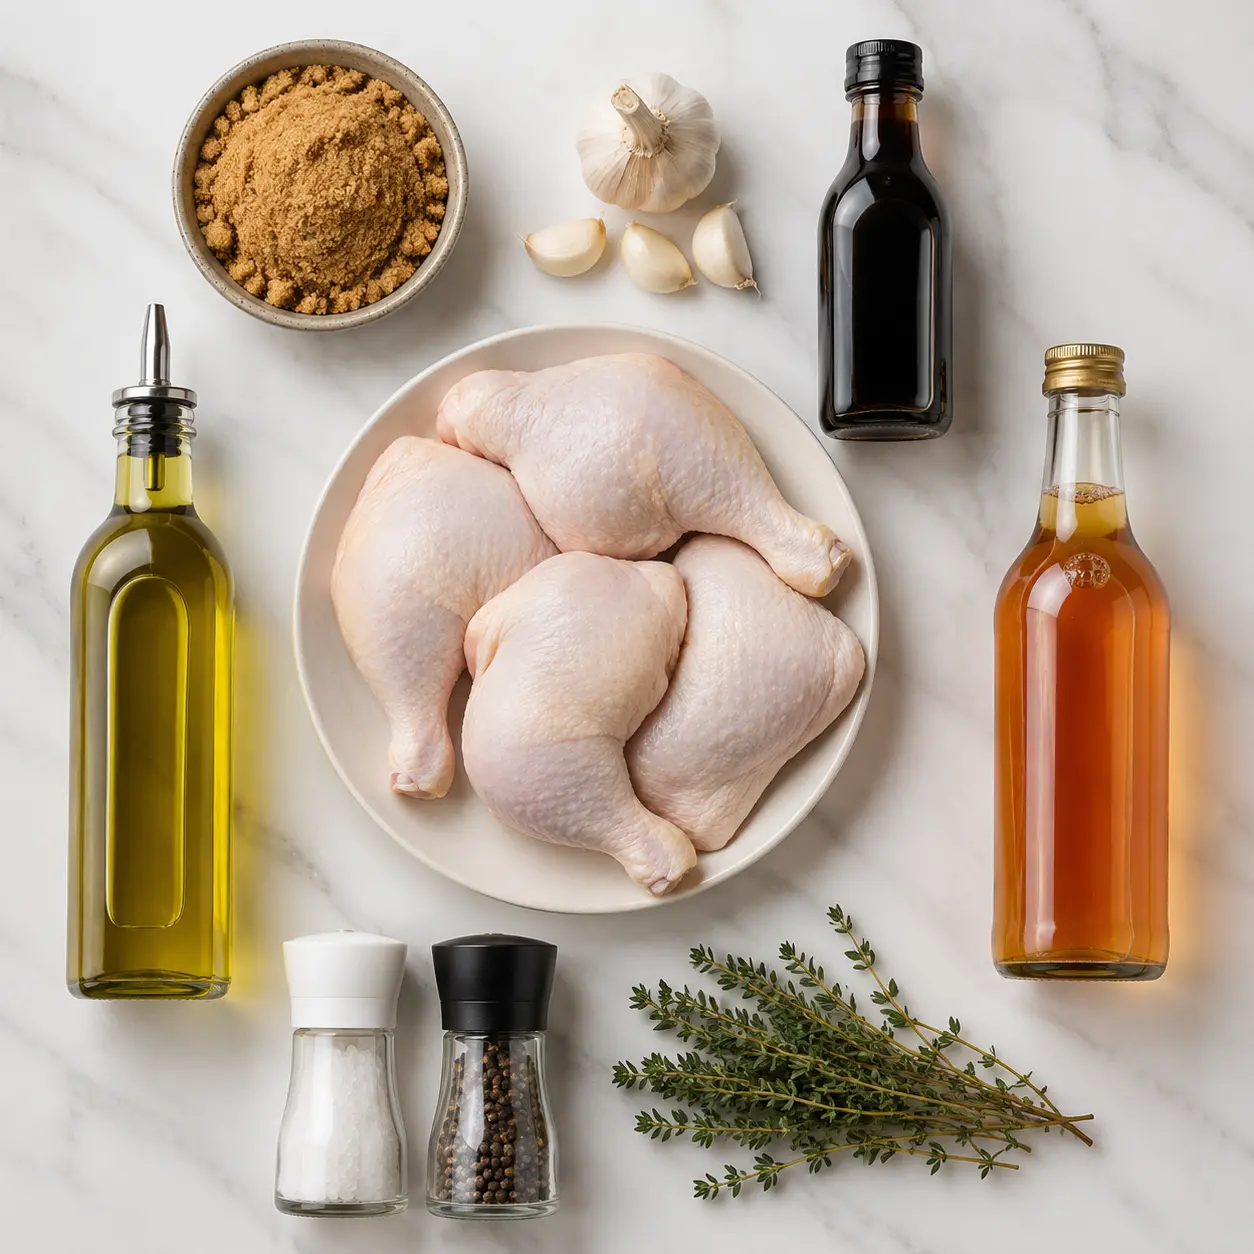
This recipe uses simple ingredients you probably already have in your kitchen. That’s the beauty of it. No fancy trips to a specialty store. Just good, honest food.
- Bone-in, skin-on chicken thighs About 2 pounds total, or 6 pieces. The skin gets crispy and the meat stays juicy. If you only have boneless, we’ll talk about that later.
- Packed light brown sugar A quarter cup. This is what creates that gorgeous caramelized crust. Don’t skip it.
- Garlic 4 cloves, minced. About a tablespoon. Fresh is non-negotiable here. The pre-minced stuff in a jar? It won’t give you the same punch.
- Low-sodium soy sauce 2 tablespoons. You can use regular soy sauce if that’s what you have, but the low-sodium version lets you control the salt better.
- California olive oil 2 tablespoons. Extra virgin preferred. It adds richness to the glaze.
- Apple cider vinegar 1 tablespoon. This is the secret weapon. It cuts through the sweetness and adds a little tang that makes everything pop.
- Salt and freshly ground black pepper Half a teaspoon each. Simple seasoning that lets the glaze shine.
- Fresh thyme or parsley For garnish. Totally optional, but it makes the dish look restaurant-quality.
That’s it. Eight ingredients. Most of them are probably in your pantry right now. And if you’re missing something, don’t worry. I’ve got substitutions coming up.
How to Make Garlic Brown Sugar Chicken
Alright, let’s get cooking. I’m going to walk you through this step by step. And I’ll tell you where I messed up so you don’t have to.
Step 1: Make the Glaze
First things first. Preheat your oven to 400°F. Line a rimmed baking sheet with aluminum foil. Trust me on the foil. You’ll thank me later when you’re not scrubbing burnt sugar off a pan.
In a medium bowl, whisk together the brown sugar, minced garlic, soy sauce, olive oil, apple cider vinegar, salt, and pepper. Whisk until the sugar dissolves and the mixture looks like a thick, syrupy glaze. It should smell sweet and tangy and garlicky all at once. That’s the smell of a good dinner coming.
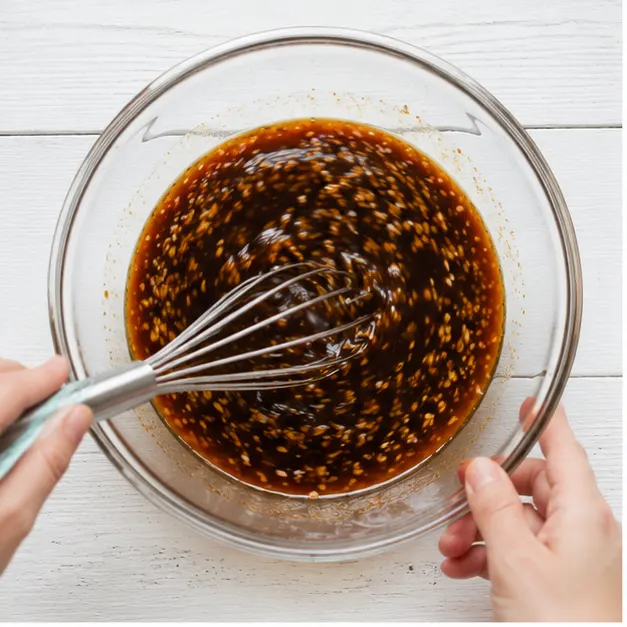
One thing I learned the hard way: make sure your garlic is really finely minced. Big chunks of garlic can burn in the oven. And burnt garlic is bitter. We don’t want that.
Step 2: Prep the Chicken
Pat the chicken thighs dry with paper towels. This is crucial for crispy skin. If the chicken is wet, the glaze won’t stick as well and the skin will be soggy. Nobody wants soggy skin.
Add the chicken to the bowl with the glaze. Toss everything together until every piece is completely coated. Use your hands if you need to. Get in there. Make sure every nook and cranny has that sticky goodness.
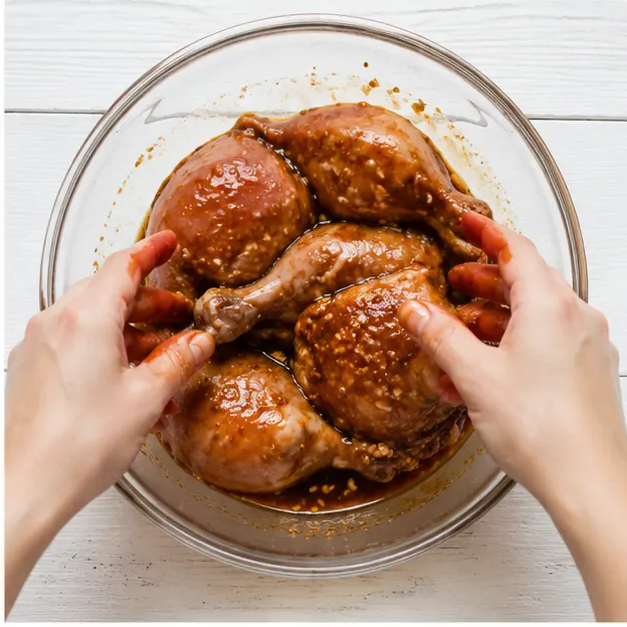
I like to let it sit for a few minutes while I clean up. Not necessary, but it gives the flavors a head start.
Step 3: Arrange and Bake
Place the glazed chicken thighs skin-side up on the prepared baking sheet. Leave a little space between each piece. If they’re too crowded, they’ll steam instead of caramelize. And we want that beautiful golden crust.
Bake for 35 to 40 minutes. About halfway through, baste the chicken with the pan juices. You can flip each thigh if you want more even caramelization. I usually do. It’s worth the extra 30 seconds.
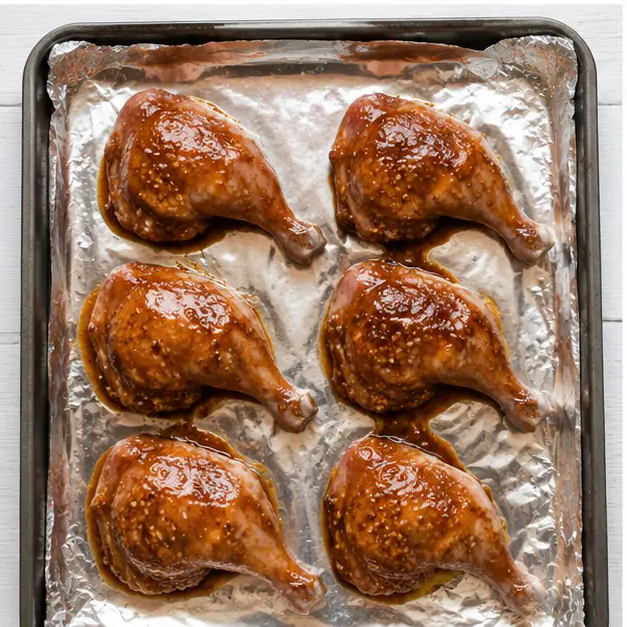
Here’s the thing about the sugar: it wants to burn. Keep an eye on it during the last 10 minutes. If it looks like it’s getting too dark, you can tent the pan with foil. But honestly, a little char is delicious.
Step 4: Rest and Serve
The chicken is done when the skin is golden brown and an instant-read thermometer inserted into the thickest part registers 165°F. Don’t skip the thermometer. It’s the only way to be sure.
Remove the chicken from the oven and let it rest on the baking sheet for 5 minutes. This is important. The juices need time to redistribute. If you cut into it right away, all that goodness will run out onto the cutting board.
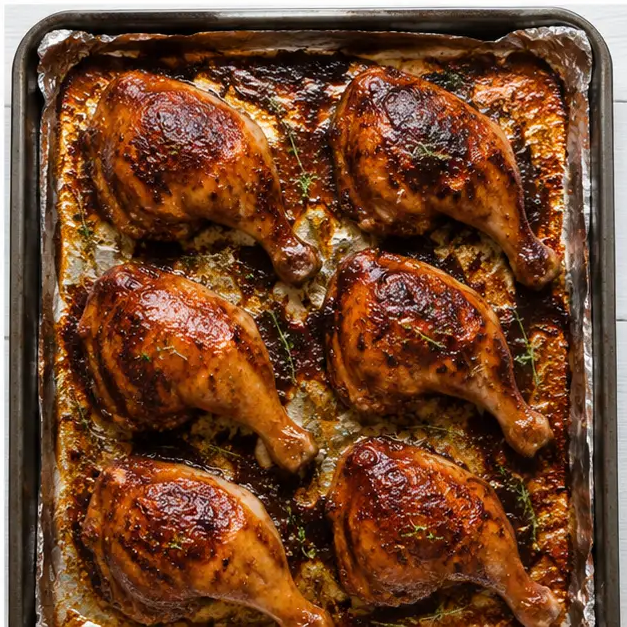
Garnish with fresh thyme or parsley if you’re feeling fancy. Then serve warm and watch everyone fight over the last piece.
Tips for the Perfect Caramelized Crust
Getting that perfect sticky, caramelized crust is the whole point of this recipe. Here’s what I’ve learned after making it a dozen times.
Pro Tips for Success
Pat the chicken dry: Moisture is the enemy of crispy skin. Use paper towels and really get in there.
Don’t overcrowd the pan: If the chicken is touching, it won’t caramelize properly. Give each piece some breathing room.
Baste halfway through: Spoon those pan juices over the chicken about 20 minutes in. It adds layers of flavor.
Broil for extra stickiness: For an even more intense glaze, switch the oven to broil for the last 2 minutes. Watch it carefully though. Sugar burns fast under the broiler.
Use an instant-read thermometer: This is non-negotiable for me. 165°F is the magic number. No guesswork.
One more thing: if you see the garlic looking dark around the 30-minute mark, don’t panic. It’s not burnt. It’s just deeply caramelized. The flavor will be rich and sweet, not bitter. I promise.
Variations to Try
Once you’ve mastered the basic garlic brown sugar chicken recipe, feel free to play around. Here are some of my favorite variations.
- Boneless chicken thighs: If you swap bone-in for boneless, reduce the baking time to 25-28 minutes. Check with your thermometer at 25 minutes.
- Chicken leg cuts: Same cut, different name. Works exactly the same.
- Spicy kick: Add a pinch of red pepper flakes or cayenne to the glaze. The heat balances the sweetness beautifully.
- Extra garlic: Love garlic? Add 6 cloves instead of 4. Just make sure it’s finely minced so it doesn’t burn.
- Citrus finish: A squeeze of fresh lemon juice over the finished chicken brightens everything up. Try it.
These are all optional. The base recipe is already perfect. But if you’re feeling adventurous, go for it.
Serving Suggestions
This garlic brown sugar chicken is incredibly versatile. Here’s what I like to serve with it.
- Steamed white rice: The classic. The rice soaks up all that sticky glaze from the pan. It’s the best part.
- Roasted vegetables: Broccoli, asparagus, or green beans. Toss them with olive oil and salt, roast alongside the chicken for the last 20 minutes.
- Mashed potatoes: Creamy potatoes and sweet sticky chicken? Yes, please.
- Simple salad: A crisp green salad with a tangy vinaigrette cuts through the richness.
For a complete meal prep idea, make extra chicken and rice. Divide into containers for easy lunches all week. Trust me, your coworkers will be jealous.
How to Store and Reheat Leftovers
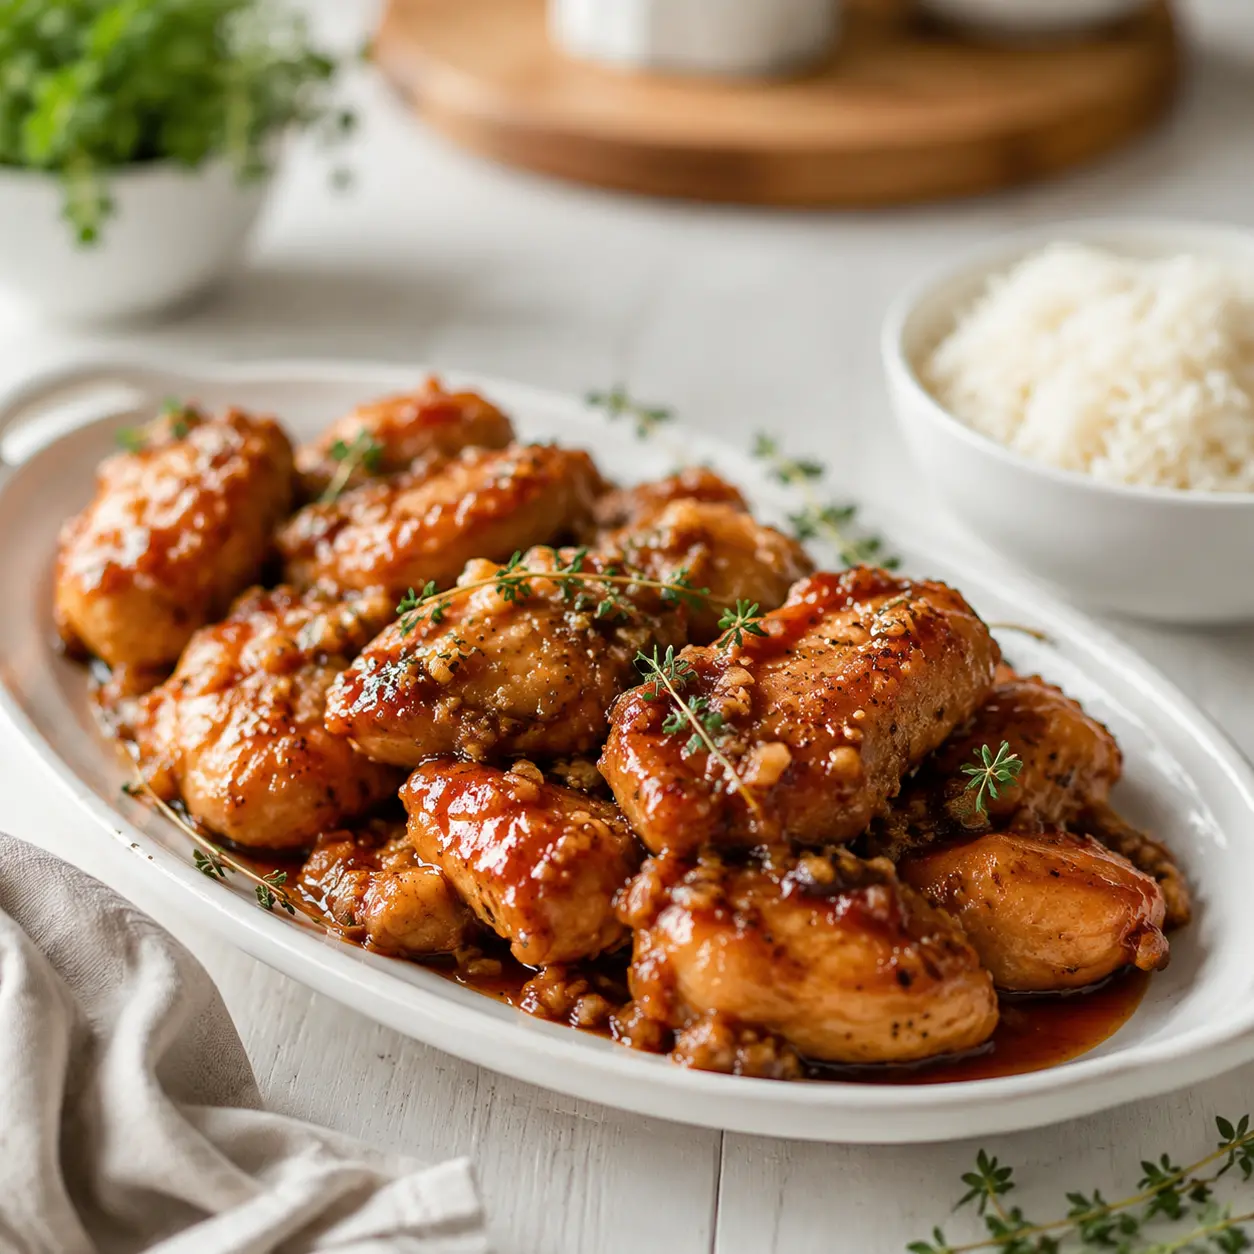
If you somehow have leftovers, here’s how to keep them delicious.
Storing: Place leftover chicken in an airtight container. It will keep in the fridge for up to 4 days. For longer storage, freeze it in a freezer-safe bag for up to 3 months. Thaw overnight in the fridge before reheating.
Reheating: The oven is your best friend here. Preheat to 350°F, place the chicken on a baking sheet, and warm for 10 minutes. This keeps the skin crispy. The microwave works in a pinch, but the skin will get soggy. Stovetop is another option: reheat in a skillet over medium heat with a splash of water or broth.
One tip: if you’re reheating from frozen, add a few extra minutes in the oven. And always check that the internal temperature reaches 165°F again.
Frequently Asked Questions
I hope you love this garlic brown sugar chicken as much as my family does. It’s become a regular in our dinner rotation. Quick, easy, and absolutely packed with flavor. Give it a try tonight. You won’t regret it.
If you make this recipe, I’d love to hear about it. Tag me in your photos or leave a comment below. And if you’re looking for more easy weeknight dinners, follow me on Pinterest for constant inspiration. I’m always pinning new recipes that save dinner time and time again.
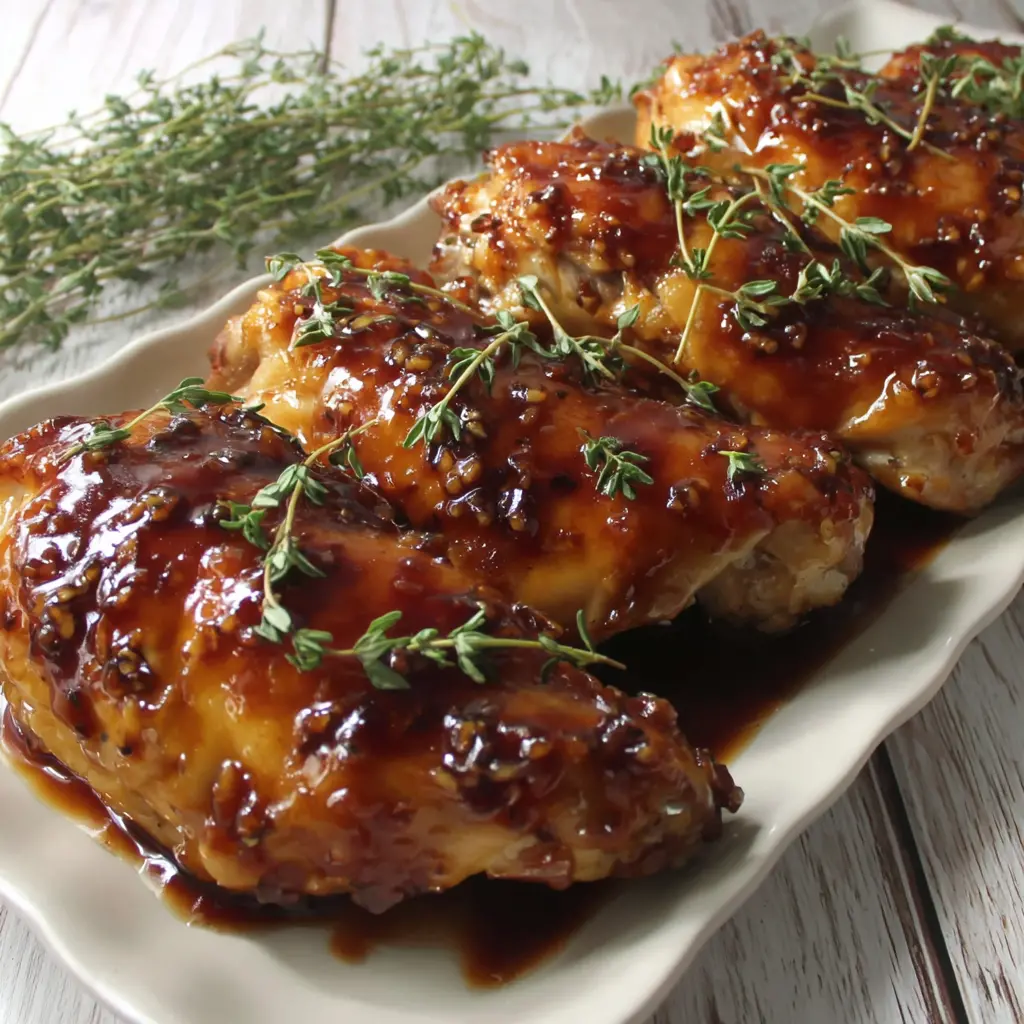
Garlic Brown Sugar Chicken Thighs with Caramelized Crust
Ingredients
Method
- Preheat your oven to 400 degrees Fahrenheit. Line a rimmed baking sheet with aluminum foil for easy cleanup.
- In a medium bowl, whisk together the brown sugar, minced garlic, soy sauce, olive oil, apple cider vinegar, salt, and black pepper until the sugar dissolves and the mixture is syrupy.
- Pat the chicken thighs dry with paper towels to ensure a crispy skin. Add the chicken to the bowl with the glaze and toss well to coat every piece thoroughly.
- Arrange the glazed chicken thighs skin-side up on the prepared baking sheet, leaving a little space between each for even cooking.
- Bake for 35 to 40 minutes. About halfway through, baste the chicken with the pan juices and flip each thigh if you want more even caramelization. Continue baking until the skin is golden brown and an instant-read thermometer inserted into the thickest part registers 165 degrees Fahrenheit.
- Remove the chicken from the oven and let it rest on the baking sheet for 5 minutes. Garnish with fresh thyme or parsley if desired, then serve warm.
Nutrition
Notes
Tried this recipe?
Let us know how it was!Source: Nutritional Information
Can you put this in a slow cooker instead of the oven?
I don’t recommend it for this recipe. The slow cooker won’t give you that caramelized crust. The magic of garlic brown sugar chicken happens in the hot oven where the sugar can caramelize. If you want slow cooker chicken, find a different recipe designed for it.
Can you put it on a grill?
You can, but it’s tricky. The sugar in the glaze will burn quickly over direct heat. I’d recommend grilling the chicken first without the glaze, then brushing it on during the last 5 minutes. Watch it like a hawk. The caramelization happens fast.
No honey, can I use maple syrup?
This recipe doesn’t use honey, so no need to substitute. But if you want to swap the brown sugar for maple syrup, you can. Use about 3 tablespoons of maple syrup instead of 1/4 cup brown sugar. The flavor will be different but still delicious.
Can I double the sauce?
Absolutely. If you want extra glaze for drizzling over rice or vegetables, double all the sauce ingredients. Just keep an eye on the baking time. More sauce means more liquid, so the chicken might need an extra 5 minutes to caramelize properly.
Do I need to cover the chicken while baking?
No, don’t cover it. You want the heat to hit the chicken directly so the sugar can caramelize and the skin can get crispy. Covering it would trap steam and make everything soggy. Keep it uncovered for that beautiful golden crust.
Can I make this ahead?
Yes! You can prep the glaze and marinate the chicken up to 24 hours in advance. Just keep it covered in the fridge. When you’re ready to cook, let it sit at room temperature for 15 minutes, then bake as directed. The flavors get even better overnight.
What if I only have chicken thighs?
That’s perfect because this recipe is designed for chicken thighs. Bone-in, skin-on thighs are ideal. If you only have boneless skinless thighs, reduce the baking time to 25-28 minutes and check with your thermometer. They’ll still be delicious.