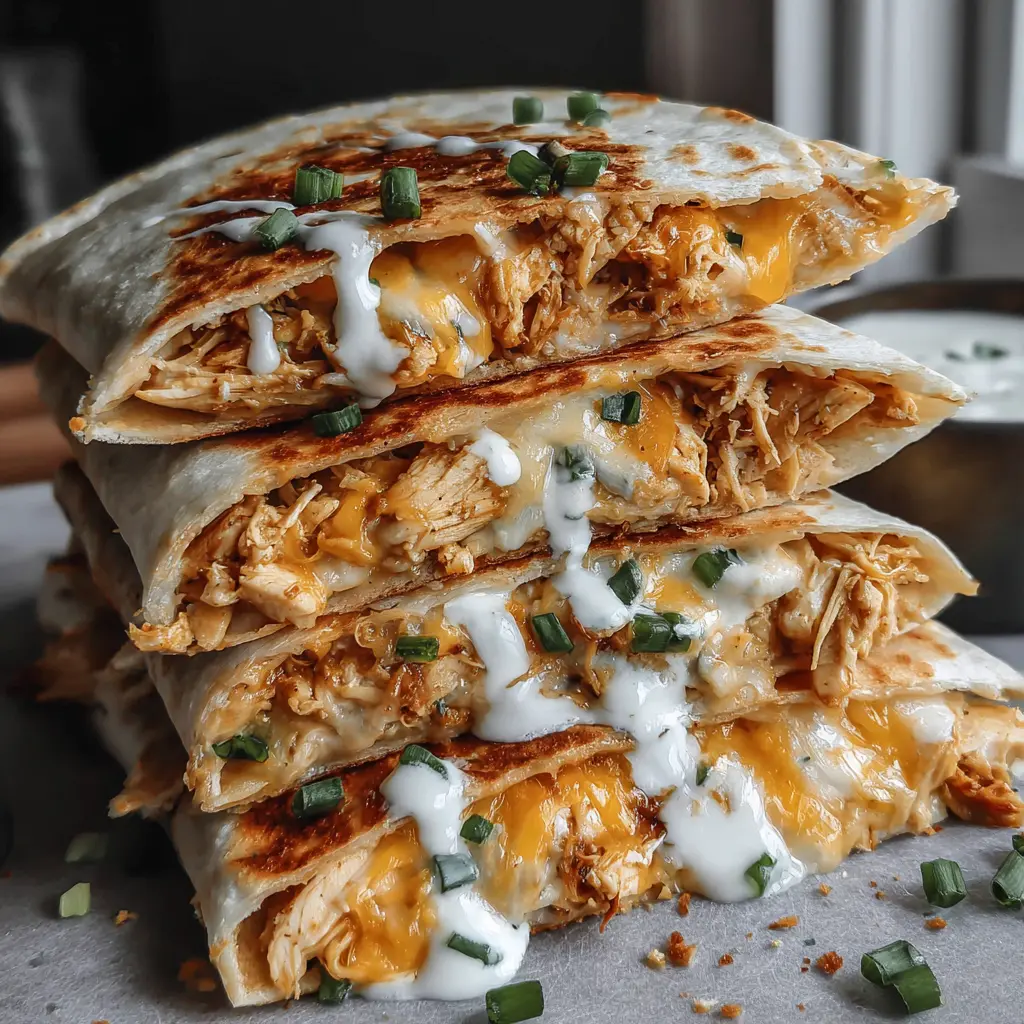
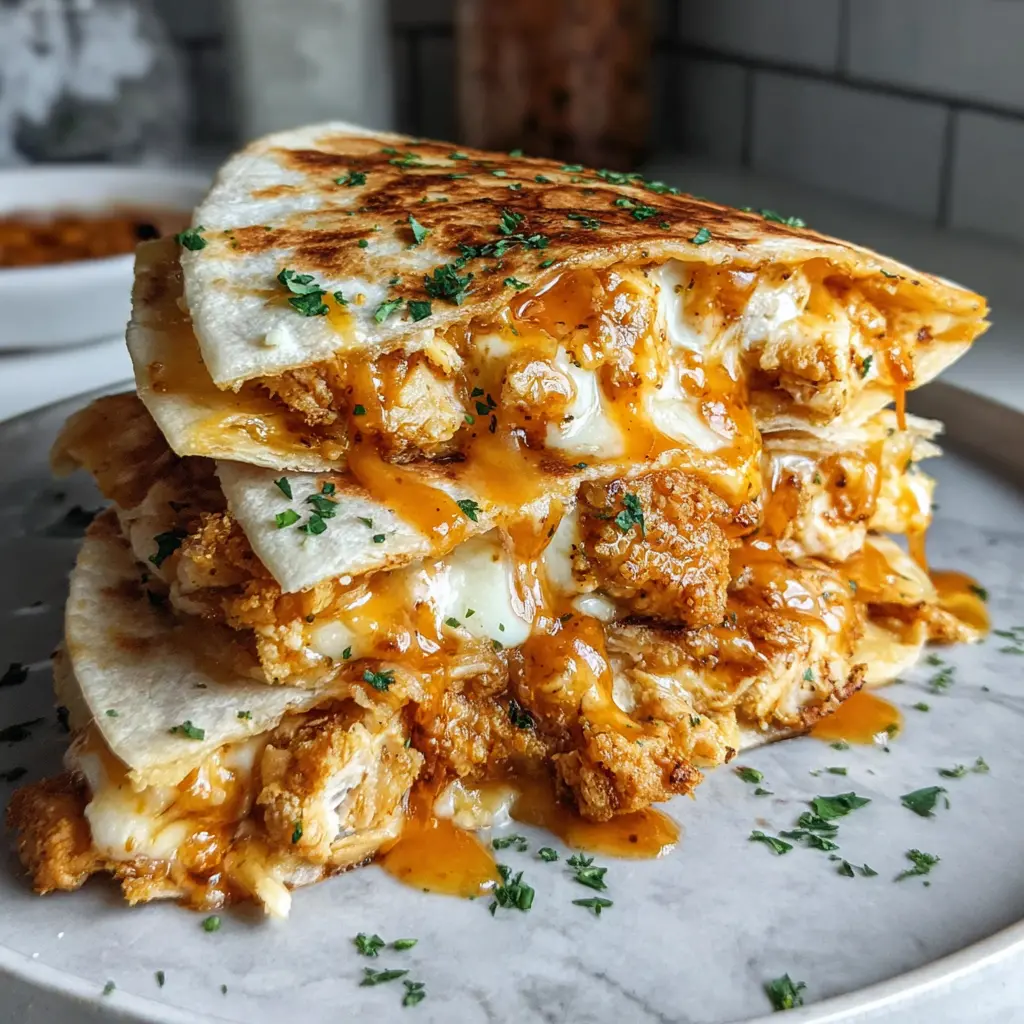
Crispy Chicken Ranch Quesadilla Wrap
Ingredients
Method
- In a mixing bowl, combine shredded chicken with ranch dressing. Add diced bell peppers and green onions.
- Heat a skillet over medium heat and add olive oil. Place one tortilla in the skillet.
- On half of the tortilla, layer chicken filling and cheese. Fold the tortilla over.
- Cook for 3-4 minutes until golden brown, then flip and cook for another 3-4 minutes until crispy and cheese is melted.
- Remove from skillet, let sit for a minute, then slice into wedges and serve.
Nutrition
Notes
Tried this recipe?
Let us know how it was!Why This Crispy Chicken Quesadilla Wrap Works
You know that feeling when you’re craving something crispy, cheesy, and oh-so-satisfying, but you don’t want to spend an hour in the kitchen? I get it. That’s exactly why this Crispy Chicken Quesadilla Wrap became my go to. It’s that perfect weeknight hero that looks like you tried way harder than you actually did.
We’ve all had those sad, limp quesadillas that fall apart the second you pick them up. Not today. This wrap is different. It’s got that audible crunch when you bite in, the kind that makes everyone at the table stop and look. The cheese stretches for miles, and the filling stays put. No more chasing shredded chicken across your plate.
And here’s the thing. This isn’t some fussy recipe that requires a dozen special ingredients. You probably have most of this stuff already. Ranch dressing? Check. Bell peppers? Probably in your crisper drawer. Leftover chicken? That’s the whole point. This is a “use what you’ve got” kind of meal that comes together in under 20 minutes.
I remember the first time I tried to make a quesadilla wrap. I was maybe twenty-two, living in a tiny apartment with a sad electric stove. I overstuffed it, the tortilla tore, and I ended up with a messy pile of chicken and cheese on the pan. I ate it anyway, sitting on my floor, and thought, “This is good. But I can do better.” It took a few more tries, but I figured out the secrets. Now I’m sharing them with you.
Ingredients Needed
Let’s talk about what you’ll need. The beauty of this Crispy Chicken Quesadilla Wrap is that it’s flexible. But for the base recipe, here’s what works best.
You’ll start with cooked chicken breast, shredded. I love using leftover rotisserie chicken from Costco or Ralphs. It’s already seasoned and juicy. If you’re cooking chicken fresh, just poach or bake it, let it cool a bit, then shred with two forks. Easy.
Ranch dressing is the secret weapon here. It adds creaminess and tang that ties everything together. Don’t skip it. I use the regular stuff from the bottle, but homemade works too if you’re feeling fancy.
Low-carb tortillas are my preference because they crisp up beautifully without getting too dense. But any flour tortilla will work. Just make sure they’re large enough to roll. Burrito sized is perfect.
Shredded cheese is non-negotiable. Monterey Jack is my favorite for that gooey melt, but a Mexican blend from Trader Joe’s works great too. I like to grate my own when I have the energy. It melts smoother. But the pre-shredded bags are totally fine.
Diced bell peppers add color and a little crunch. Any color works. I usually grab whatever’s on sale at Vons. Green onions give a mild oniony pop that doesn’t overpower. And olive oil, salt, and pepper are your basics for getting that golden crust.
How to Make Crispy Chicken Quesadilla Wraps
Alright, let’s get into the actual making part. This is embarrassingly easy, but no one needs to know that. I’ll walk you through it like we’re in the kitchen together.
First, get your filling ready. In a bowl, combine the shredded chicken, a good glug of ranch dressing, the diced bell peppers, and the chopped green onions. Give it a stir. It should look creamy and colorful. Taste it. Add a pinch of salt and pepper. I think a little more salt and a little less worry. That’s what I always say.
Now, lay a tortilla flat on your cutting board. Sprinkle a generous layer of shredded cheese down the center, leaving some room at the edges. Spoon your chicken mixture on top of the cheese. Then add another sprinkle of cheese on top of the chicken. This double cheese layer acts like glue. It holds everything together when you roll it.
Here’s the rolling technique. Fold the sides of the tortilla in toward the center, like you’re making a burrito. Then roll it tightly from the bottom up. Tuck it snug, but don’t squeeze so hard that the filling bursts out. That’s a lesson I learned the hard way. Trust me.
Once it’s rolled, brush the outside lightly with olive oil. Not too much. A thin, even layer is all you need. Too much oil makes the crust heavy and greasy. We want crispy, not soggy.
Heat a cast iron skillet over medium heat. Let it get hot first. Show it who’s boss. Place the wrap seam side down in the pan. Let it cook for about 3 to 4 minutes without moving it. You’ll hear that beautiful sizzle. The edges will start to bubble and brown. Flip it carefully and cook for another 3 to 4 minutes on the other side.
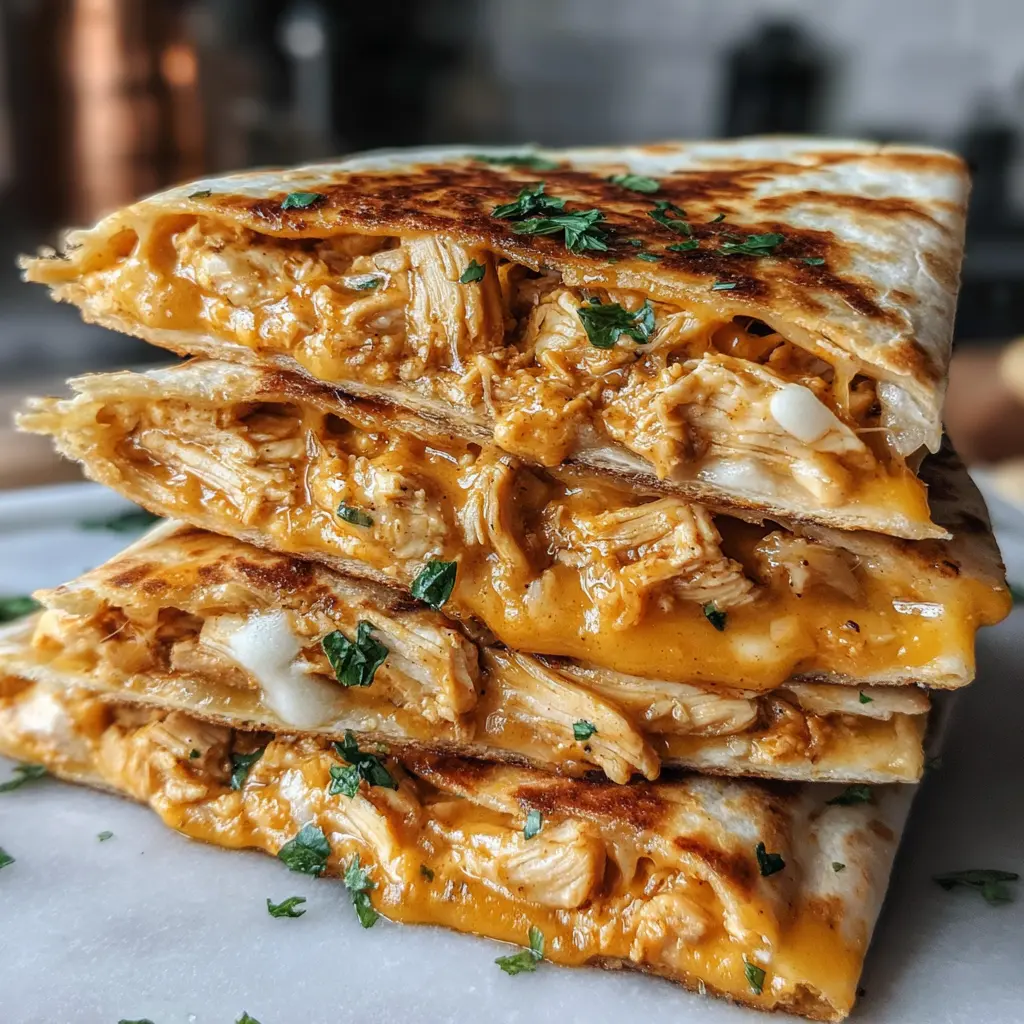
The wrap is done when it’s deep golden brown and the cheese is visibly melted and oozing a little. Let it rest on a cutting board for a couple minutes before slicing. This is crucial. If you cut into it too soon, the filling will spill out everywhere. I’ve done that. It’s still delicious, but it’s messy.
Tips for the Crispiest Wraps
I’ve made a lot of these wraps. Some were perfect. Some were… well, they were learning experiences. Here’s what I’ve figured out about getting that ideal crunch.
The number one tip is to keep the filling dry. If your cooked chicken is very wet, pat it dry with a paper towel. Wet filling creates steam, and steam is the enemy of crispy. Same goes for the bell peppers. You want them diced small so they don’t release too much moisture as they cook.
Don’t overfill the wraps. I know it’s tempting to pile on the good stuff. But too much filling makes the wrap hard to seal and more likely to burst open in the pan. Aim for a moderate amount. You want to be able to roll it tightly without straining.
Let the pan get hot before you add the wrap. A medium heat is perfect. If the pan isn’t hot enough, the tortilla will soak up oil and get greasy instead of crispy. If it’s too hot, the outside will burn before the cheese melts. Medium heat, patience. That’s the sweet spot.
Spray or brush the oil lightly. I use a pastry brush for an even coat. A little goes a long way. You want the tortilla to shine, not swim.
Let the wraps rest briefly after cooking. I know you’re hungry. I am too. But those two to three minutes let the filling firm up so you get clean slices and don’t burn your mouth. It’s worth the wait.
Common Mistakes & Fixes
Mistake: The wrap falls apart in the pan.
Solution: You probably overfilled it or didn’t seal the seam well. Use less filling and press firmly after rolling. The cheese acts as glue, so make sure it’s along the edge.
Mistake: The tortilla is soggy instead of crispy.
Solution: Too much oil or the pan wasn’t hot enough. Wipe out the pan and start over with a light oil coating and medium heat. Also, check that your chicken isn’t too wet.
Mistake: The cheese isn’t melted in the center.
Solution: The wrap might be too thick or the heat too high. Lower the heat a bit and cover the pan for the last minute to trap steam and melt the cheese fully.
Mistake: The wrap bursts open while cooking.
Solution: Too much filling or you didn’t roll it tightly enough. Use a moderate amount of filling and roll it snug. You can also secure the seam with a toothpick while it cooks.
Variations to Try
This is where you can make it your own. The base recipe is great, but sometimes you want to switch things up. I’ve tried a bunch of variations, and these are my favorites.
For a spicy kick, add some diced pickled jalapeños to the filling. Or serve it with a chipotle ranch dipping sauce. Just mix a little chipotle powder into some extra ranch dressing. It’s so good.
If you’re going gluten free, use gluten free tortillas. They can be a little more delicate, so handle them gently. The cooking time might be slightly shorter, so keep an eye on them.
For a dairy free version, use dairy free shredded cheese and dairy free ranch dressing. The texture will be a bit different, but it still gets crispy and delicious.
Want to add more vegetables? Finely diced spinach or roasted corn works great. Just make sure to sauté firmer veggies first so they don’t release water into the filling.
You can also swap the ranch for a different dressing. A creamy cilantro lime dressing would be amazing. Or a smoky chipotle dressing for a different vibe.
I sometimes add a spoonful of salsa verde to the filling for extra flavor. It adds a nice tangy brightness. Just make sure to drain it a bit so it doesn’t make the filling too wet.
Storage and Reheating
These wraps are best fresh, but leftovers are still pretty great. Here’s how to handle them.
Let the wraps cool completely to room temperature. Then wrap each one individually in foil or plastic wrap. Place them in an airtight container and store in the fridge for up to 3 to 4 days. Separate layers with parchment paper to keep the crust crispier.
For reheating, the air fryer is your best friend. Reheat at 350°F for 4 to 6 minutes until hot and crisp. Flip once halfway through for even heating. The oven works too. Place on a baking sheet at 350°F for 10 to 12 minutes, turning once.
The microwave is quick but less ideal. It will soften the crust. If you’re in a hurry, microwave for 30 to 45 seconds to warm it up, then crisp it in a hot skillet or air fryer for a minute or two to restore some crunch.
You can also freeze these wraps before cooking. Assemble them, wrap tightly in plastic wrap, then place in a freezer bag for up to 2 months. When you’re ready to cook, thaw in the fridge overnight and cook as directed. Or cook from frozen, adding a few extra minutes to the cooking time.
The filling mixture itself can be made up to 2 days ahead and stored in a covered container in the fridge. That makes weeknight assembly even faster.
What to Serve with These Wraps
A good wrap deserves good company. Here are some of my favorite pairings.
A simple green salad with a lemon vinaigrette cuts through the richness perfectly. I love a mix of arugula and romaine with a squeeze of fresh lemon, a drizzle of olive oil, and a pinch of salt.
Crispy sweet potato fries or oven fries are a hearty pairing. They’re easy to make while the wraps are resting. Just toss some frozen fries in the oven and you’re set.
For a lighter option, a quick coleslaw with a tangy dressing adds crunch and brightness. I use bagged coleslaw mix and a simple vinegar based dressing.
Roasted cherry tomatoes or steamed broccoli are healthy touches that round out the meal. I sometimes roast cherry tomatoes with a little olive oil and salt while the wraps cook.
For dips, sour cream is classic. Salsa or guacamole are great too. I love a good avocado crema. Just blend an avocado with some sour cream, lime juice, and salt. It’s incredible.
Frequently Asked Questions
Final Thoughts
This Crispy Chicken Quesadilla Wrap is one of those recipes that feels like a secret weapon. It’s fast, it’s flexible, and it delivers every single time. The crunch, the cheese pull, the way the flavors all come together. It’s comfort food that doesn’t take all night.
I hope you make these for your next Taco Tuesday, or on a random Wednesday when you just need something good. Your family will be impressed. Your taste buds will thank you. And you’ll feel like a kitchen hero with almost zero effort.
When you try this recipe, I’d love to hear how it goes. Tag me if you share it. I want to see your crispy creations. For more inspiration, check out my Pinterest boards. I’ve got tons of quick dinner ideas there.
Go make these tonight. You’ll thank me later. Your taste buds are about to have a party. Go get crispy.
Source: Nutritional Information
Can I use raw chicken instead of cooked chicken for this Crispy Chicken Quesadilla Wrap?
It’s best to use cooked chicken. Raw chicken won’t cook through properly in the short time it takes to crisp the tortilla. Use leftover rotisserie chicken, poached chicken, or any leftover cooked chicken you have. If you only have raw chicken, cook it first, shred it, and let it cool slightly before using.
Can I make these Crispy Chicken Quesadilla Wraps ahead of time?
Absolutely. Assemble the wraps, wrap them tightly in plastic wrap, and store in the fridge for up to 24 hours before cooking. You can also freeze them uncooked for up to 2 months. Just thaw in the fridge overnight before cooking. This is a great meal prep option for busy weeks.
My wraps fall apart in the air fryer. What did I do wrong?
This usually happens from overfilling or not sealing the seam well. Use less filling, press firmly after rolling, and make sure the cheese is along the edge to act as glue. You can also secure the seam with a toothpick before cooking. Cook seam side down first to help it seal.
Can I use different cheese in this Crispy Chicken Quesadilla Wrap?
Yes. Monterey Jack is my go to for its melt, but cheddar, pepper jack, or a Mexican blend all work great. Pre-shredded cheese from a bag is fine, but grating your own gives a smoother melt. Avoid very hard cheeses like Parmesan as they don’t melt as well.
How do I make these wraps less greasy?
Use a light hand with the oil. Brush or spray a thin, even layer on the tortilla instead of pouring oil into the pan. Make sure your pan is hot enough so the tortilla crisps quickly without absorbing excess oil. Pat your chicken dry if it’s wet to avoid steaming.