Why This Condensed Milk Cranberry Cheesecake Works
You know that moment at a holiday dinner when someone brings out a cheesecake and the whole table goes quiet? I used to think that kind of dessert was beyond me. Water baths, cracking tops, fussy timers. No thank you.
Then I discovered the magic of sweetened condensed milk, and everything changed. This condensed milk cranberry cheesecake is the dessert I now bring to every Thanksgiving and Christmas gathering. It’s no-bake, it sets in the refrigerator, and it slices like a dream.
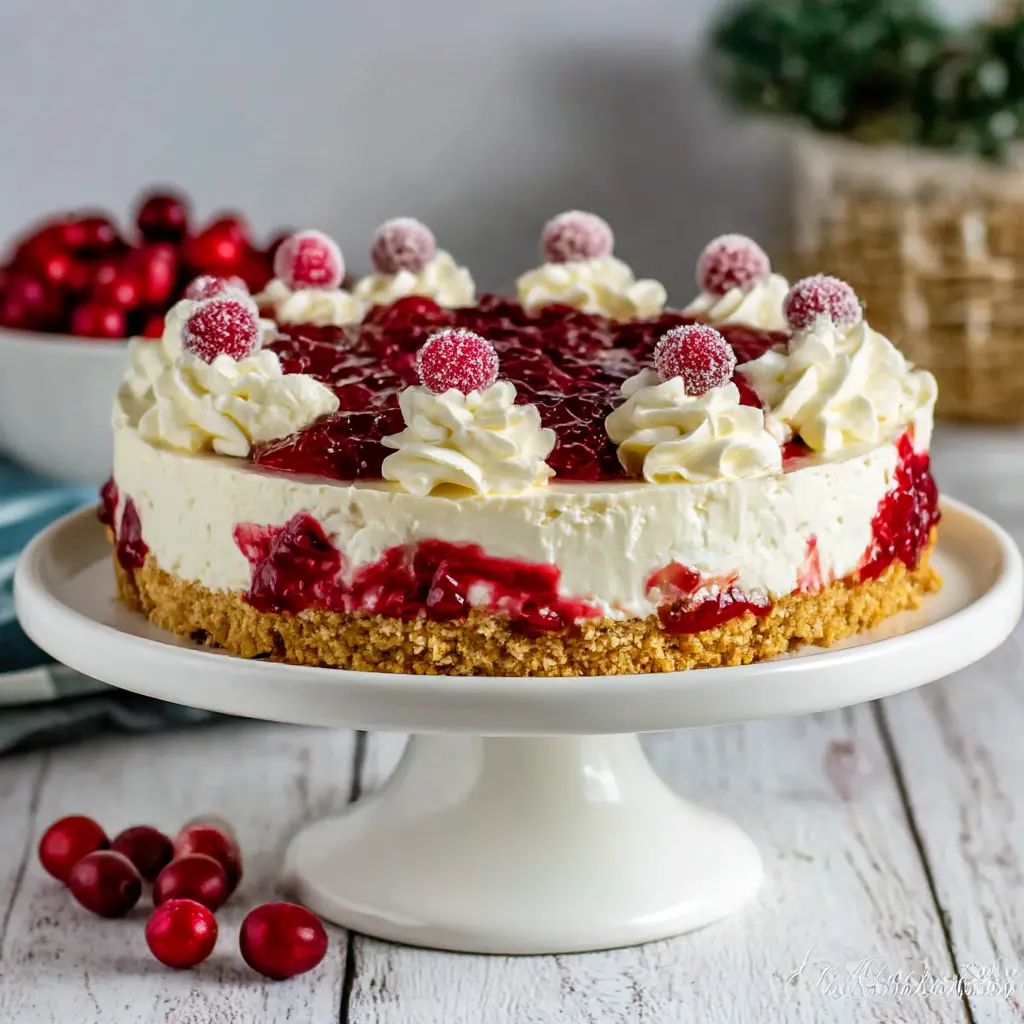
The cranberry-orange swirl cuts through the sweet, velvety filling in the most beautiful way. Bright, jammy ribbons against creamy white cheesecake. Sound too good? It’s not.
No water bath. No cracked surface. Just a silky filling held together with gelatin and a buttery graham cracker crust. The crust bakes for fifteen minutes, sure, but the filling itself never sees the inside of an oven.
Key Ingredients & Why They Matter
Before you start, let me explain why this cranberry cheesecake recipe works so well. Each ingredient has a real job, and understanding that makes you a better baker.
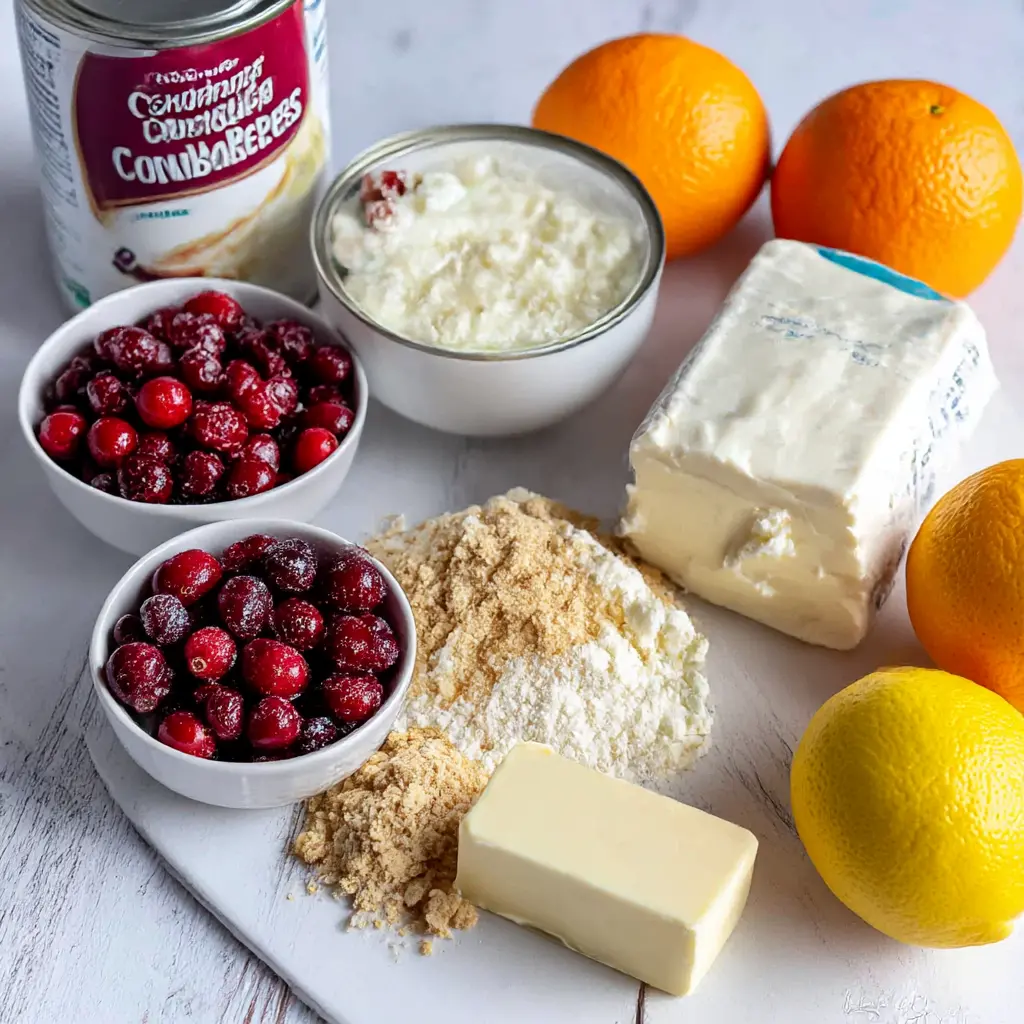
- Sweetened condensed milk: The secret to that silky, velvety texture. It adds sweetness and structure while keeping the filling soft and luxurious.
- Gelatin: This is what makes the no-bake filling set firmly enough to slice cleanly. Don’t skip it.
- Cream cheese: Use full-fat and let it soften completely, or you’ll end up with lumps. I learned that one the hard way.
- Cranberries with orange: The tart brightness that cuts through all that creamy richness. The orange zest makes it sing.
- Lemon juice: It sounds small, but it balances the sweetness and wakes up the whole filling.
Every piece of this condensed milk cranberry cheesecake has a purpose. That’s why it comes together so reliably, even for beginner bakers.
How to Make the No-Bake Cheesecake
Here’s the good news: this dessert moves fast. Most of your time is spent waiting for the refrigerator to do its thing. Let me walk you through the four stages, and I’ll share the little tricks I’ve picked up along the way.
Stage 1: The Cranberry Sauce
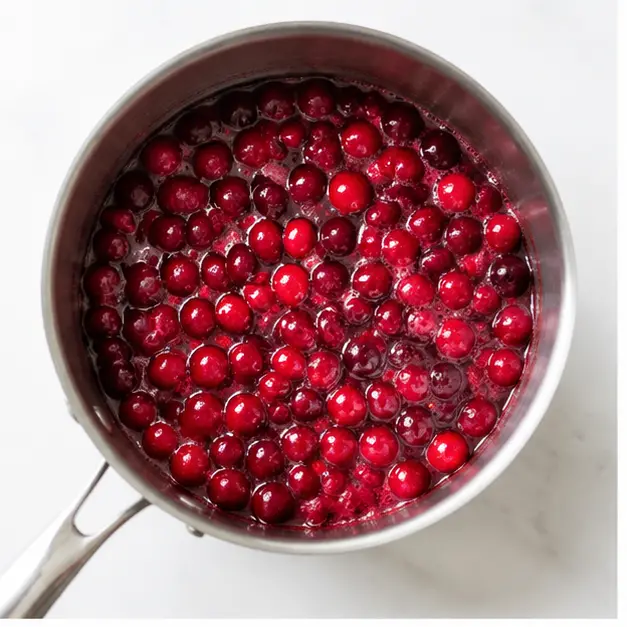
You’ll simmer the cranberries with sugar, fresh orange juice, and orange zest until the berries burst and turn thick and jammy. About fifteen minutes over medium heat, stirring occasionally. Your kitchen will smell like a holiday candle, I promise.
Then comes the important part: press the sauce through a fine mesh sieve to remove the skins and seeds. I know it’s tempting to skip this step, but a smooth sauce gives you those elegant swirl ribbons instead of chunky bits. Refrigerate it for a full hour before swirling.
Stage 2: The Crust
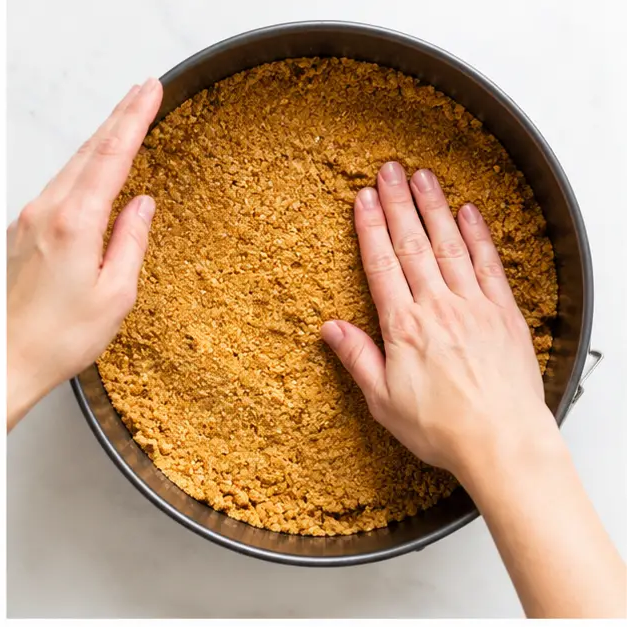
Stir together graham cracker crumbs, sugar, and melted butter until everything looks like damp sand. Press it firmly into an 8 or 9 inch springform pan and bake at 325°F for 15 minutes.
I always bake the crust because it holds together so much better when you slice. Don’t want to turn on the oven? Pop the pan in the freezer while you make the filling. Expect a crumbly base, but it’ll still taste amazing.
Stage 3: The Silky Filling
First, bloom the gelatin. Sprinkle it over cold water, wait five minutes, then stir in hot water until it dissolves completely. This step matters more than people think. Undissolved gelatin is the number one reason a no-bake cheesecake won’t set.
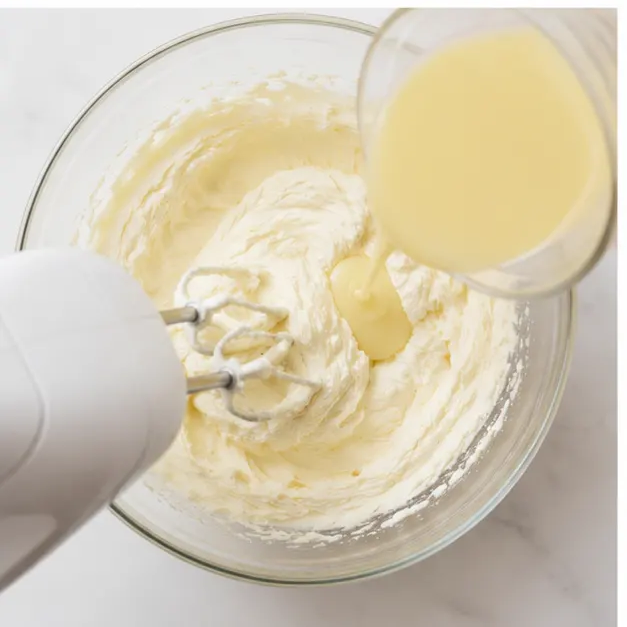
Beat your softened cream cheese for a full three minutes until it’s light and fluffy. Scrape the bowl and the beaters well, then add the sweetened condensed milk, lemon juice, and dissolved gelatin. Mix until smooth, but stop the moment it comes together. I know it’s tempting to keep stirring, but stop once the batter is smooth.
Stage 4: Swirl and Chill
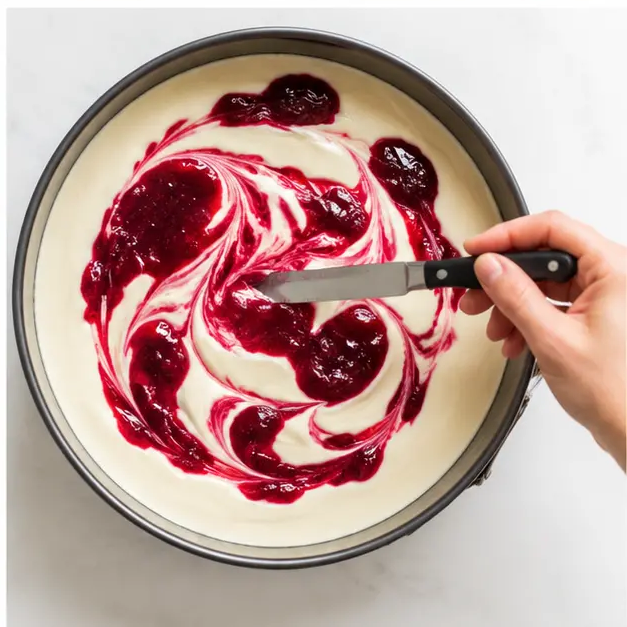
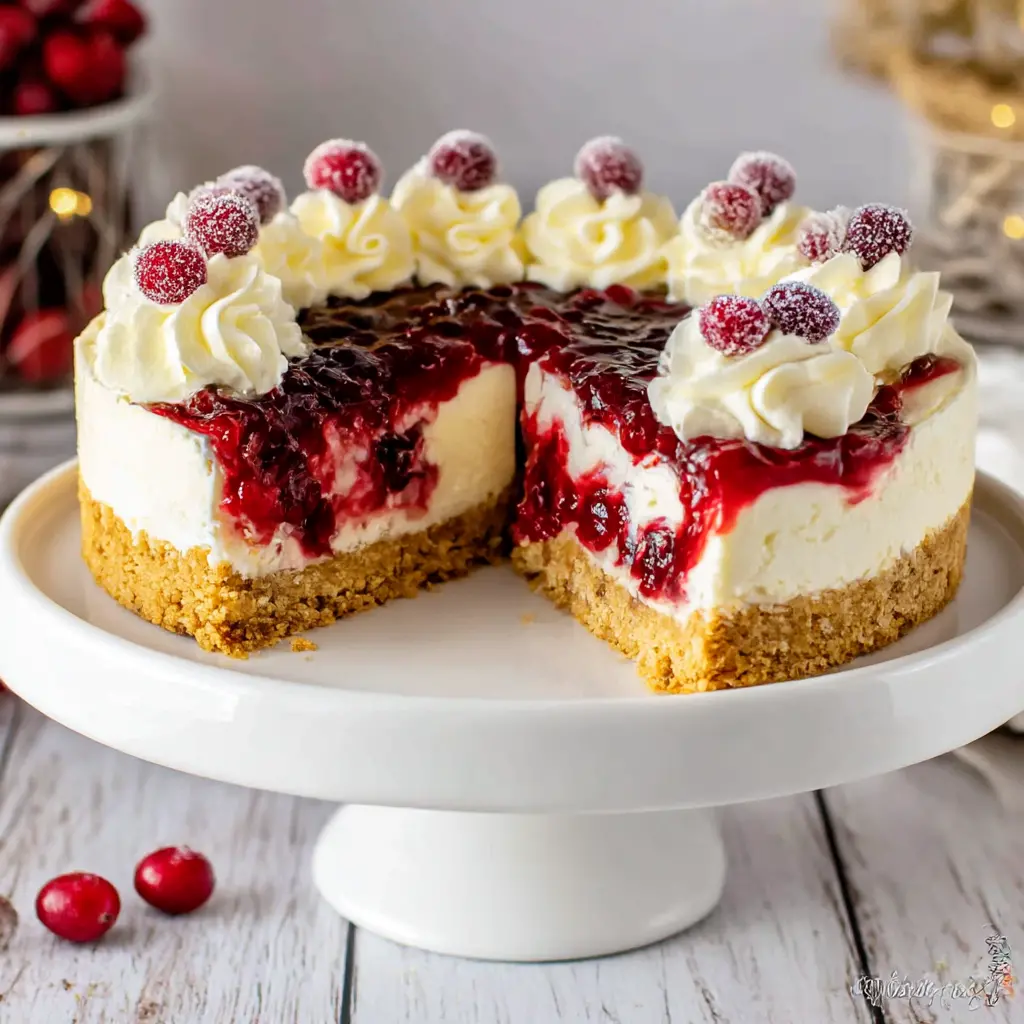
This is the fun part. Pour half the filling over the cooled crust, spoon about a third of a cup of cranberry sauce on top, and gently swirl it with a knife. Add the rest of the filling, then another half cup of sauce, and swirl again for a marbled look.
Don’t stress if it looks messy right now. It chills into those gorgeous ribbon patterns, and any imperfection just adds character. Tap the pan on the counter to settle everything, then refrigerate for at least 6 hours, or overnight.
Tips for the Best No-Bake Cheesecake
My first attempt at a no-bake cheesecake had a small crack on top and I nearly cried. Then I swirled cranberry sauce over it and you couldn’t tell at all. That’s the beauty of this dessert. It forgives you.
Here are the tips I wish someone had told me:
- ❌ Cold cream cheese creates lumps → ✅ Let it soften completely at room temperature before beating.
- ❌ Skipping the lemon juice leaves the filling overly sweet → ✅ Don’t skip it. It brightens everything.
- ❌ Unstrained cranberry sauce makes chunky swirls → ✅ Strain it for smooth, clean ribbons.
- ❌ Not chilling long enough gives soft, messy slices → ✅ Give it at least 6 hours, overnight is better.
- ❌ Gelatin that firms up too soon ruins the texture → ✅ Warm it in 5 second bursts to remelt it.
And for the love of all things creamy, scrape your bowl and beaters as you go. Uneven mixing is the enemy of smooth cheesecake.
Variations & Substitutions
This cranberry condensed milk cheesecake is pretty perfect as written, but life happens. Here are my favorite swaps, all tested in my own kitchen.
- Frozen cranberries: Totally fine. No need to thaw them first. Just toss them straight into the saucepan.
- Gingersnap crust: Crush gingersnaps instead of graham crackers for a spicier, more holiday-flavored base.
- Cranberry jam or preserves: Short on time? Use a good quality store-bought jam in place of the homemade sauce.
- No springform pan? Use a deep-dish pie plate. The slices won’t be quite as tall, but it still works beautifully.
Can you skip the gelatin? I wouldn’t recommend it for this recipe. The gelatin is what gives the no-bake filling that firm, sliceable structure. Without it, you’ll have a very tasty pudding situation.
Serving Suggestions
After the cheesecake chills, run a thin knife around the edge of the pan before you release the springform latch. This gives you those neat, bakery-style sides.
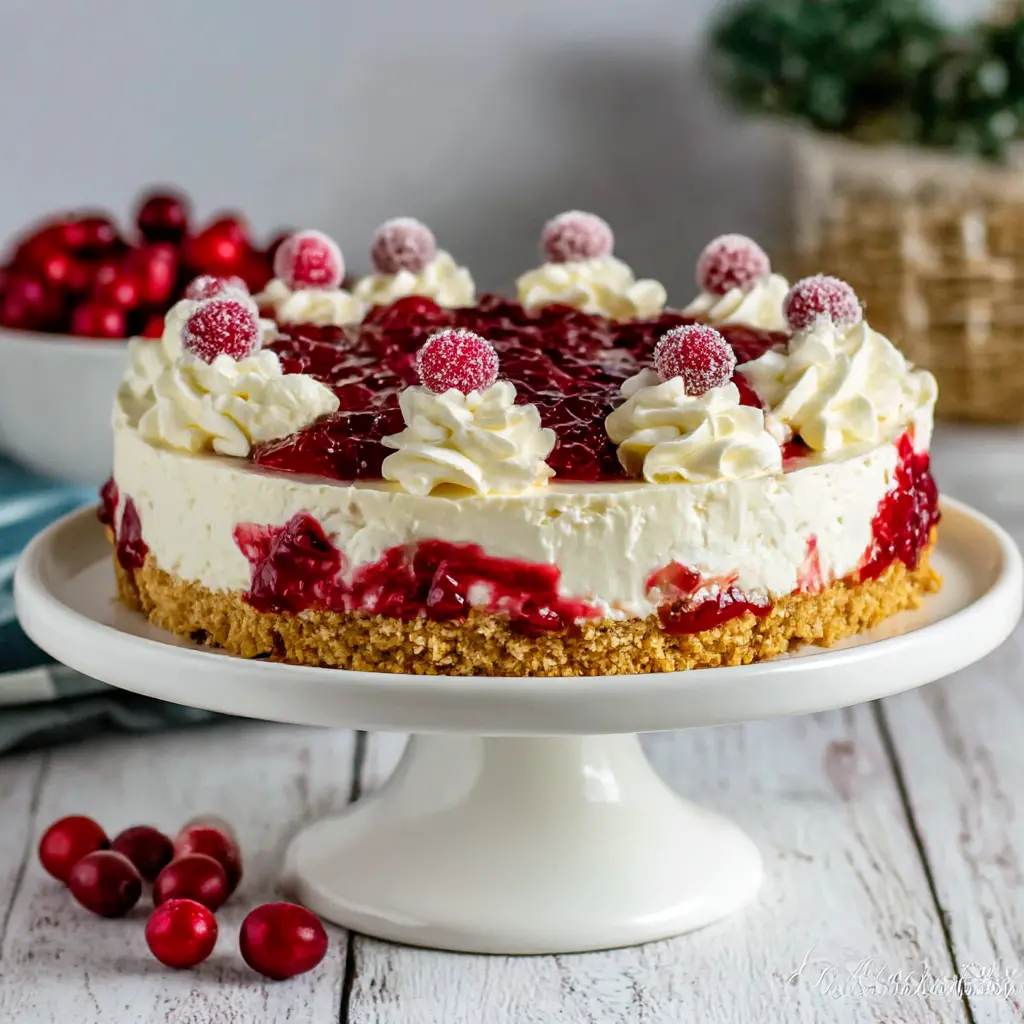
For a showstopper presentation, pipe whipped cream over the top with a star tip. The recipe makes just enough for pretty rosettes around the edge. Keep it simple, or go all in with a generous swirl in the center.
Sugared cranberries on top are completely optional, but they look like little jewels. Heat half a cup of water with half a cup of sugar, toss in a cup of fresh cranberries for a minute, drain, dry on a rack, and roll in granulated sugar. A sprig of rosemary adds festive color to any holiday table.
Storage & Freezing Instructions
Leftovers, if you have any, keep covered in the fridge for up to 5 days. I actually think this condensed milk cranberry cheesecake tastes even better the next day, once the flavors have had time to settle.
This dessert also freezes beautifully. Freeze it whole or in slices for up to 1 month, well wrapped. Thaw overnight in the refrigerator and add the whipped cream after thawing, not before.
Need it for a holiday dinner? Make it a day or two ahead. The texture actually improves, and that’s one less thing to worry about on the big day.
Make It Your Own
I know this dessert looks fancy, but the truth is, the refrigerator does most of the work. You’re just the talented person who brought it all together.
So go ahead. Make this condensed milk cranberry cheesecake for your next gathering, and watch everyone ask for the recipe. You’ve got this. Get your cream cheese softening now and preheat that oven for the crust.
Want more holiday inspiration? I’m always pinning new ideas on my Pinterest board. Come hang out with me there.
No-Bake Sweetened Condensed Milk Cranberry Cheesecake
Ingredients
Method
- Combine the cranberries, sugar, orange juice, and orange zest in a medium saucepan. Cook over medium heat, stirring occasionally, for about 15 minutes until the berries burst and the mixture turns into a thick sauce.
- Press the sauce through a fine mesh sieve to remove the skins and seeds. If you prefer a chunkier sauce, you can leave the skins in, but a smooth sauce works best here.
- Use the back of a spoon to press firmly on the solids so you extract as much sauce as possible.
- Transfer the strained sauce to a bowl and refrigerate for 1 hour, or until fully cooled.
- Preheat the oven to 325°F.
- In a bowl, stir together the graham cracker crumbs, sugar, and melted butter until evenly moistened. Press the mixture firmly into the bottom of an 8 or 9 inch springform pan.
- Bake the crust for 15 minutes so it holds together better when sliced. If you prefer not to bake it, place the pan in the freezer while you prepare the cheesecake filling.
- If baked, let the crust cool completely on a wire rack before adding the filling.
- Pour 2 tablespoons of cold water into a small bowl. Sprinkle the gelatin over the water and whisk briefly to combine.
- Let the gelatin sit for 5 minutes to soften and bloom.
- Add 2 tablespoons of hot water to the gelatin and stir until it dissolves completely. Set aside.
- Beat the softened cream cheese with an electric mixer for about 3 minutes, until light, fluffy, and creamy.
- Scrape down the sides of the bowl and the beaters so the cream cheese whips evenly.
- Add the sweetened condensed milk, lemon juice, and dissolved gelatin to the bowl. If the gelatin has firmed up, microwave it in 5 second bursts to melt it again.
- Mix everything together until the filling is smooth and completely incorporated.
- Pour half of the cheesecake filling over the cooled crust and spread it evenly.
- Spoon about 1/3 cup of the cooled cranberry sauce over the filling, then use a knife to gently swirl it through.
- Pour the remaining cheesecake filling over the top and smooth the surface.
- Spoon another 1/2 cup of cranberry sauce over the filling and swirl it with a knife for a marbled look.
- Tap the pan gently against the counter to settle the filling and release any air bubbles.
- Refrigerate the cheesecake for at least 6 hours, or overnight, until completely set.
- Run a thin knife around the edge of the pan, release the springform latch, and carefully remove the collar.
- Beat the cold heavy cream on medium high speed until soft peaks form. Add the powdered sugar and continue beating for about 2 minutes total, until stiff peaks hold.
- Spoon the whipped cream into a piping bag fitted with a star tip.
- Pipe the whipped cream over the top of the cheesecake and garnish with sugared cranberries or rosemary sprigs if desired.
Nutrition
Notes
Tried this recipe?
Let us know how it was!Frequently Asked Questions
Source: Learn More About This Dish
Can I make this condensed milk cranberry cheesecake ahead of time?
Yes, and honestly, I prefer it that way. Make it one to two days before serving and keep it covered in the fridge. The texture actually improves as the flavors settle, and you’ll get even cleaner slices on day two. One less thing to stress about on the big day.
Why didn’t my cheesecake set?
It’s almost always the gelatin. You have to bloom it in cold water first, then dissolve it completely in hot water. If it firms up before you add it to the filling, warm it in 5 second bursts. And give the cheesecake a full 6 hours minimum in the fridge. Overnight is even better.
Can I freeze this cranberry cheesecake recipe?
Absolutely. Slice it first, wrap each piece well, and freeze for up to 1 month. Thaw overnight in the refrigerator, then add the whipped cream after it thaws. I’ve done this many times, and it tastes just as silky as the day I made it.
Can I skip baking the crust?
You can, but I don’t recommend it. That 15 minute bake is what keeps the crust from crumbling when you slice. If you skip it, freeze the crust while you make the filling and expect a slightly messier base. Still delicious, just not as tidy.
Can I use frozen cranberries instead of fresh?
Yes, frozen cranberries work perfectly in this cranberry cheesecake recipe. No need to thaw them first, just add them straight to the saucepan with the sugar and orange juice. They’ll burst and cook down just like fresh ones.
How do I know when the cheesecake is set enough to slice?
Give it at least 6 hours in the fridge, overnight is better. The center should feel firm to a gentle touch with no jiggle. Run a thin knife around the edge before releasing the springform latch for neat, clean sides.