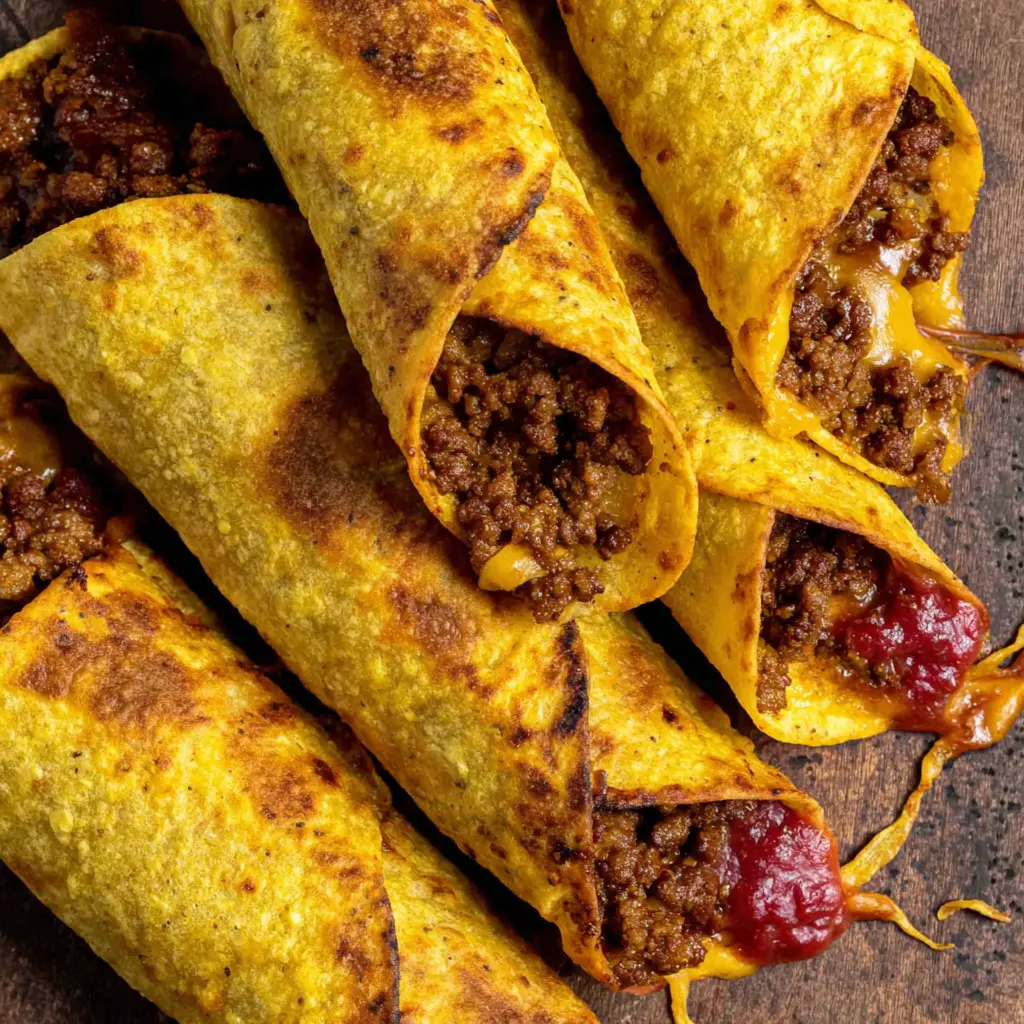
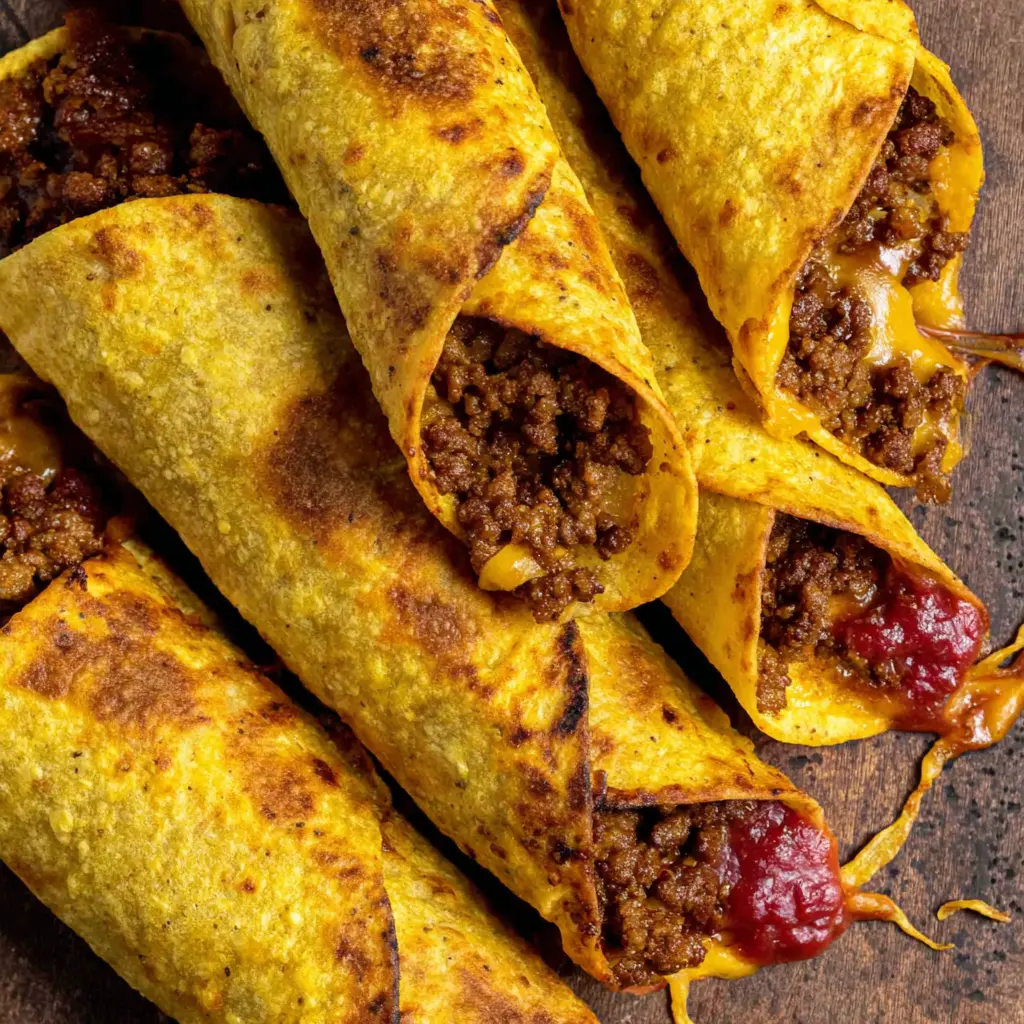
Crispy Ground Beef Taco Wraps
Ingredients
Method
- Preheat oven to 450F.
- Heat a skillet over medium-high heat. Brown the ground beef, breaking it up as it cooks. Stir in the taco seasoning and enchilada sauce. Bring to a simmer, then remove from heat.
- Wrap tortillas in a damp paper towel and microwave for 30–60 seconds until pliable.
- Brush one side of each tortilla with olive oil. Place the tortilla on a baking sheet, oiled side down. Add 2 tablespoons of cheese to half of the tortilla, top with ¼ cup of beef, then add 2 more tablespoons of cheese. Fold the tortilla over the filling.
- Repeat with the remaining tortillas and range the tacos in a single layer on your baking sheet.
- Bake for 16 minutes, or until tortillas are crispy and cheese is melted. Let tacos cool for 3 minutes before serving.
Nutrition
Notes
Tried this recipe?
Let us know how it was!You know those nights when tacos sound perfect but the mess doesn’t?
You’re standing in your kitchen at 5:45 PM. Everyone’s hungry. The idea of setting out a full taco bar with separate bowls of toppings and having the ground beef drip all over the place… honestly, it’s exhausting just thinking about it. I’ve been there more times than I can count.
That’s exactly why these Crispy Beef Taco Wraps became my weeknight hero. They’ve got all the flavor of a loaded taco but wrapped up in a golden, crunchy package that you can eat with your hands. No plates sliding around, no shredded lettuce escaping onto the floor. Just pure, handheld satisfaction.
And here’s the thing. These aren’t complicated. I mean, you’re looking at about 20 minutes from start to finish. Maybe 25 if you’re slow like me. The first time I made these, I actually burned the first one because I got distracted. But that’s the beauty of this recipe. It’s forgiving. Even the imperfect ones taste amazing.
So if you’re tired of the same old taco Tuesday routine or just need something quick that actually works, these wraps are about to become your new favorite. Trust me on this.
Why These Crispy Beef Taco Wraps Actually Work
I’ve tested this recipe about six times now. Probably more. And what I learned is that the magic is in the method, not the ingredients. You could use the fanciest cheese or the most expensive tortillas, but if you don’t handle them right, you’ll end up with a soggy mess.
The secret? It’s all about creating a barrier between the juicy beef and the tortilla. That crispy layer on the outside isn’t just for looks. It’s what keeps everything together. When you get that golden brown crust, the tortilla becomes strong enough to hold all that savory beef filling without falling apart.
Plus, using 80/20 ground beef is key here. That 20% fat means flavor, and lots of it. As the beef cooks, those crispy edges form and add such nice texture. And because there’s enough fat, the meat stays perfectly tender instead of drying out.
I’ll be honest, the first batch I made was a disaster. The tortilla got soggy, the filling leaked out, and I was standing there with a handful of beef and cheese wondering what went wrong. But I figured it out. And now I’m sharing all those lessons so you don’t have to learn them the hard way.
What You Need for These Wraps
The ingredient list is short. That’s the whole point. You don’t need a dozen different things to make something amazing. Here’s what you’ll grab:
For the beef filling: You’ll want lean ground beef, a packet of taco seasoning, and some red enchilada sauce. The enchilada sauce is the secret weapon here. It adds moisture and depth that plain water just can’t match. I found this out by accident when I was out of water one night and used enchilada sauce instead. Never going back.
For the cheese: Oaxaca cheese is my first choice. It melts beautifully and has that stretchy, stringy quality that makes every bite feel special. But if you can’t find it, Mexican cheese or Monterey Jack works great too. Honestly, any good melting cheese will do the job.
For the wraps: Corn tortillas are what you need. They crisp up better than flour tortillas in my experience. And you’ll need olive oil for brushing them so they get that beautiful golden brown color.
That’s it. Six ingredients. Maybe seven if you count the oil. Simple, right?
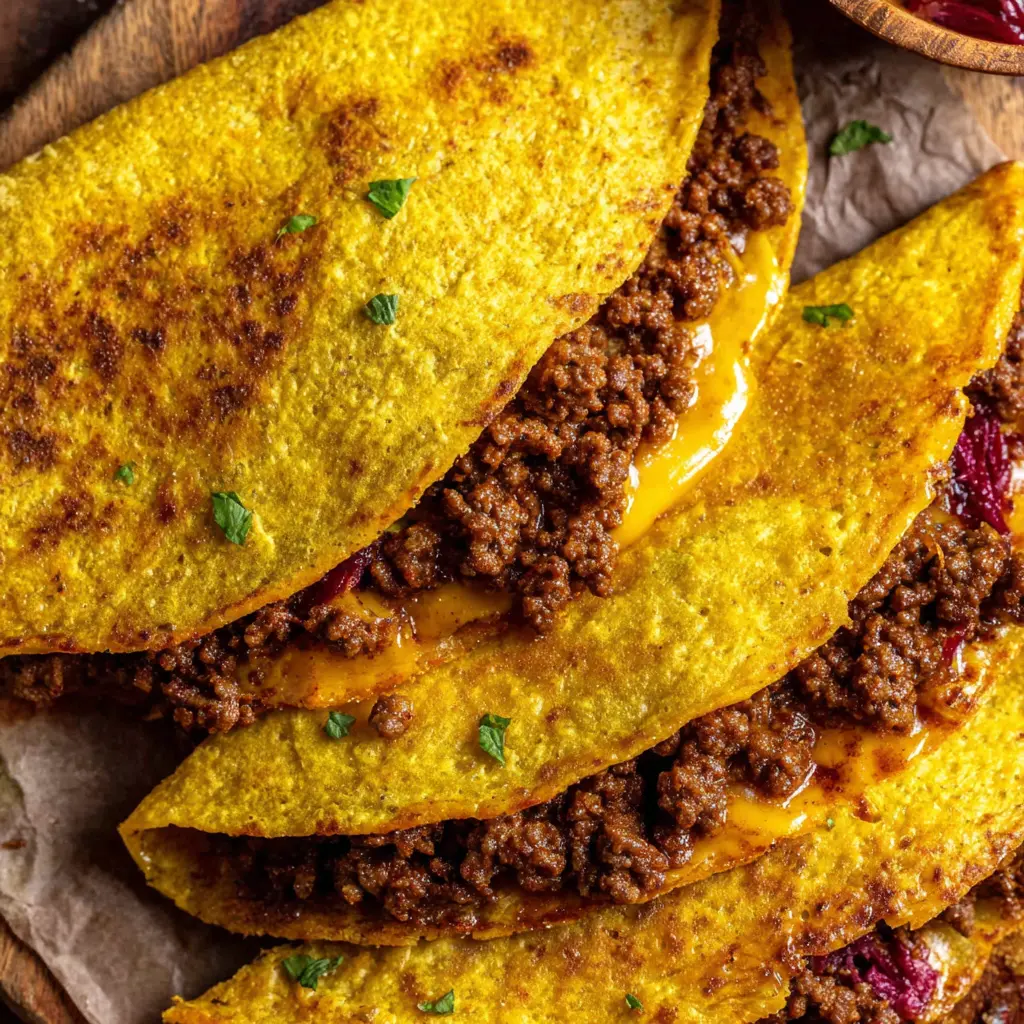
How to Make Crispy Beef Taco Wraps: The Method
I’m not going to repeat the recipe card here. That’s what the recipe above is for. But I do want to walk you through the process and explain why each step matters. Because once you understand the reasoning, you’ll never have a problem again.
Start by cooking your ground beef in a skillet over medium-high heat. Break it up as it cooks. You want those little crispy bits forming on the edges. That’s where the flavor lives. Once it’s fully cooked, drain off any excess fat if there’s too much. But honestly, with 80/20 beef, there’s usually just enough left to keep things moist.
Add your taco seasoning and red enchilada sauce. Stir it all together and let it simmer for a couple minutes. The sauce will thicken slightly and coat every piece of beef. This is where the magic happens. The beef becomes this rich, savory filling that’s way better than anything from a packet alone.
Now here’s the trick I learned after my soggy tortilla disaster. Before you fill the tortillas, give them a quick toast in a dry pan. Just 30 seconds per side. This creates a slight barrier that prevents the beef juices from soaking through. It’s a small step, but it makes all the difference.
Then you assemble. Place a scoop of beef in the center of each tortilla, top with cheese, and fold it up like a little package. Press gently to seal. Then brush both sides with olive oil and cook in a hot skillet until golden brown and crispy on both sides. About 2-3 minutes per side.
The sound when you flip it? That sizzle tells you everything. If it’s quiet, the pan isn’t hot enough. You want that immediate sizzle.
3 Ways to Cook These Wraps
I usually go with the stovetop method because it’s fastest. But I’ve tested all three ways, and they each have their strengths.
Pan Fried (Stovetop): This is my go-to. You get that direct heat that creates the crispiest exterior. Use a cast iron skillet if you have one. It holds heat better and gives you an even golden brown. Just make sure not to crowd the pan. Cook them in batches if you need to.
Oven Baked: If you’re making a big batch, this is the way to go. Preheat your oven to 400°F. Place the assembled wraps on a baking sheet lined with parchment paper. Brush with oil and bake for about 12-15 minutes, flipping halfway through. They come out perfectly crispy and you can do like 8 at once.
Air Fryer: This is my secret weapon for reheating leftovers. But it works great for cooking them fresh too. Set your air fryer to 375°F and cook for about 8-10 minutes, flipping once. The air circulation makes them extra crispy without needing much oil.
Each method gives you that satisfying crunch. The difference is mostly about how many you’re making and how much time you have.
Tips for the Best Crispy Beef Taco Wraps
I’ve made plenty of mistakes so you don’t have to. Here’s what I’ve learned:
Don’t overfill. I know it’s tempting to pile on the beef and cheese. But if you overstuff, the tortilla won’t seal properly and everything will leak out during cooking. About 1/4 cup of filling per wrap is the sweet spot.
Use the right tortillas. Corn tortillas work best for crispiness. But if you only have flour, go for it. Just know they won’t get quite as crunchy. And make sure they’re at room temperature. Cold tortillas crack when you fold them.
Let them rest after cooking. This is hard, I know. You want to bite into that hot, crispy wrap immediately. But if you let them rest for 2-3 minutes on a wire rack, the steam escapes and the crust stays crispy instead of getting soggy from trapped moisture.
Brush, don’t spray. When applying oil, use a brush to get an even coating. Spray oil can pool in spots and create uneven browning. A light, even brush of olive oil gives you that beautiful golden brown color everywhere.
Seal the edges well. Press firmly along the seam when you fold. If it’s not sticking, you can use a little water on your finger to moisten the edge before pressing. Works like glue.
How to Serve These Wraps
These wraps are pretty complete on their own. I mean, they’ve got protein, carbs, and cheese. That’s a meal. But if you want to go all out, here’s what I love serving with them:
A side of sour cream for dipping. Maybe some salsa verde if you want that tangy kick. Guacamole is always a win too. And if you’re feeding a crowd, set out bowls of shredded lettuce, diced tomatoes, and extra cheese so everyone can customize their own.
For a Cinco de Mayo celebration or just a fun Friday night dinner, these wraps are perfect. They’re handheld, they’re messy in the best way, and everyone loves them. Kids especially go crazy for the crispy texture.
I’ve also served these at game day parties and they disappeared within minutes. People couldn’t believe they were made at home.
Storage and Reheating Leftovers
Here’s the thing about leftovers. These wraps are best fresh. That crispy exterior is at its peak right out of the pan. But if you have extras, here’s how to handle them.
Let them cool completely on a wire rack. Don’t stack them while they’re warm or they’ll steam each other and get soggy. Once cool, store them in an airtight container in the fridge for up to 3 days.
For reheating, skip the microwave. It’ll turn them into sad, limp things. Instead, use your air fryer at 350°F for about 4-5 minutes. Or pop them in a 375°F oven for 8-10 minutes. The stovetop works too. Just a little oil in a pan and heat them up until crispy again.
I’ve also frozen these successfully. Assemble them but don’t cook them. Wrap each one individually in plastic wrap and freeze for up to 2 months. When you’re ready, cook from frozen in the oven or air fryer. Add a couple extra minutes to the cooking time.
Common Mistakes and Fixes
Common Mistakes & Fixes
Mistake: The tortilla gets soggy.
Solution: You skipped the pre-toast step or overcrowded the pan. Toast each tortilla for 30 seconds per side before filling. Cook in batches so they have room to crisp up.
Mistake: The filling falls out while cooking.
Solution: You overfilled or didn’t seal properly. Use less filling and press firmly along the seam. A tiny bit of water on the edge helps it stick.
Mistake: The beef is dry.
Solution: You used too-lean beef or cooked it too long. Stick with 80/20 ground beef and don’t overcook. The enchilada sauce helps keep it moist too.
Mistake: The wraps aren’t golden brown.
Solution: Your pan wasn’t hot enough or you didn’t use enough oil. Medium-high heat and a light brush of olive oil on both sides will get you that beautiful color.
Frequently Asked Questions
The Bottom Line
Look, I know weeknight dinners can feel like a chore. You’re tired, everyone’s hungry, and the last thing you want is a complicated recipe with a dozen steps. But these Crispy Beef Taco Wraps are different. They’re quick, they’re forgiving, and they taste like something you’d order at a restaurant.
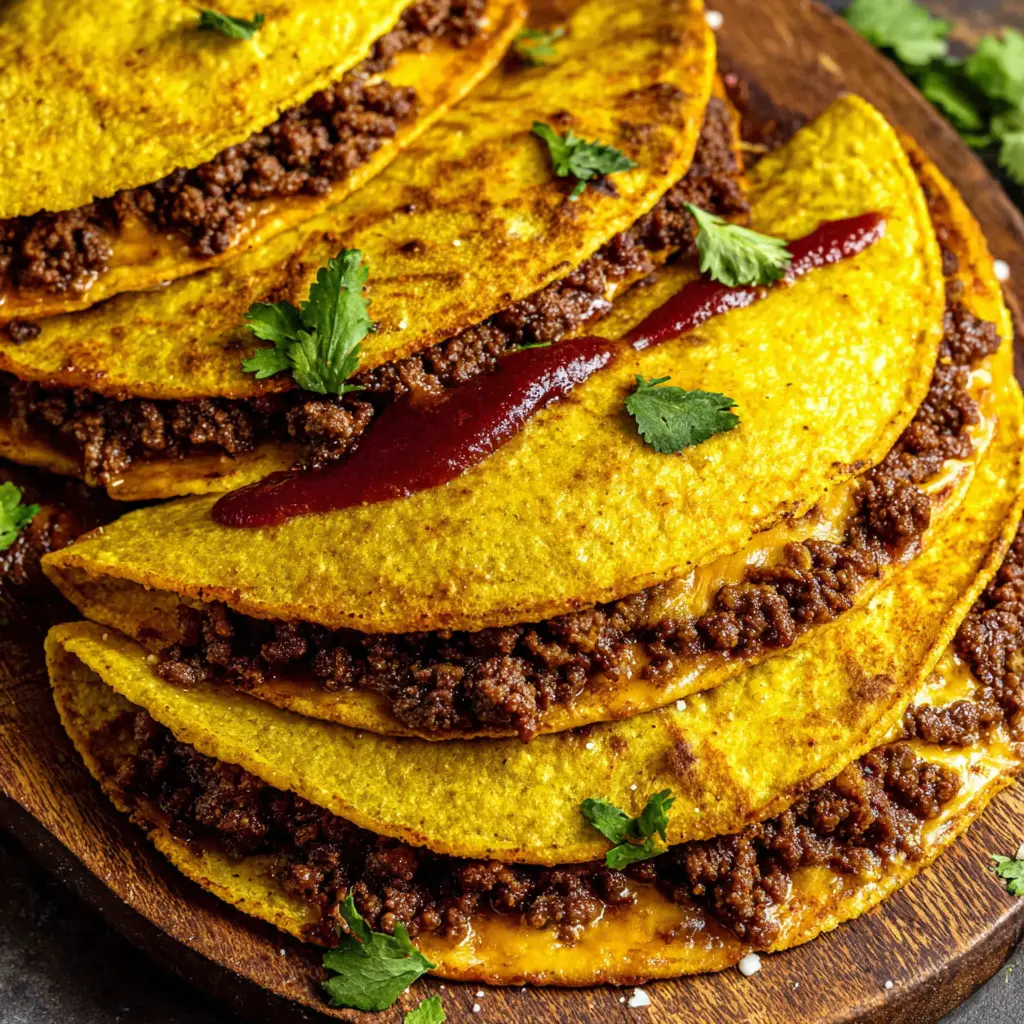
When you pull that first wrap out of the pan and hear the crunch as you bite into it, you’ll know exactly what I mean. That golden brown tortilla, the savory beef filling, the melted cheese stretching as you pull it apart. It’s pure satisfaction.
So next time you’re staring at the clock at 5:45 PM wondering what to make, remember this recipe. Grab some ground beef, tortillas, and cheese. You’ve got everything you need to make something amazing. And honestly, you deserve a dinner that’s this good without all the effort.
Go make some magic. You’ve got this.
For more inspiration, check out my Pinterest boards for even more taco wrap ideas.
Source: Health & Nutrition Research
Can you make Crispy Beef Taco Wraps in a crock pot?
You can cook the beef filling in a crock pot if you want. Just add the ground beef, taco seasoning, and some salsa for liquid. Cook on low for 4-6 hours. Then assemble and crisp the wraps in a pan or oven. The filling will be extra tender and flavorful.
Do I need to drain the fat from the ground beef?
It depends on your beef. If you’re using 80/20, there’s usually not enough excess fat to worry about. But if it looks greasy after cooking, go ahead and drain some off. Just leave a little bit for moisture and flavor. You want the beef juicy, not swimming in fat.